Fix Errors 19 and 12 on the ST-1201 and SC-1501

Overview
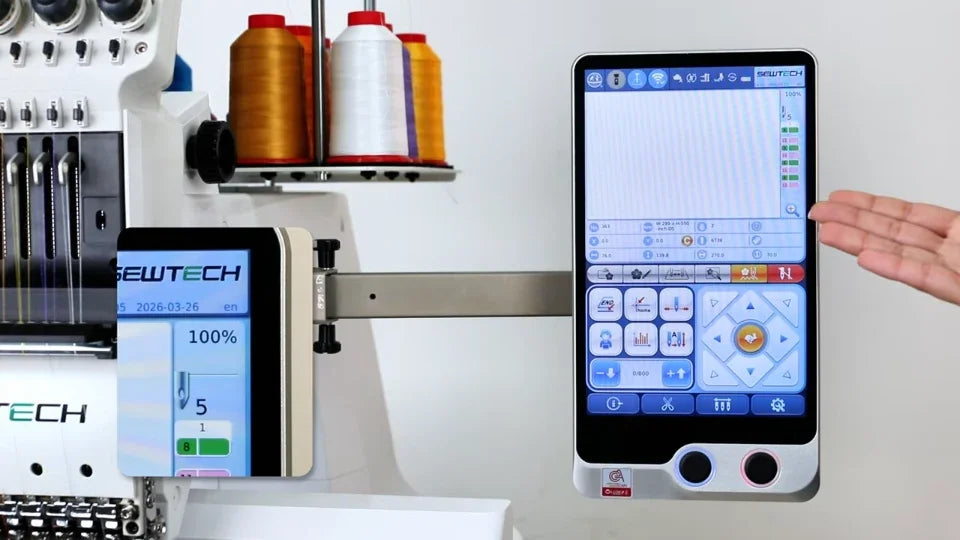
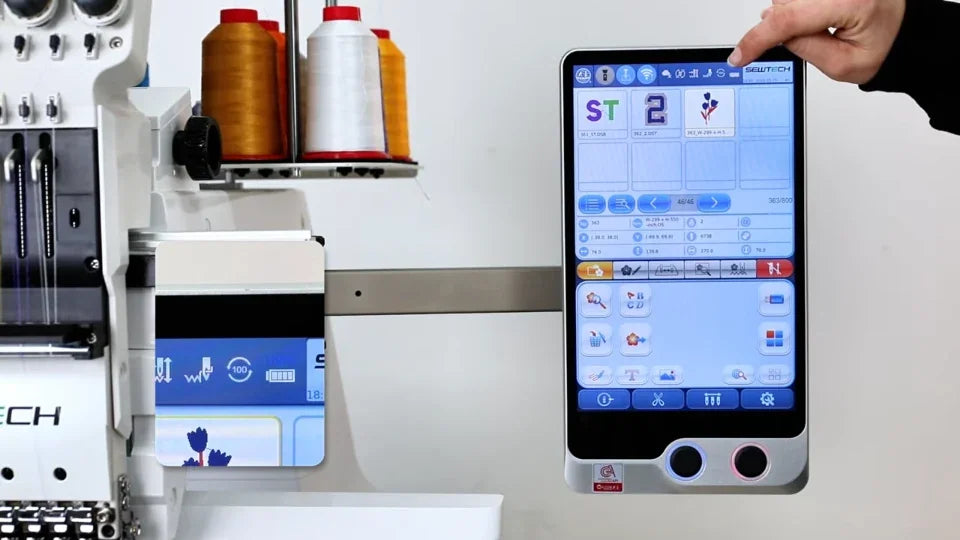
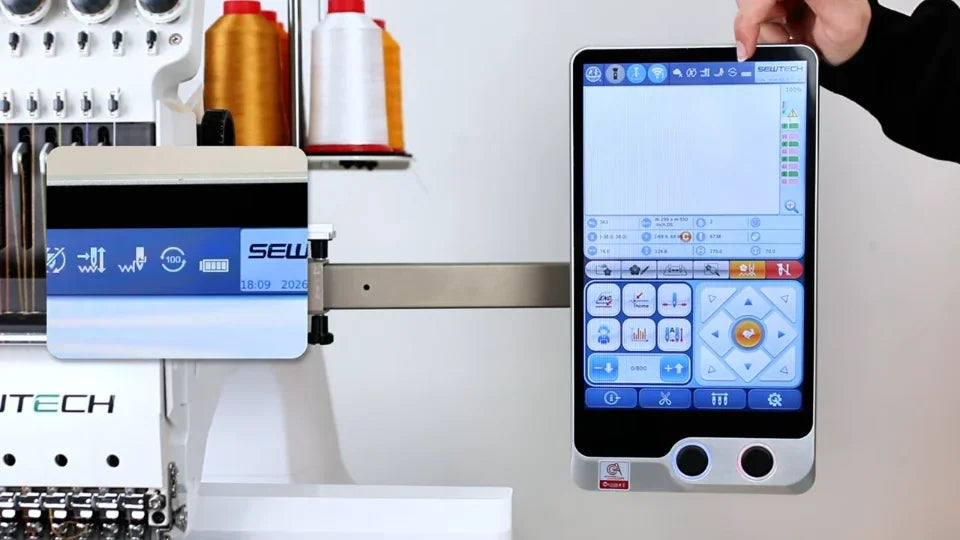
With embroidery stopped, check the needle number at the upper right of the touchscreen and the circular 100° indicator in the top status bar. Error 19 means the controller has lost the needle position. Error 12 means the main shaft is out of its 100° stop position. The video shows the ST-1201 controls. Have a hex key ready if the shaft needs manual adjustment, and switch the machine off before using it.
Step-by-step guide
1. Error 19 · Check the needle number
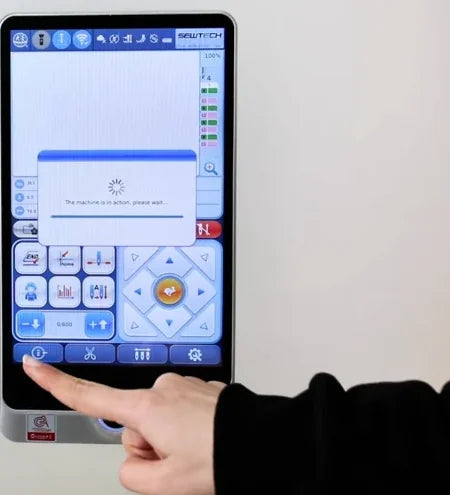
Watch at 00:20Look beside the needle symbol at the upper right of the screen. If the number flickers or reads 0, tap the 100° return button at the far left of the bottom toolbar, beside the scissors. If the Error 19 dialog appears, use the needle-position reset in the next step.
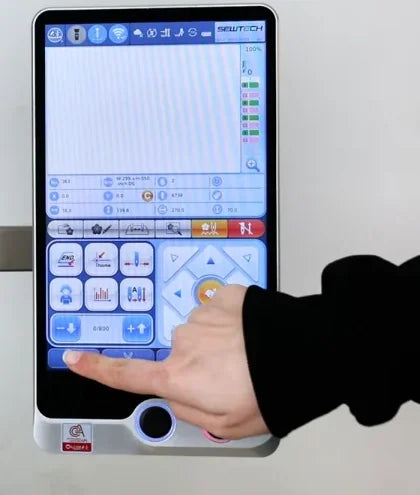
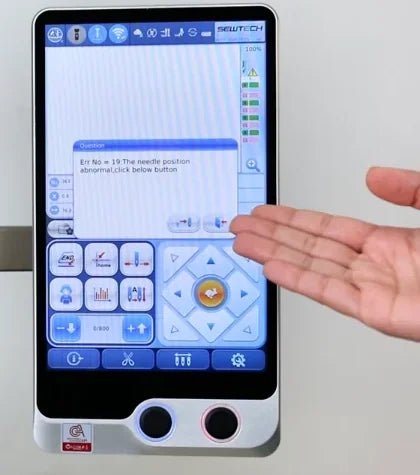
2. Error 19 · Reset the needle on screen
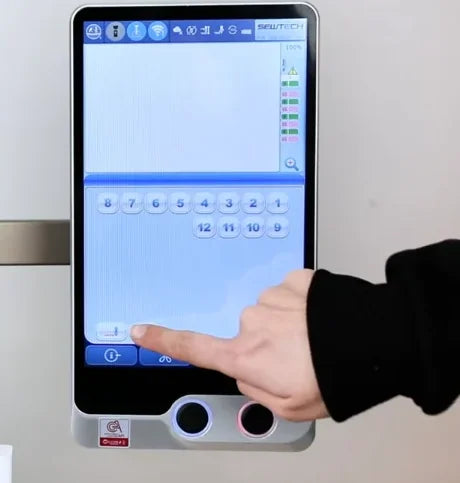
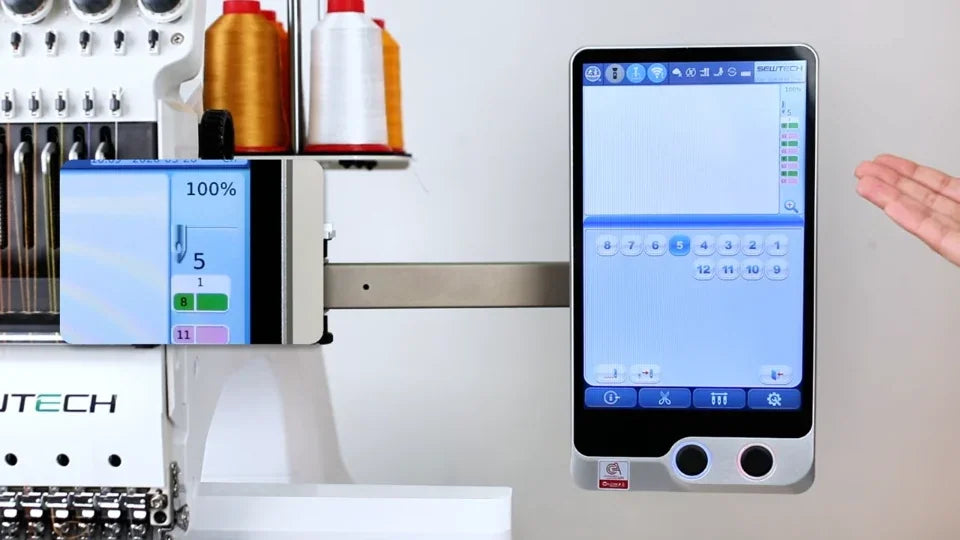
Watch at 00:35Once the alert is closed, tap the three-needle icon in the bottom toolbar to open the numbered needle panel. Tap the right-hand button of the two small pale buttons at the lower left of the panel. Its icon shows an arrow pointing toward a needle. Repeat if the first tap leaves the reading at 0. A stable nonzero number confirms the reset. The video shows needle 5.
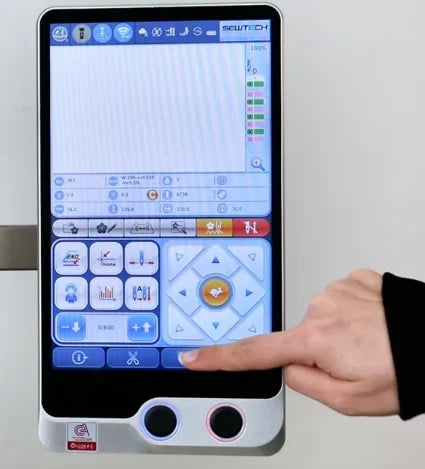
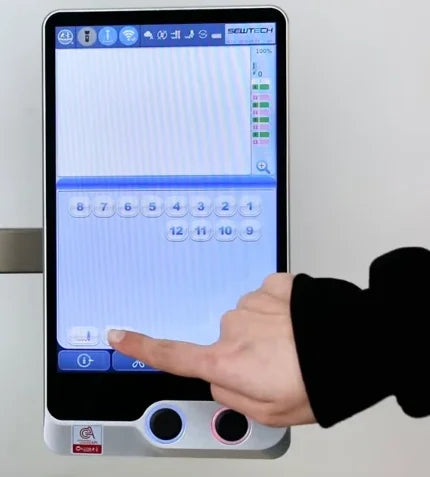
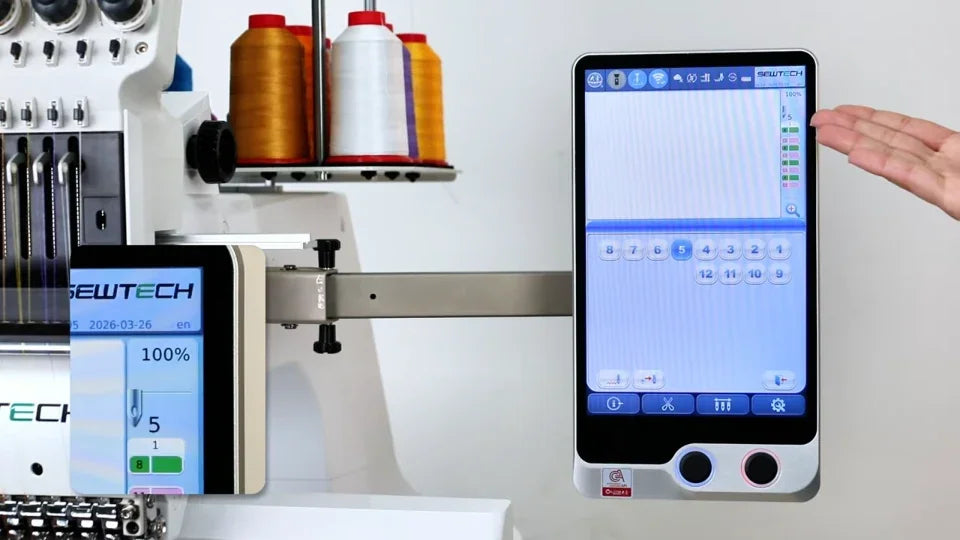
3. Error 19 · Try the color-change knob
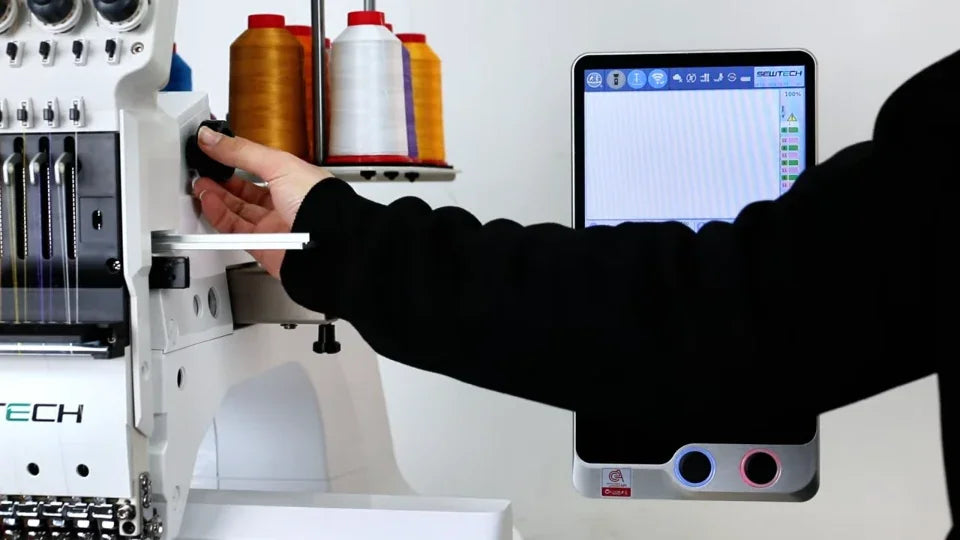
Watch at 00:55As an alternative, gently turn the black color-change knob a little in each direction while watching the needle reading. On the machine shown, the knob is to the left of the touchscreen beside the thread stand. Stop as soon as a nonzero needle number appears.
4. Error 12 · Identify the slashed 100° indicator
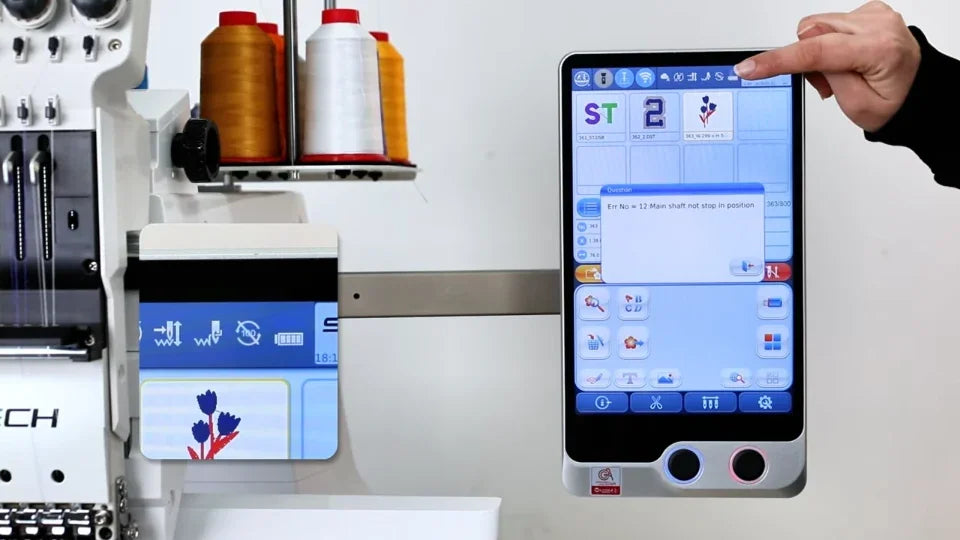
Watch at 01:16Look for a slash through the circular 100° indicator in the top status bar. The Error 12 dialog reports that the main shaft did not stop in position. Close the dialog to reach the 100° return button.
5. Error 12 · Return the shaft to 100° on screen
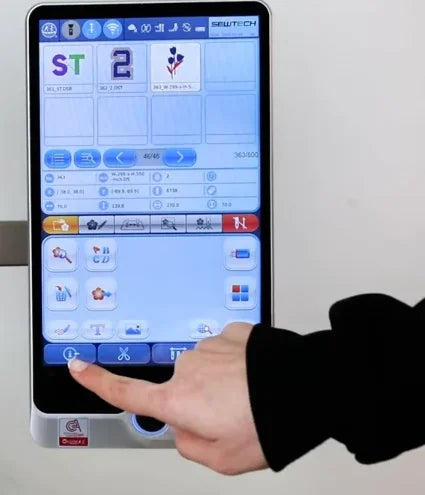
Watch at 01:34Tap the 100° return button at the far left of the bottom toolbar. Wait while the machine adjusts. Look back at the circular 100° indicator in the top bar. The slash disappears when the return is complete.
6. Error 12 · Switch off for manual adjustment
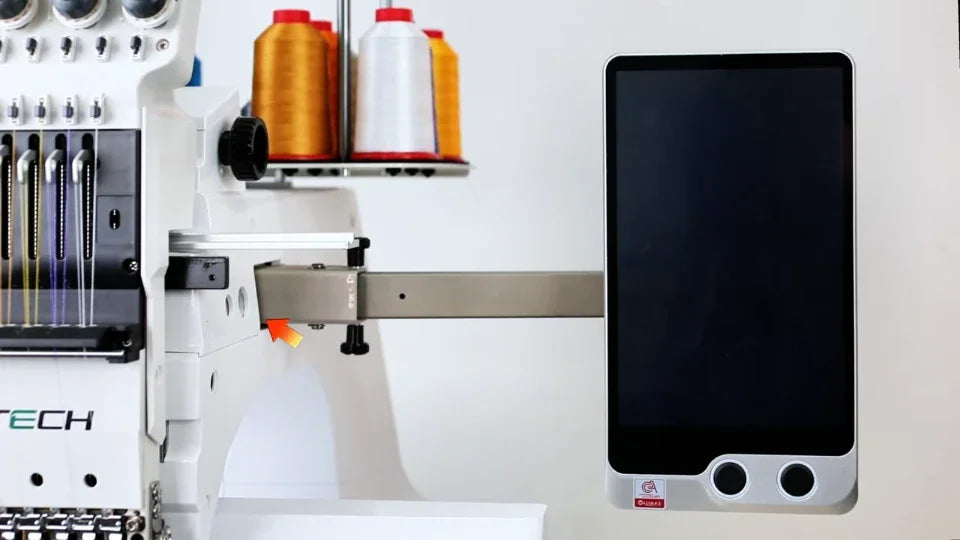
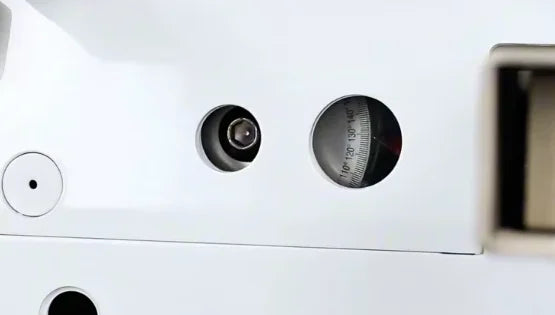
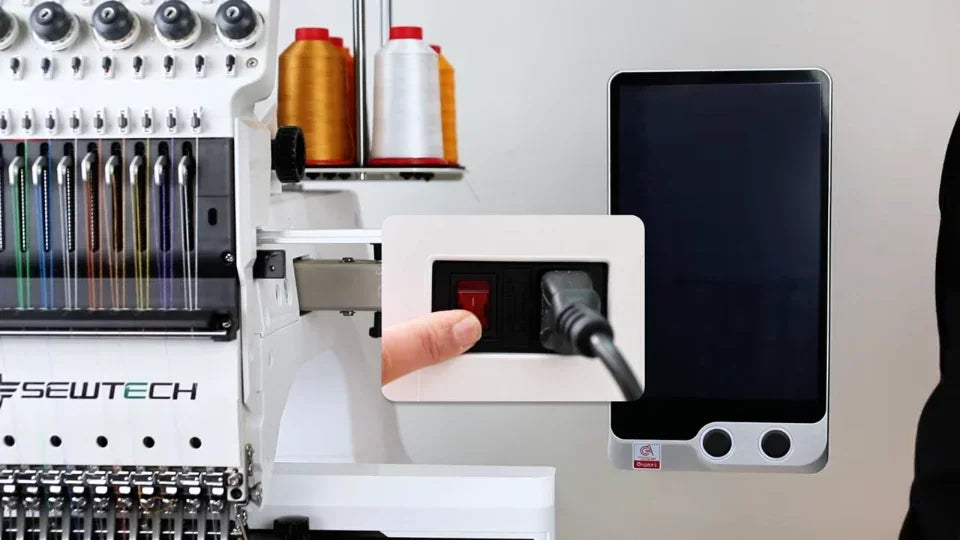
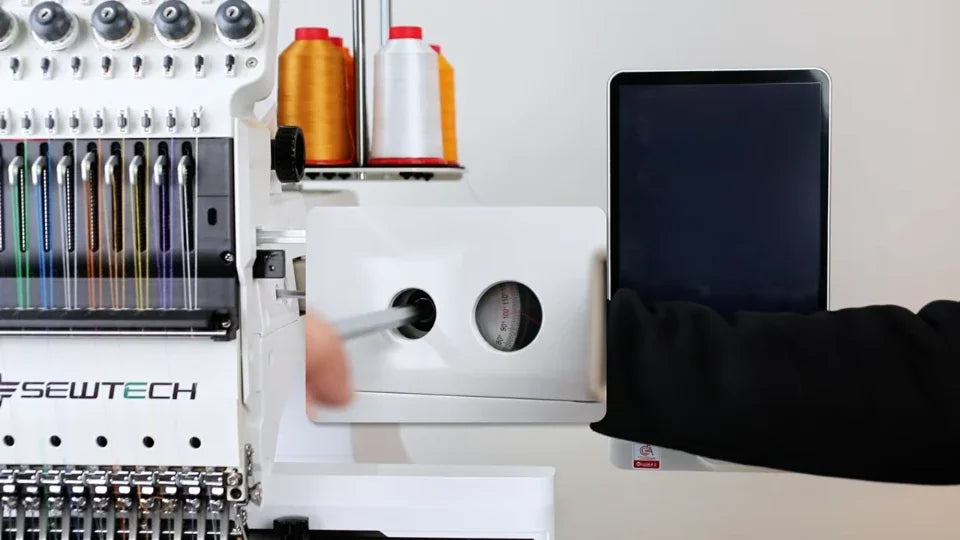
Watch at 01:53For the manual method, switch the machine off and wait for the touchscreen to go dark. Have a fitting hex key ready. On the main-shaft access panel, find the small tool opening on the left and the round angle window immediately to its right.
7. Error 12 · Align the 100° mark and restart
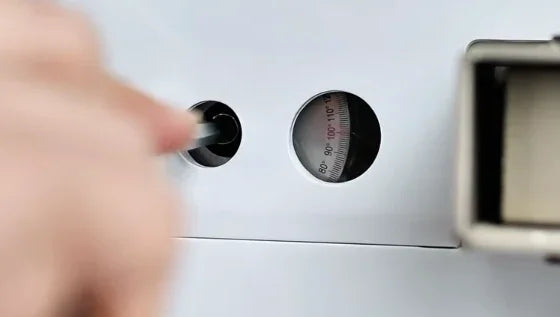
Watch at 02:08With the machine off, insert the hex key into the small left opening. Turn it slowly while watching the scale in the right window, then stop at the red 100° mark. Remove the key, switch the machine back on, and check that the slash has cleared from the top-bar 100° indicator.
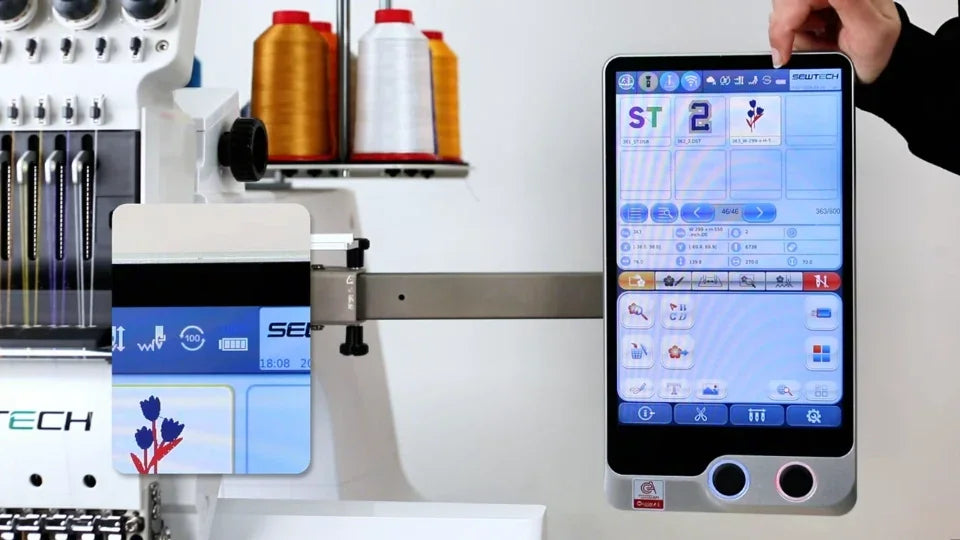
8. Both errors · Check the screen and take-up lever
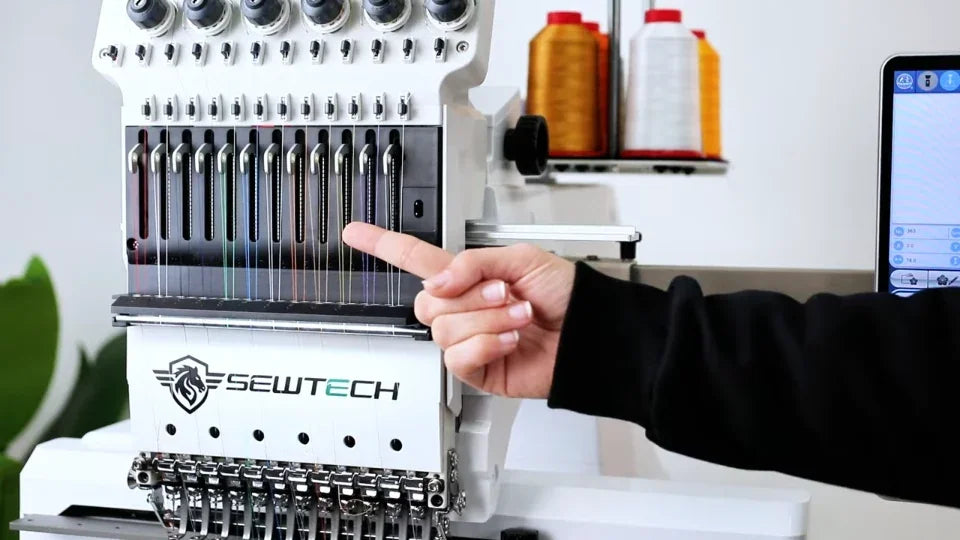
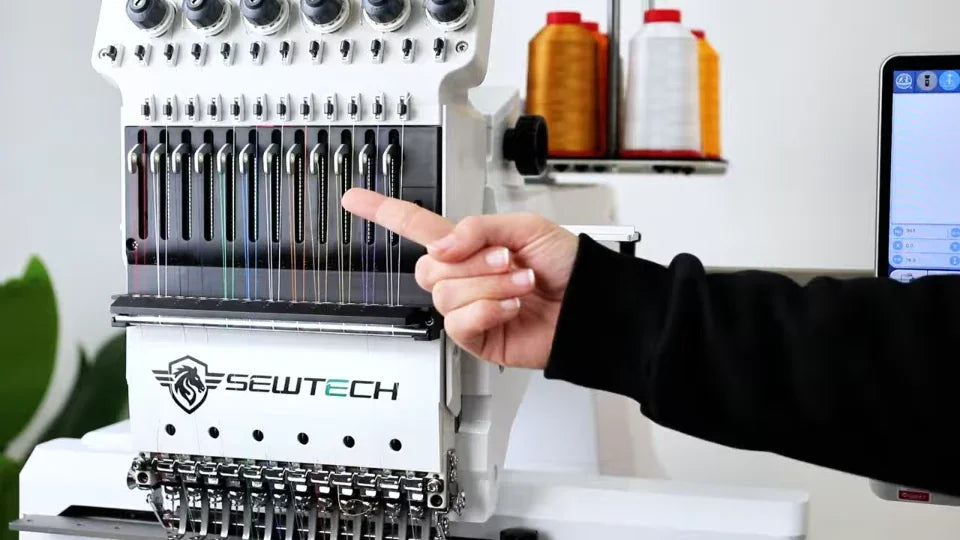
Watch at 02:39The video shows a needle reading of 0, a slash through the top-bar 100° indicator, and a lowered take-up lever at the front of the machine head. Use either of the two sequences below, each in the order shown.
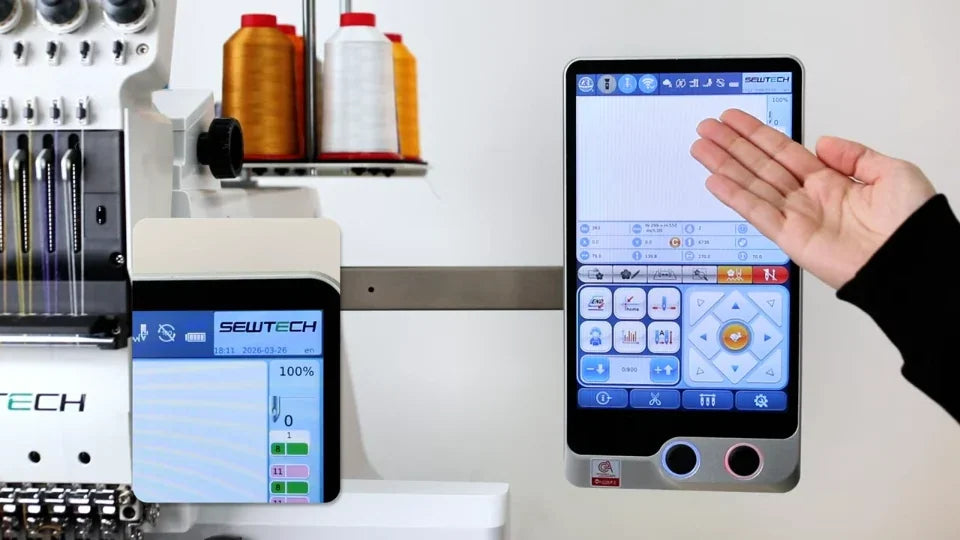
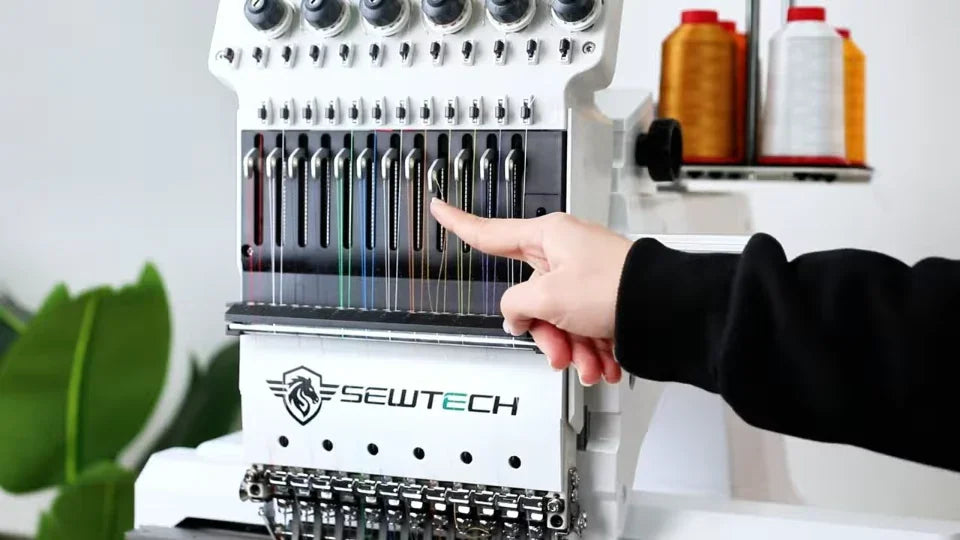
9. Both errors · Method 1, recover the needle reading
Watch at 03:01Gently rock the black color-change knob while watching the needle number. Stop when a nonzero number appears. While the shaft is away from 100°, this recovers the reading for the current needle. In the video, the reading returns to 4 because needle 4 is already in position.
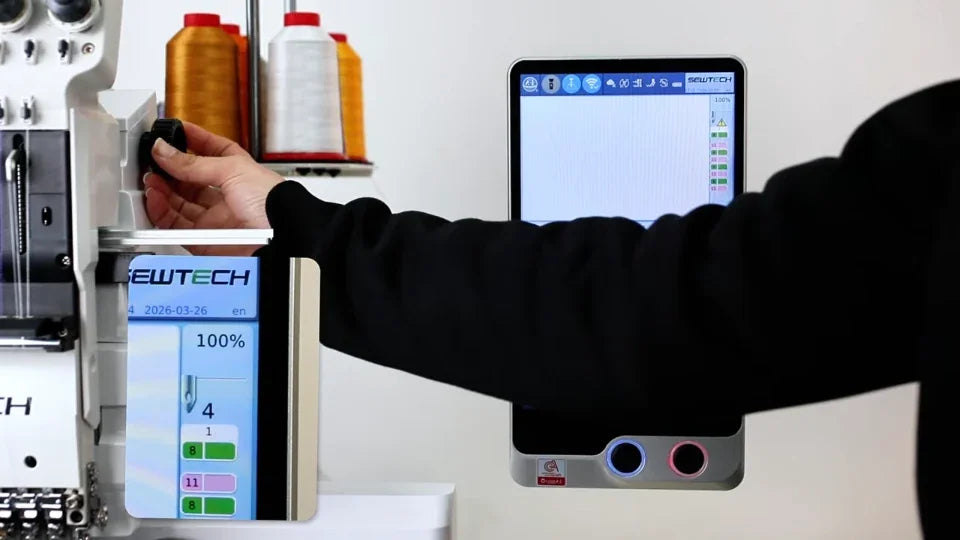
10. Both errors · Method 1, then return the shaft
Watch at 03:40Once the needle number is back, tap the bottom-left 100° return button and let the machine finish. Check that the slash is gone and that the take-up lever has returned to its normal position.
11. Both errors · Method 2, first set the shaft by hand
Watch at 04:03Switch the power off. With the screen dark, use the hex key in the small left opening and turn slowly until the scale in the right window reaches 100°. Remove the key before switching the machine on. Check the 100° indicator for a clear circle, then check the needle reading separately.
12. Both errors · Method 2, finish the needle reset
Watch at 04:39If the needle still reads 0, open the needle panel via the three-needle icon. Tap the right-hand button of the two pale buttons at the lower left of the panel. Tap again if the first attempt leaves the reading at 0. The video finishes with a stable needle number, a clear 100° indicator, and the take-up lever back in its normal position.