SEWTECHSupport Center 简体中文

Fix Error 164: Reset the Hoop Position

Applies to ST-1501 / SC-1501 Demonstrated on ST-1501

Watch on YouTube ↗

Overview

Use this procedure when Error 164 appears on an ST-1501 or SC-1501. The controller has lost the hoop’s starting position. With embroidery stopped, identify the hoop mounted under the needles and clear the area around its travel path. You’ll reset the origin, reselect the mounted hoop, then trace the design to check clearance.

Step-by-step guide

1. Read and dismiss Error 164

Watch at 00:23

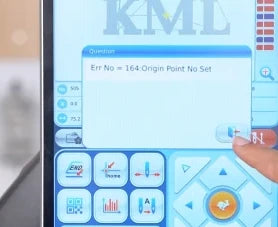
Look for Error 164 with the message “Origin Point No Set.” Tap the Back icon at the lower right of the pop-up to return to the main screen.
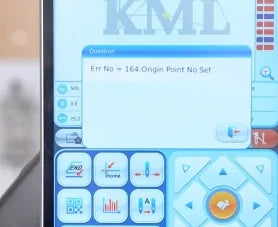
Error 164 appears in the pop-up with the message “Origin Point No Set.”
The Back icon sits in the lower-right corner of the alert.

2. Open the hoop selection grid

Watch at 00:28

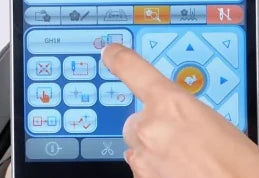
On the main screen, tap the fourth tab from the left in the strip below the design thumbnails. When the hoop preview and arrow pad appear, tap the current hoop field above the left-hand keypad. The hoop selection grid opens and highlights the current entry.
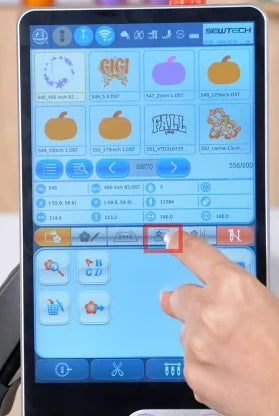
The highlighted tab under the design thumbnails opens the hoop controls.
Tap the current hoop field, just above the left-hand keypad.
The grid shows available hoop types and highlights the current selection in yellow.

3. Find Auto Set Origin

Watch at 00:34

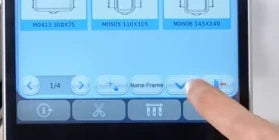
In the grid’s bottom row, tap Auto Set Origin, the small button immediately to the left of None Frame. The “Seek Frame Origin” confirmation opens.
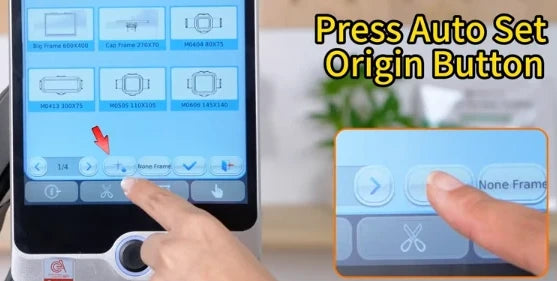
The arrow and inset point to Auto Set Origin, just left of None Frame.

4. Confirm and wait for homing

Watch at 00:37

The prompt warns that the frame will move. Keep your hands clear of the travel path. If a cap frame is fitted, follow the prompt and remove it if necessary before confirming. Tap the blue check mark, then wait until the frame has stopped moving before making another selection.
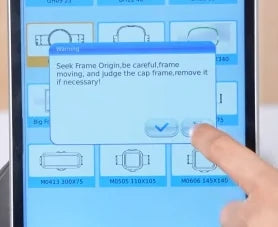
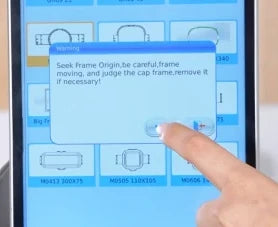
“Seek Frame Origin” warns about frame movement and asks you to check the cap frame.
The blue check mark confirms the origin move.
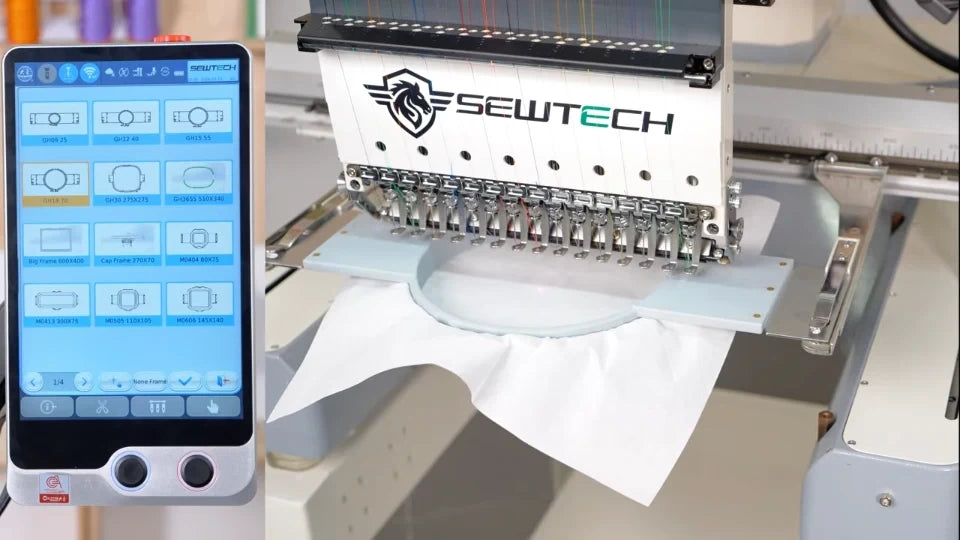
At the start of homing, the round hoop is under the needle head.
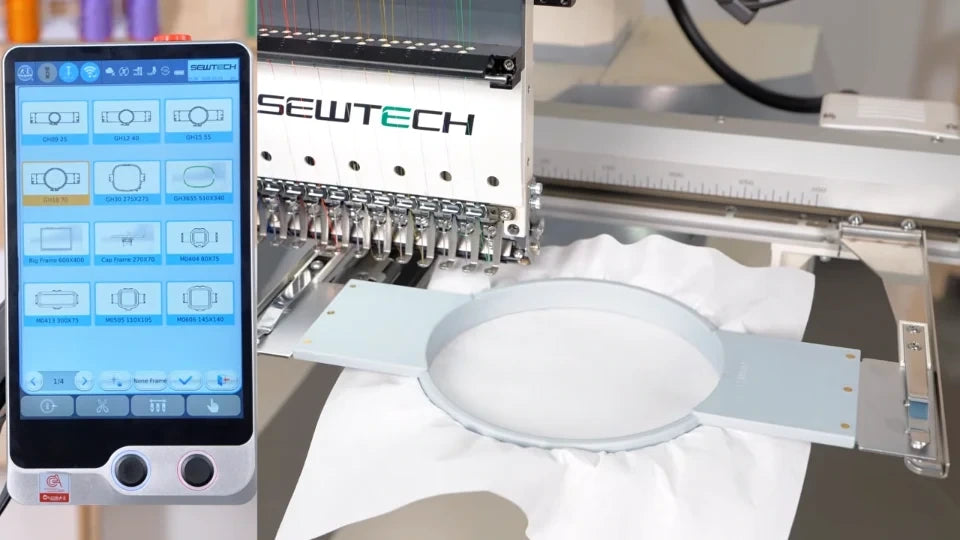
By the end of the homing sequence, the hoop has moved to a different position and the grid is still open.

5. Select the hoop you have mounted

Watch at 00:50

Choose the entry that matches the shape and size of the hoop fitted on your machine. In the video, the round GH18 is the first tile on the second row. The selected tile is highlighted in yellow.
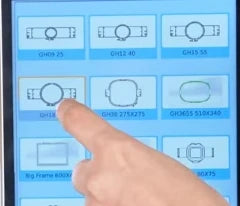
The presenter points to the first tile in the second row, the round GH18 used in the demonstration.

6. Apply the hoop selection

Watch at 00:53

Tap the blue check mark next to None Frame at the bottom of the grid. The hoop moves to its reference position. Keep clear until it stops and confirm that the main screen shows the selected hoop and the design inside its boundary.
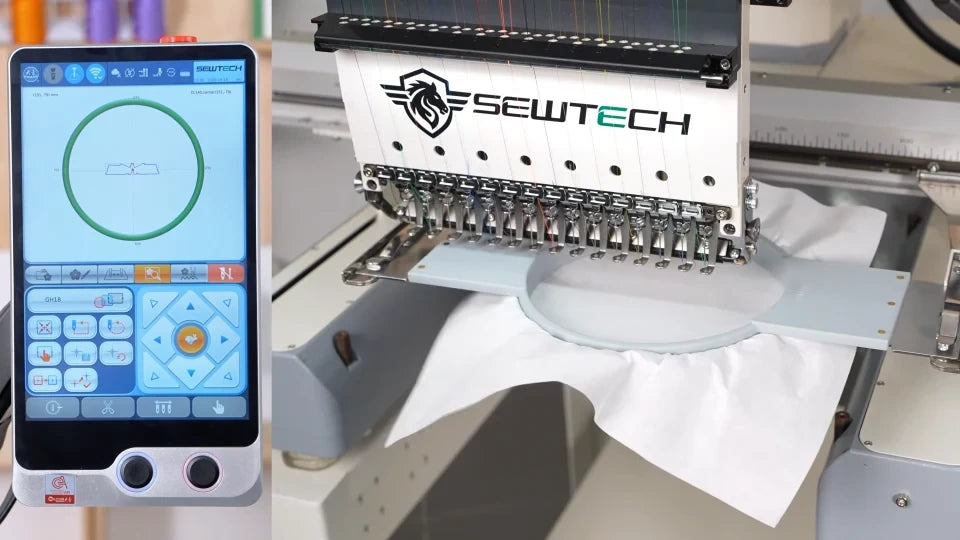
The blue check mark on the bottom row applies the selected hoop.
The round hoop travels under the needles while the green boundary appears on screen.
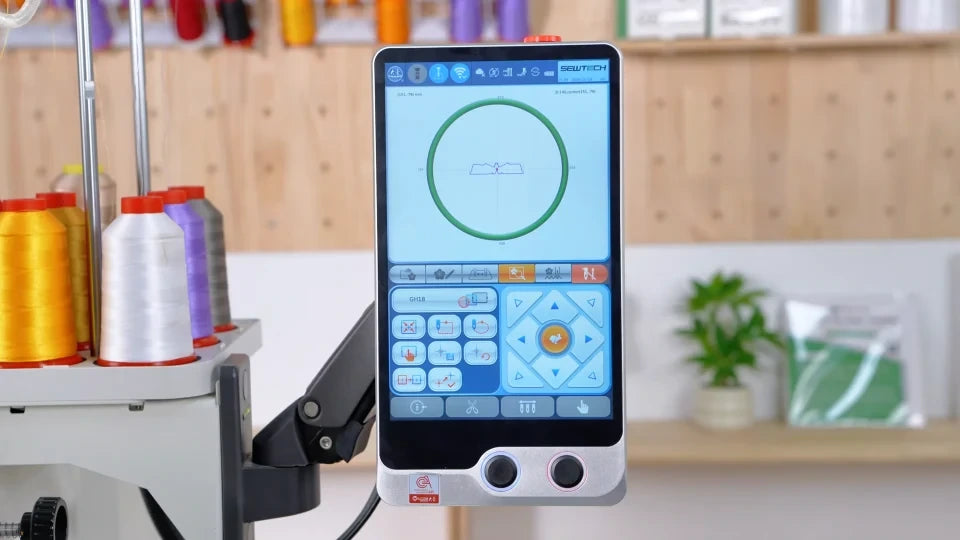
The main screen shows GH18 and the design outline inside the green boundary.

7. Start the design trace

Watch at 01:01

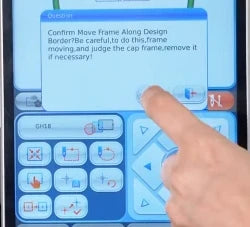
On the main screen, press the middle button in the top row of the small left-hand keypad, just under the hoop field. Check for “Confirm Move Frame Along Design Border.” Make sure the travel path is clear and follow the cap-frame reminder as applicable. Tap the blue check mark to start the trace.

The presenter taps the top-middle key of the left-hand keypad, just below the hoop field.
The confirmation names the design border and warns that the frame will move.
Tap the check mark after checking the frame’s travel path.

8. Check clearance along the whole trace

Watch at 01:04

Watch the installed hoop under the needles for the full trace. Start embroidering once the trace finishes with room around the hoop, no contact with machine parts, and no return of Error 164. If clearance is insufficient or the alert returns, correct the setup and repeat the check before stitching.
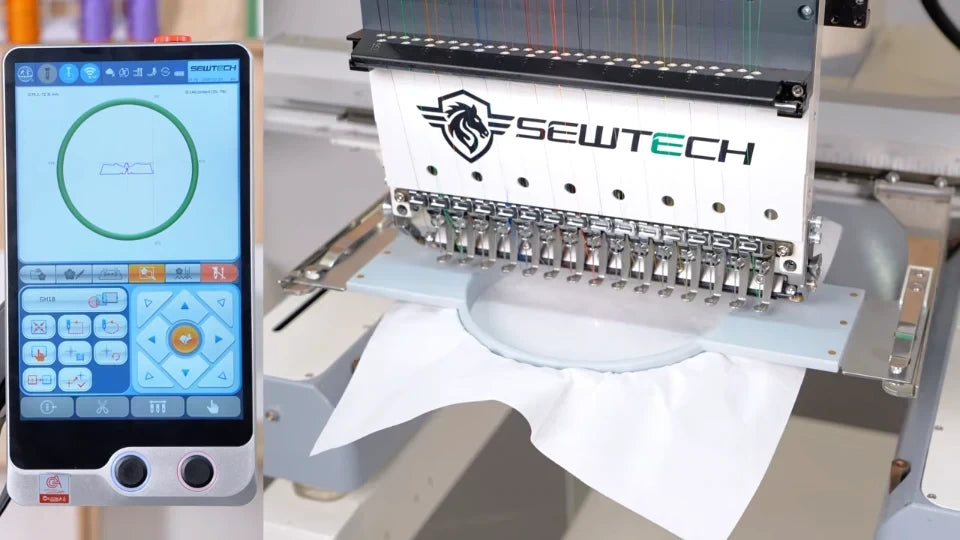
At the start of the trace, watch the mounted hoop and the machine parts around it.
As the machine moves the hoop, check the clearance between the hoop rim and nearby parts.
After tracing, the main screen shows the green hoop boundary with the alert cleared.