Adjust Embroidery Thread Tension on the ST-1501

Overview
On the ST-1501, check the upper thread path and hooping first, then set the bobbin tension before changing any upper tension knobs. Use the back of a satin-column sample to decide what to adjust and sew a second row to check the result.
Prepare the bobbin and case, a small flat-blade screwdriver, a hoop with fabric and suitable stabilizer, and a satin-column tension test design. The video tests needles 1–15 on the same sample.
Step-by-step guide
1. Check the upper thread path
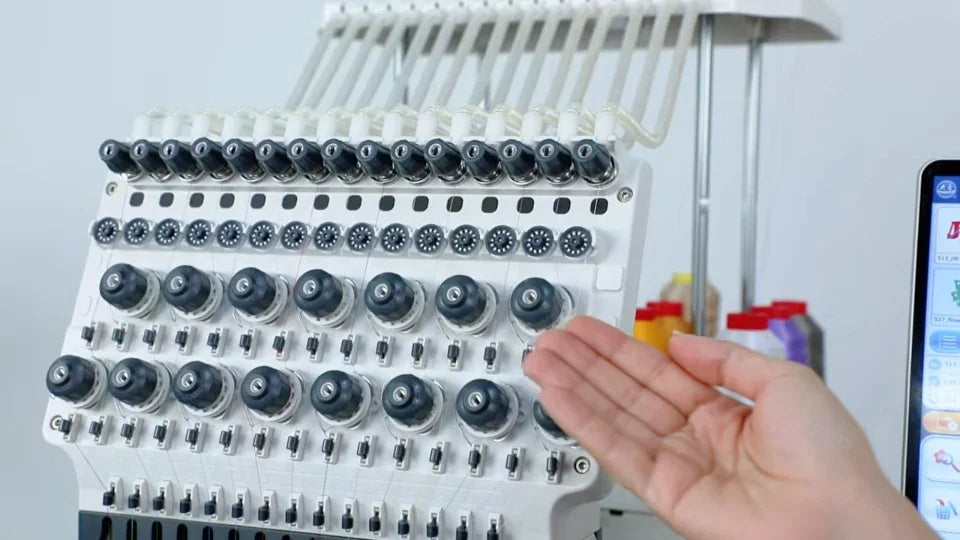
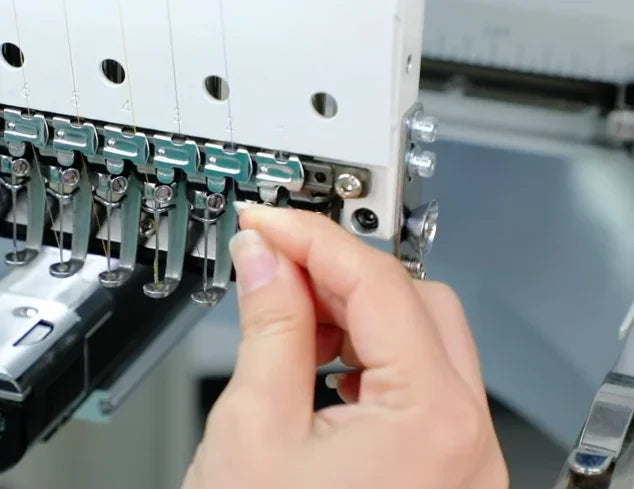
Watch at 00:10Follow the upper thread from the guides and tension assembly on the front of the head down to the needle. Gently pull the tail near the needle. You should feel steady resistance as the thread feeds. If it catches or the resistance changes, rethread and pull again before turning a tension knob.
2. Check the fabric and stabilizer in the hoop
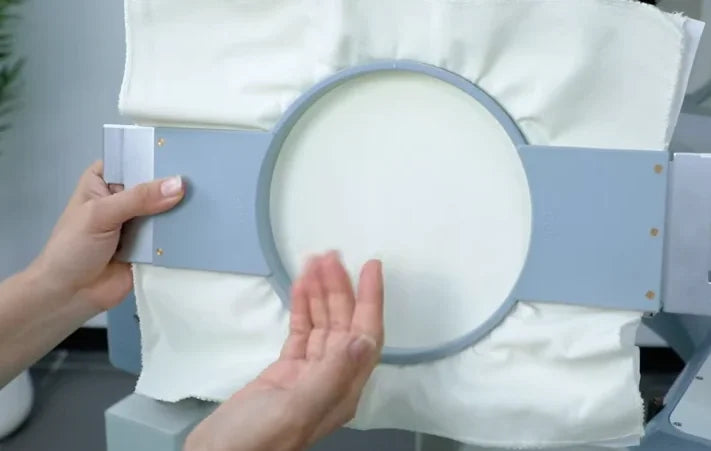
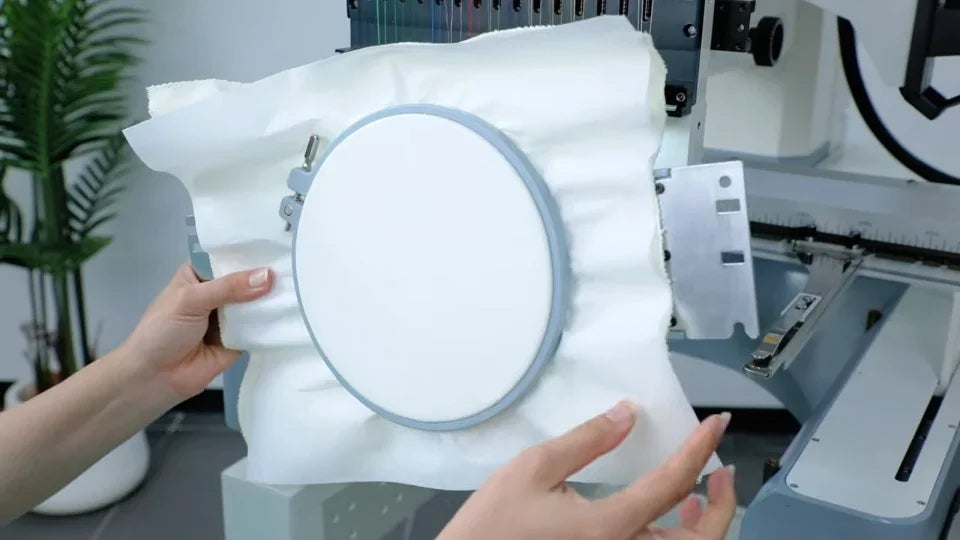
Watch at 00:35Check the fabric inside the ring. It should lie flat and wrinkle-free with no overstretching. Tap the center lightly with a finger. The video uses a light drum-like sound as a sign that the fabric is held firmly. Check the stabilizer on the reverse and use one suited to your material.
3. Remove the bobbin case and free the thread tail
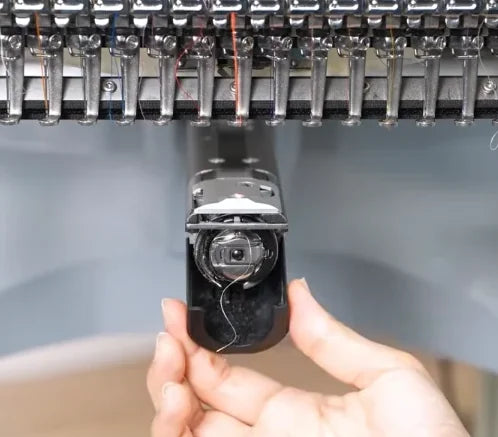
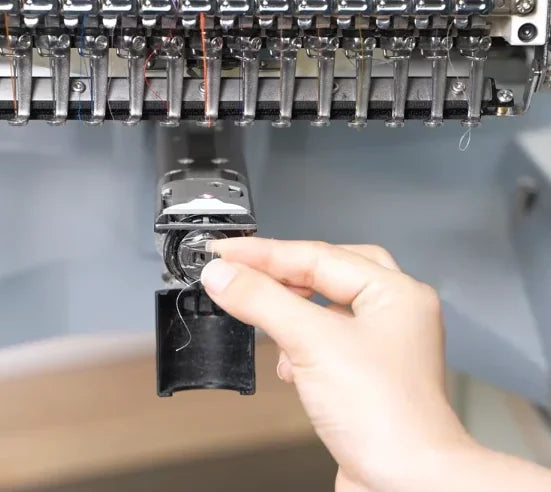
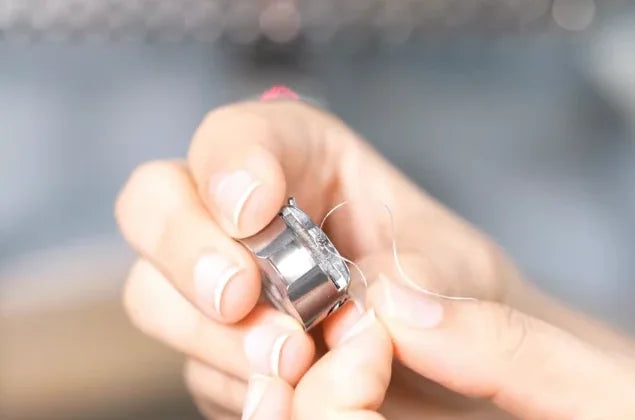
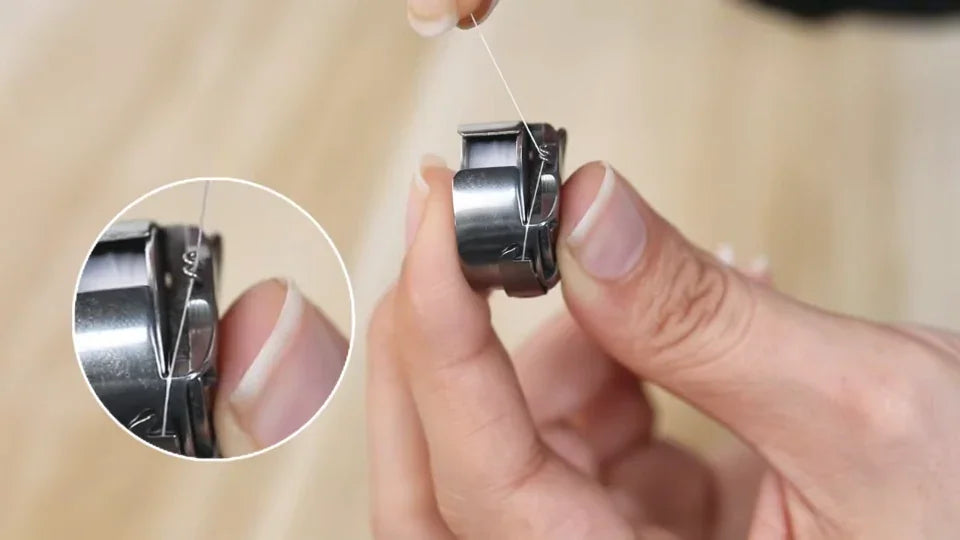
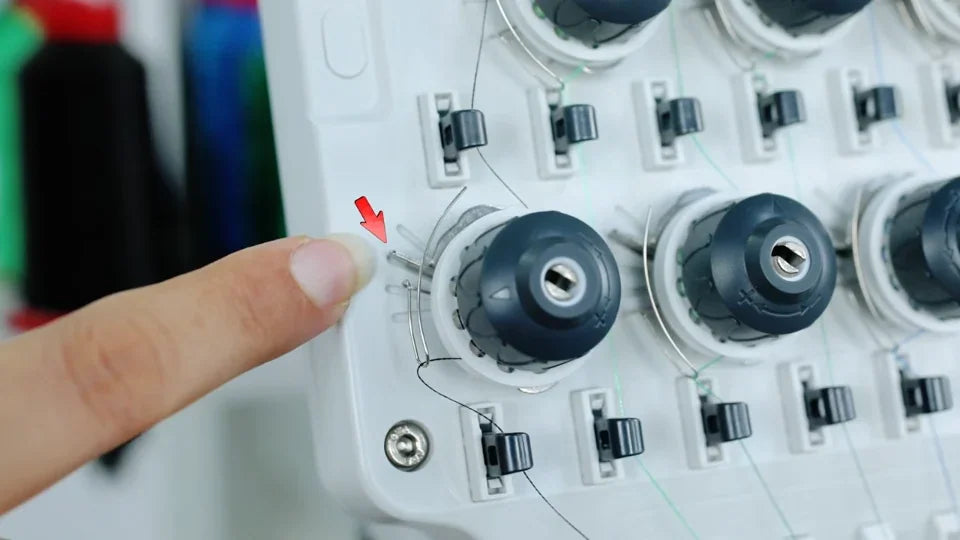
Watch at 01:03With the machine stopped, open the black bobbin cover below the needle head. Pull out the bobbin case by its latch. At the side of the case, unhook the tail from the small wire spring for the drop test. Keep the thread routed under the flat tension spring so the test still measures the case tension.
4. Suspend the case to test bobbin tension
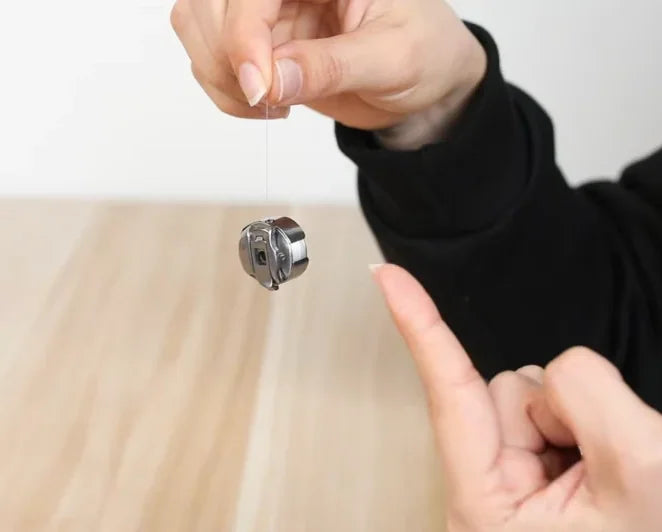
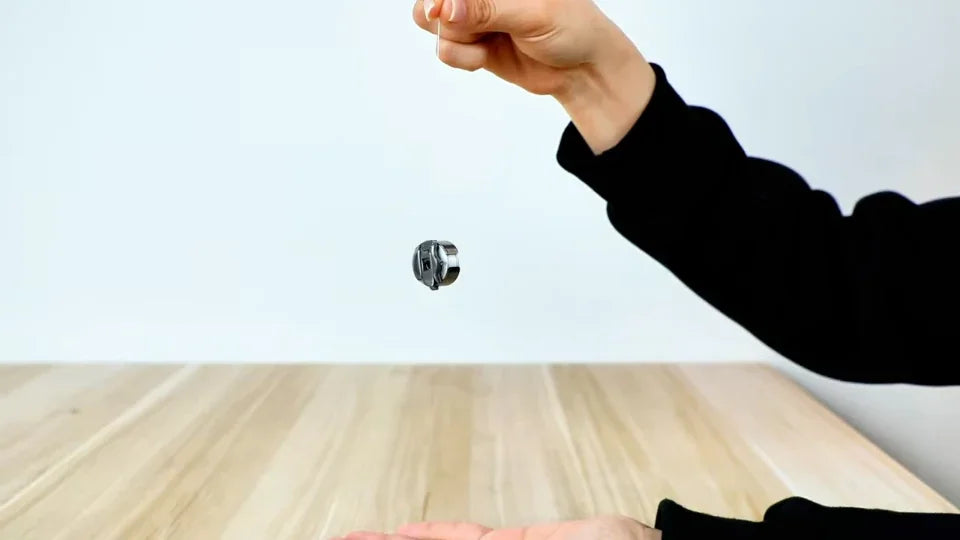
Watch at 01:16Pinch the bobbin thread above the case and let the loaded case hang freely. Keep your other hand below it to catch it if it falls. Watch whether it runs down by itself. If it hangs still, flick your wrist and watch how far and how smoothly it moves.
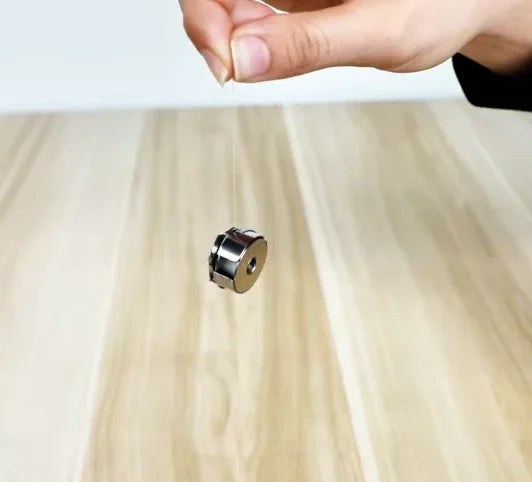
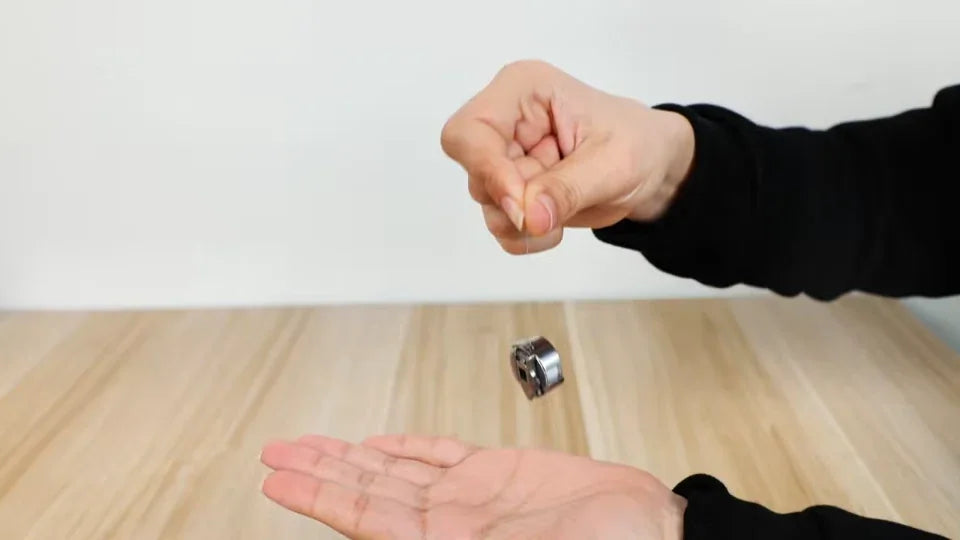
5. Tighten the bobbin screw if the case falls by itself
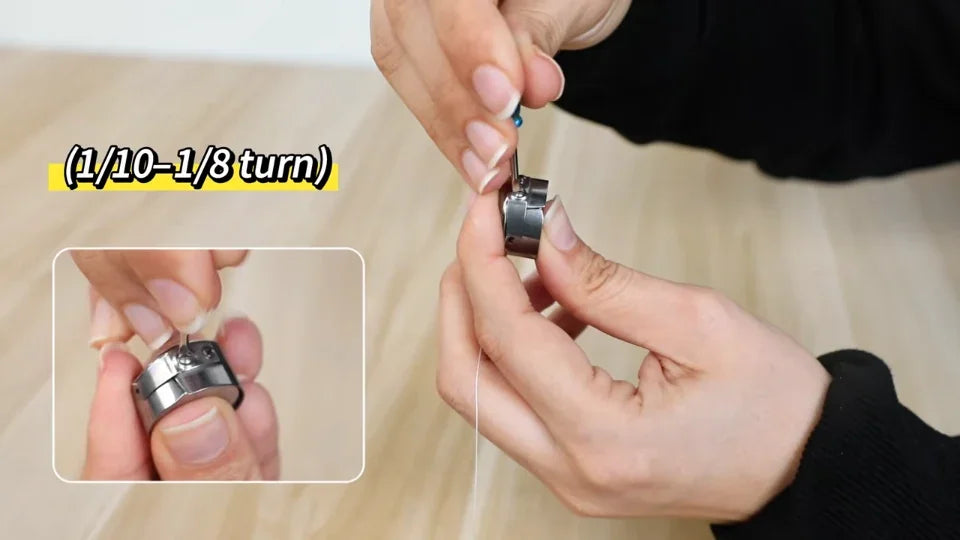
Watch at 01:27A case that drops quickly under its own weight indicates loose bobbin tension. Place a small flat-blade screwdriver in the larger adjustment screw on the case spring plate. Turn it clockwise about 1/10 to 1/8 of a turn, then hang the case from the thread and test again.
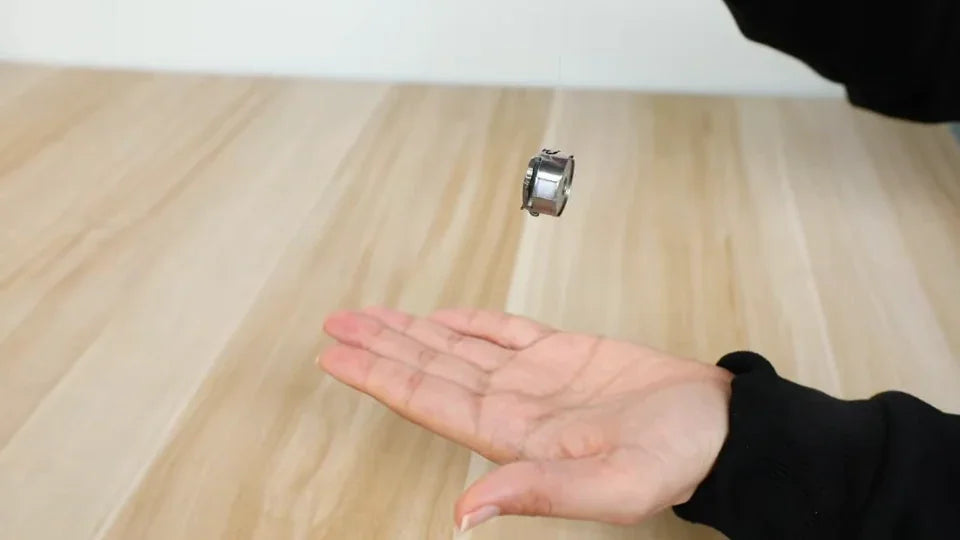
6. Loosen the bobbin screw if the case barely moves
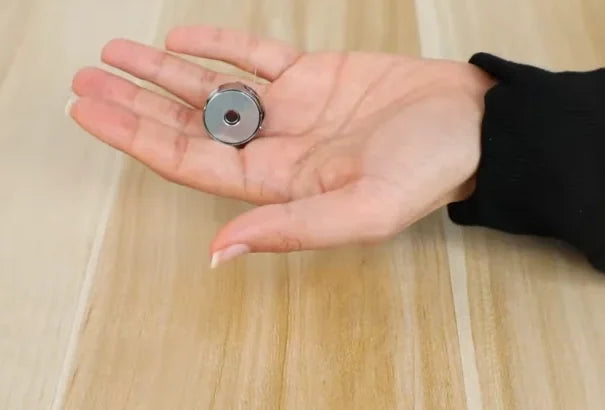
Watch at 02:00If the case stays up or moves very slowly even after a firm shake, the bobbin tension is too tight. Turn the same larger adjustment screw counterclockwise about 1/10 to 1/8 of a turn and test again. The overlay at 02:14 says “Tighten tension” during this counterclockwise adjustment. The narration correctly identifies this direction as loosening.
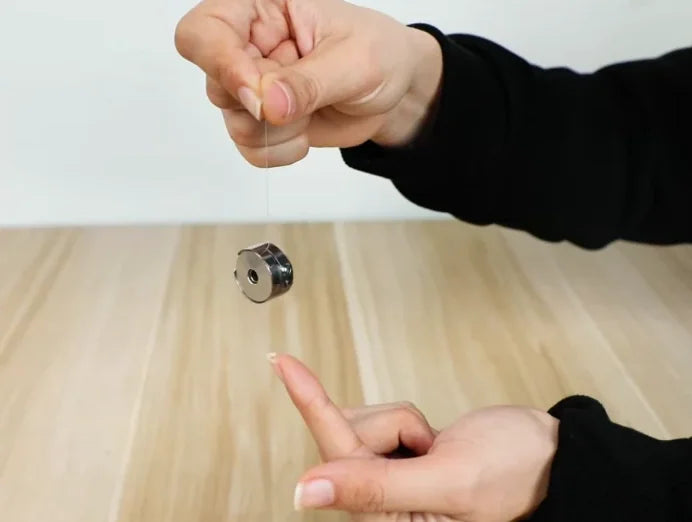
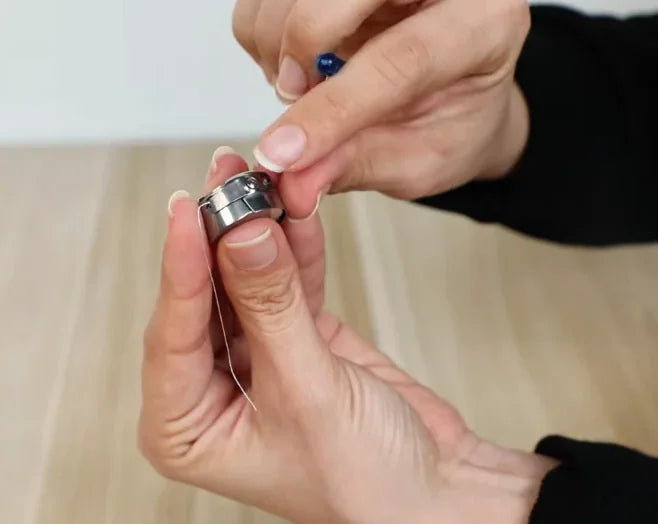
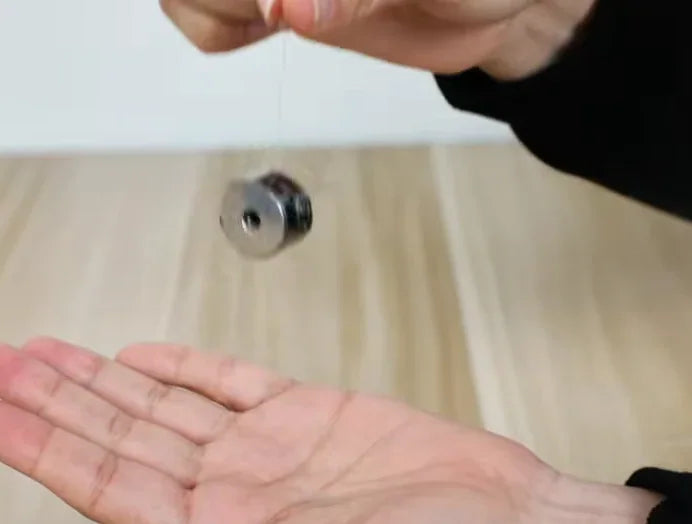
7. Confirm the drop and restore the thread tail
Watch at 02:31The case should hang still at rest. After a gentle wrist flick, it should slide about 3–5 cm (1–2 in) and stop on its own. The video ends this demonstration with the case in the presenter’s hand. Use the stop described in the narration to judge your own test. Guide the tail back around the small wire spring and reinstall the bobbin case before sewing.
8. Select the design and assign needles 1–15
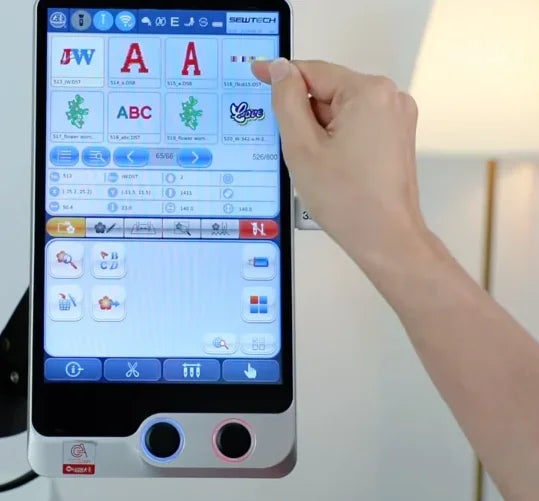
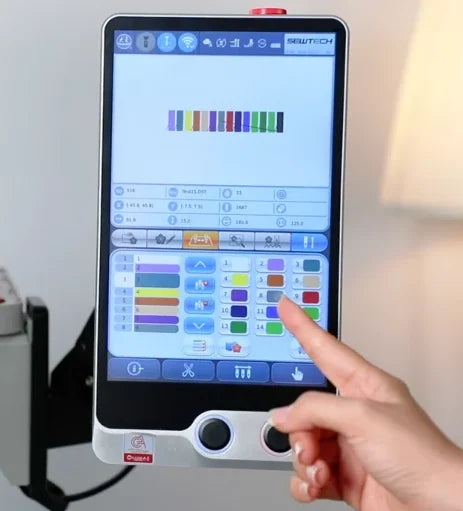
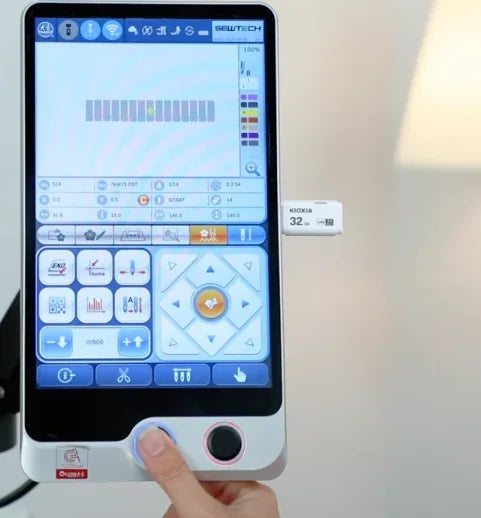
Watch at 02:59Select the satin-column tension test design from the design list. On touchscreen page 3, open the color assignment area and choose needles in order from 1 through 15, as shown in the tutorial. This lets you trace each stitched bar back to its needle when you check the reverse.
9. Select the profile for the mounted hoop
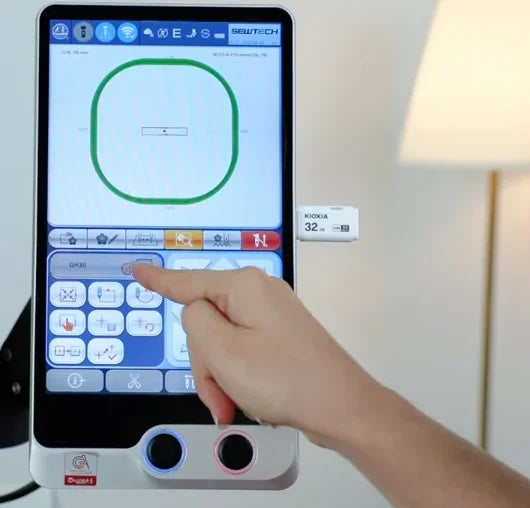
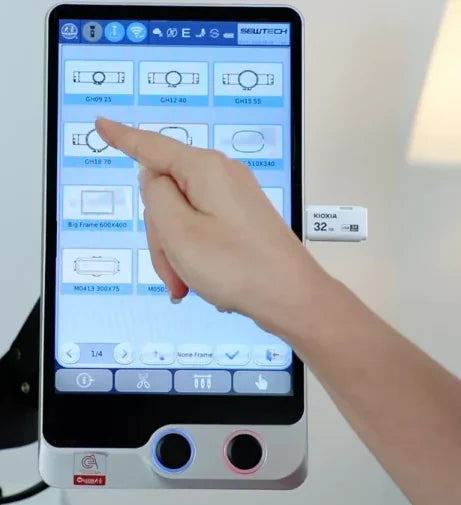
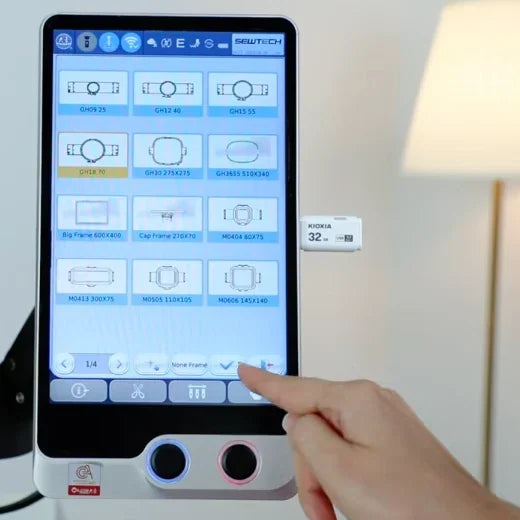
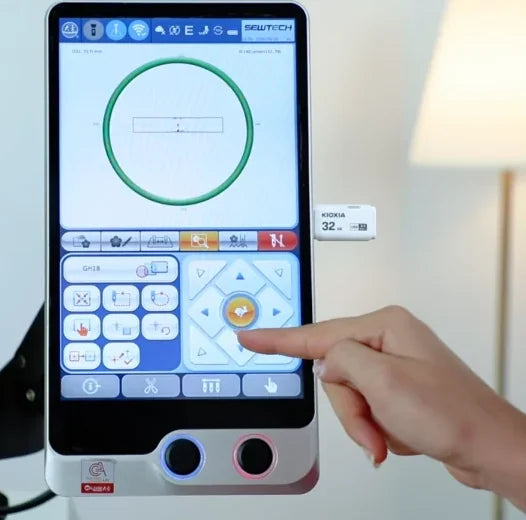
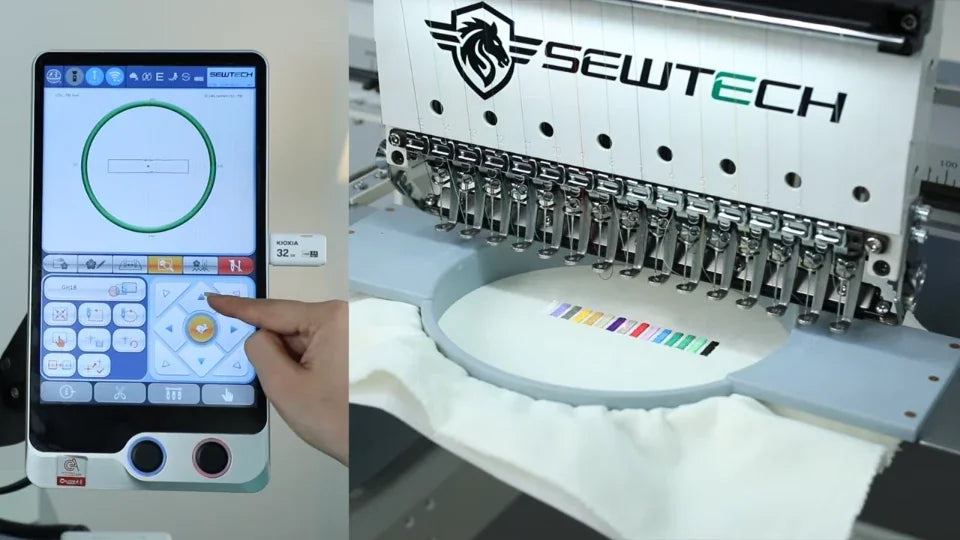
Watch at 03:13Go to touchscreen page 4 and tap the frame selector above the left-hand controls. Choose the profile for the size and shape of the hoop you actually fitted, then tap the check mark. With the demo’s GH18 profile selected, the test design sits inside a green round outline.
10. Position the first row and trace the outline
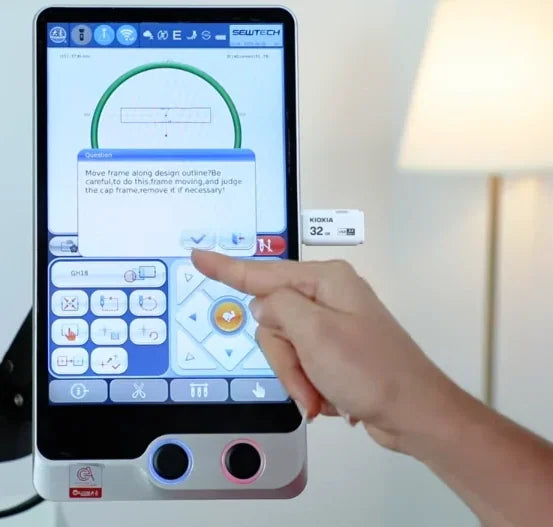
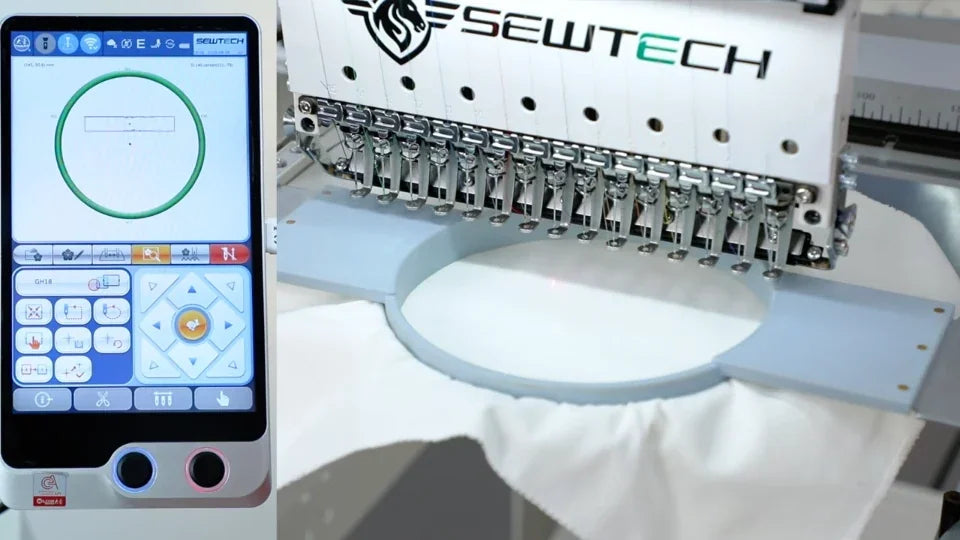
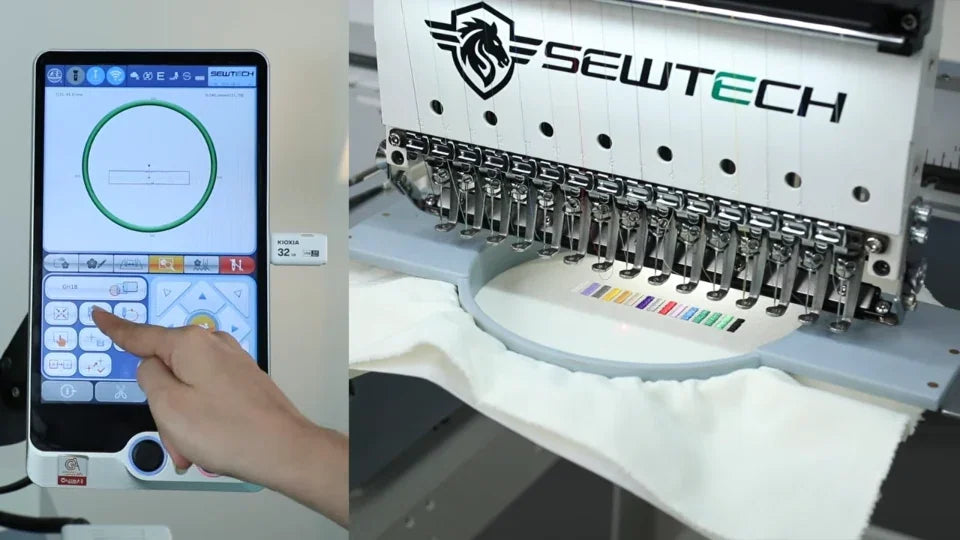
Watch at 03:21Use the arrow pad on page 4 to position the first row, leaving clear space for a second row. Tap the top-middle button in the left control grid to trace the outline and confirm the prompt to move the frame along the design outline. Watch the physical hoop move and verify that the entire trace fits inside the hoop before starting.
11. Sew the first row and turn the hoop over
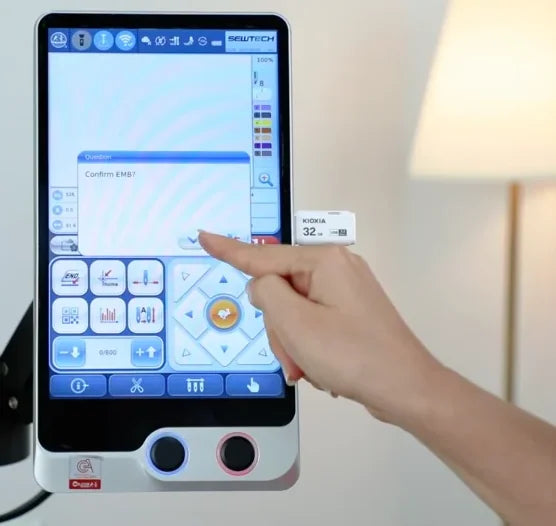
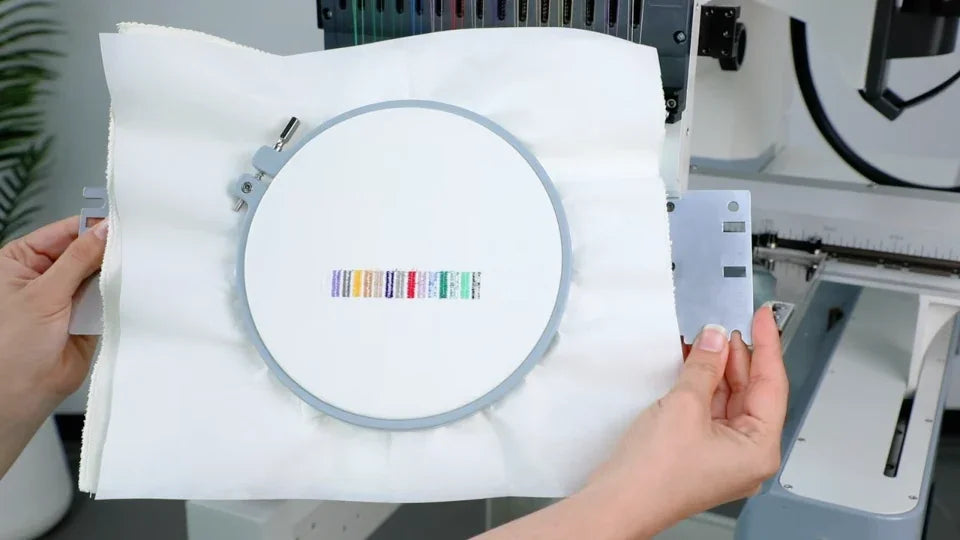
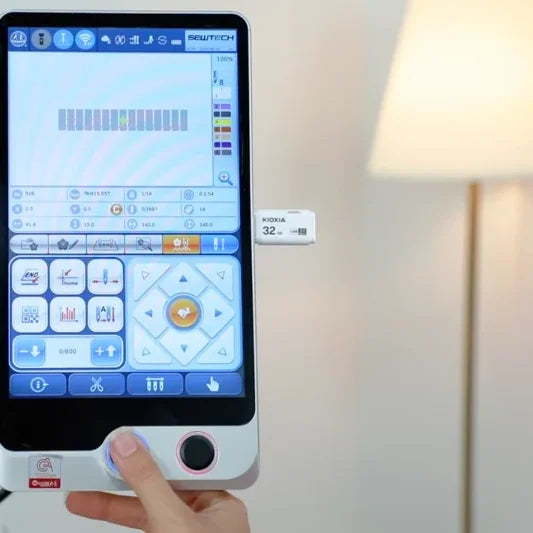
Watch at 03:34After tracing, return to the embroidery view. When the touchscreen asks “Confirm EMB?”, tap the check mark and press the blue-ringed physical Start button below the screen. Wait for the color bars to finish, then remove the hoop and turn it over to inspect the stitches.
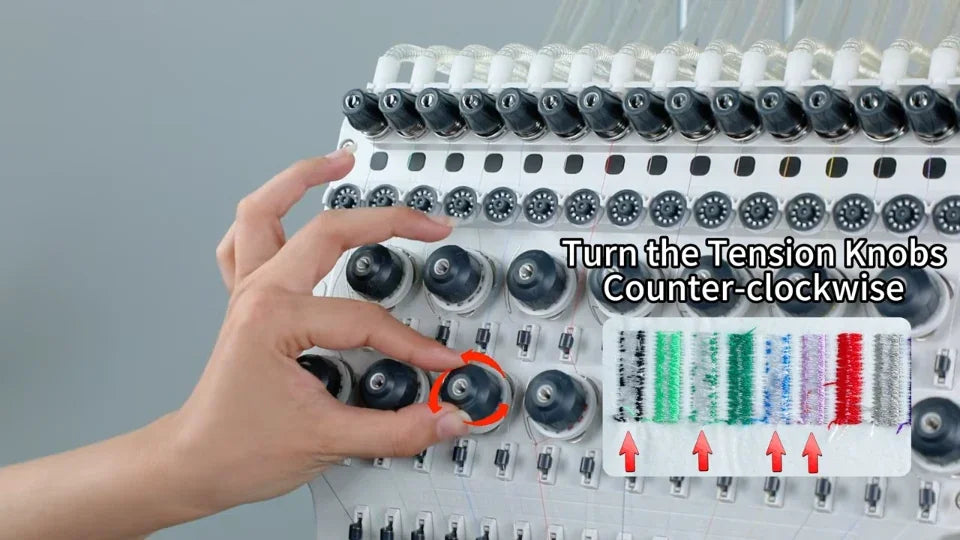
12. Loosen upper tension when the center band is too wide
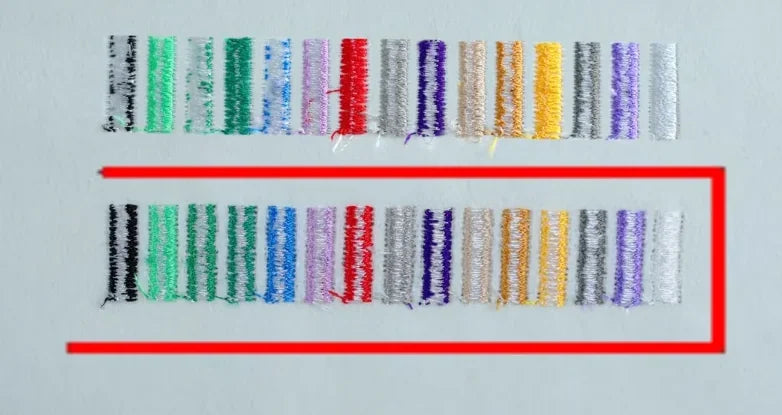
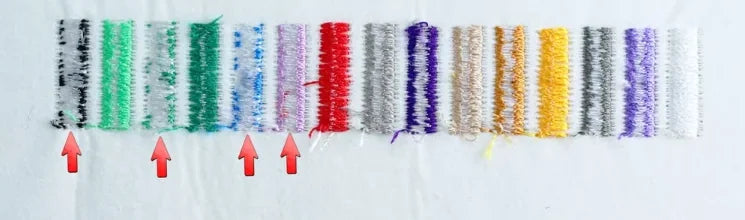
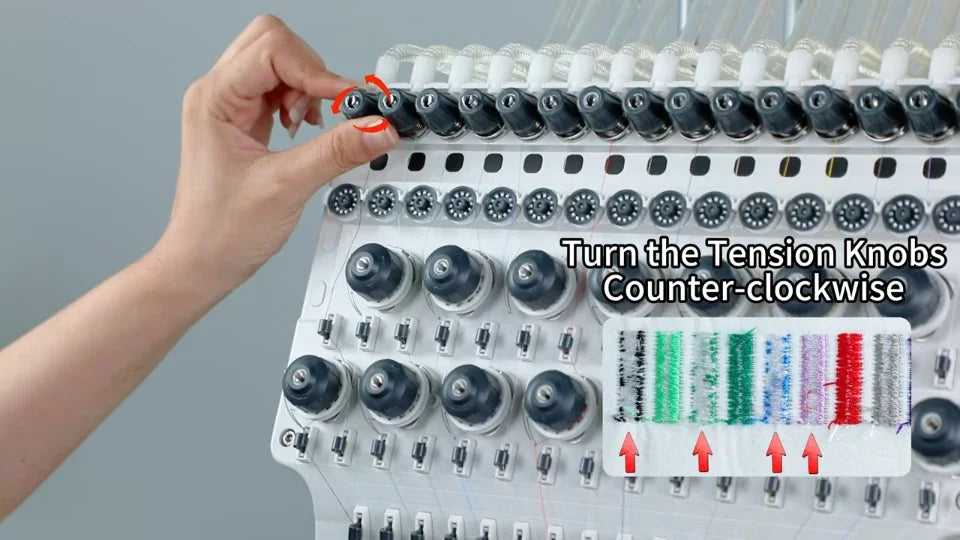
Watch at 03:52On the back of each satin bar, compare the center bobbin-thread band with the bar’s full width. About one third in the center is the target, with upper thread visible on both edges. If the band is wider than one third, the upper tension for that needle is too tight. With the machine stopped, turn its small top-row knob and the corresponding larger tension knob below slightly counterclockwise, as shown.
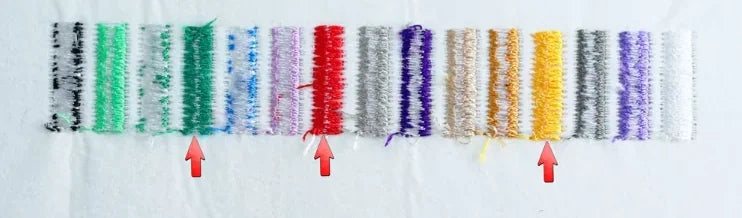
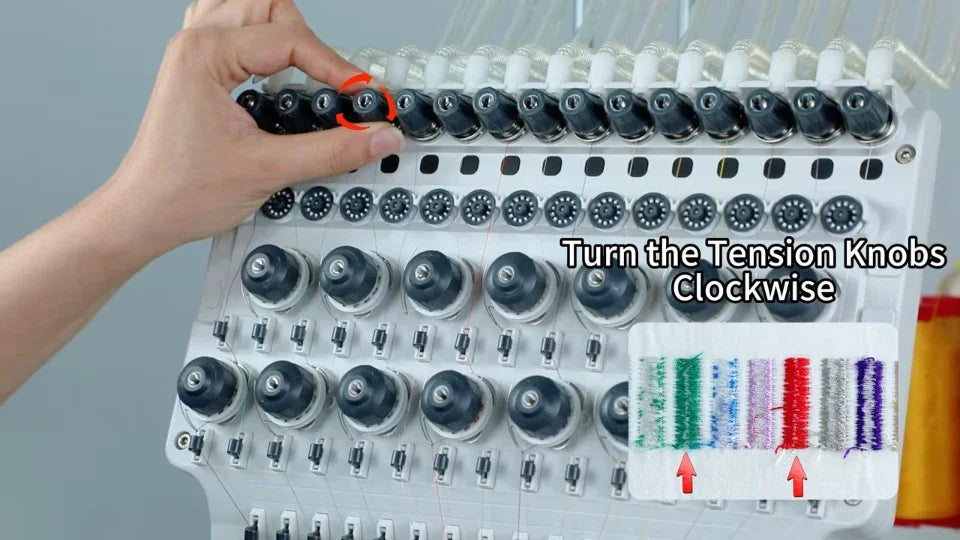
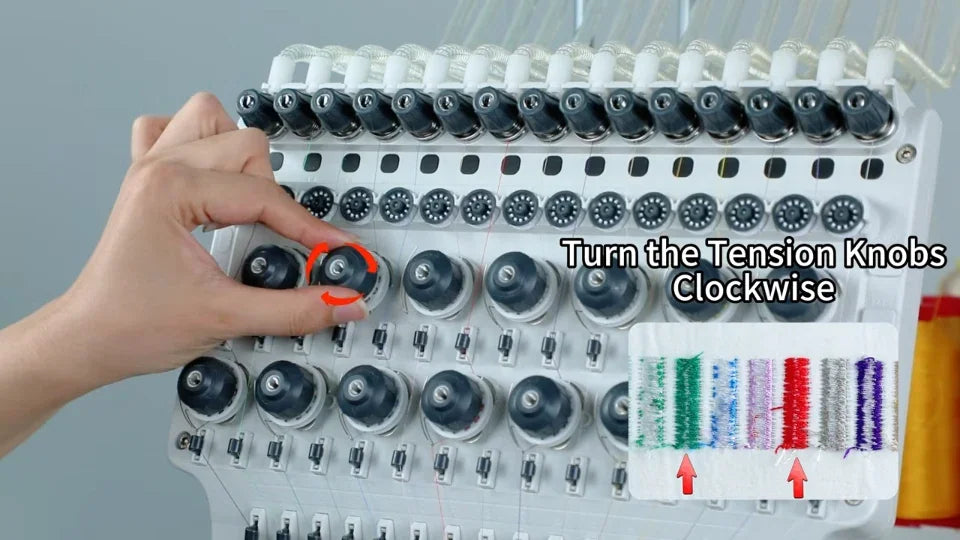
13. Tighten upper tension when the center band is too narrow
Watch at 04:12If the center band is narrower than one third, the upper tension for that needle is too loose in this test. Turn the two corresponding tension knobs slightly clockwise with the machine stopped. Make small changes and sew another sample after each adjustment.
14. Match the thickness level to the fabric stack
Watch at 04:42With the machine stopped, find the four guide positions beside the larger tension knob. The video shows level 1 for very thin or delicate material, 2 for thin fabric, 3 for standard fabric and 4 for thick or multilayer material. The test uses level 3 for its standard fabric and stabilizer. Check the selected position and sew a test after a change.

15. Move to clear fabric, trace again and sew a second row
Watch at 05:58Refit the sample hoop and use the arrow pad to move the design to clear fabric below the first row, as shown. Run the outline trace again to check both hoop clearance and spacing between the rows. When the trace fits, return to the embroidery view and press the blue-ringed Start button to sew the second row.
16. Verify the reverse of the second row
Watch at 06:25Take the hoop off after the second test and compare the two rows from the back. In the video, the lower row is the retest. Check that each satin bar shows a center bobbin-thread band of about one third of its width, with upper thread along both sides. If a bar still differs, adjust the matching needle in small increments and test again.