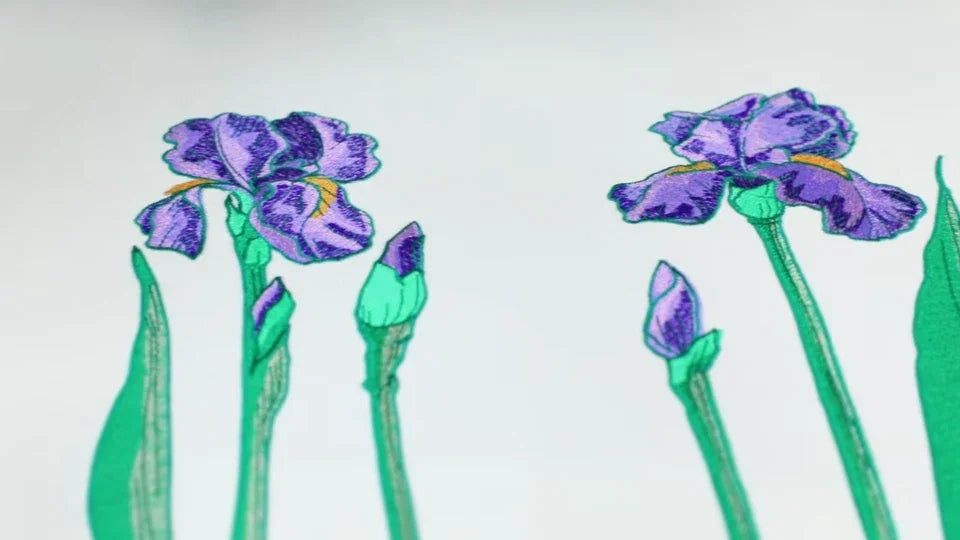
Set Up Flat Embroidery on the ST-1501

Overview
This flat embroidery project uses the table and an aluminum frame to support a larger piece of fabric.
Step-by-step guide
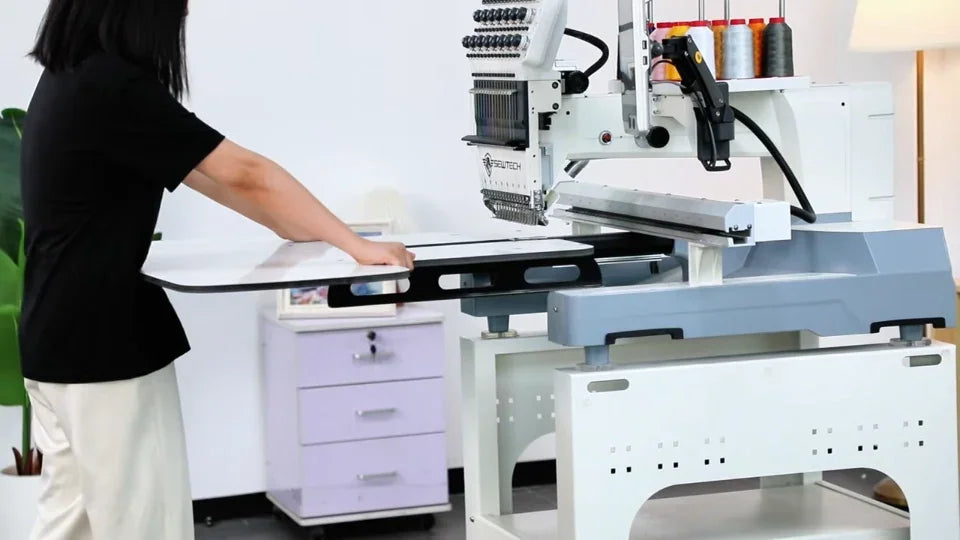
1. Mount the flat table
Watch at 00:20Fit the support brackets to the tabletop and attach it at the machine's mounting points. Check that the surface is stable before hooping.
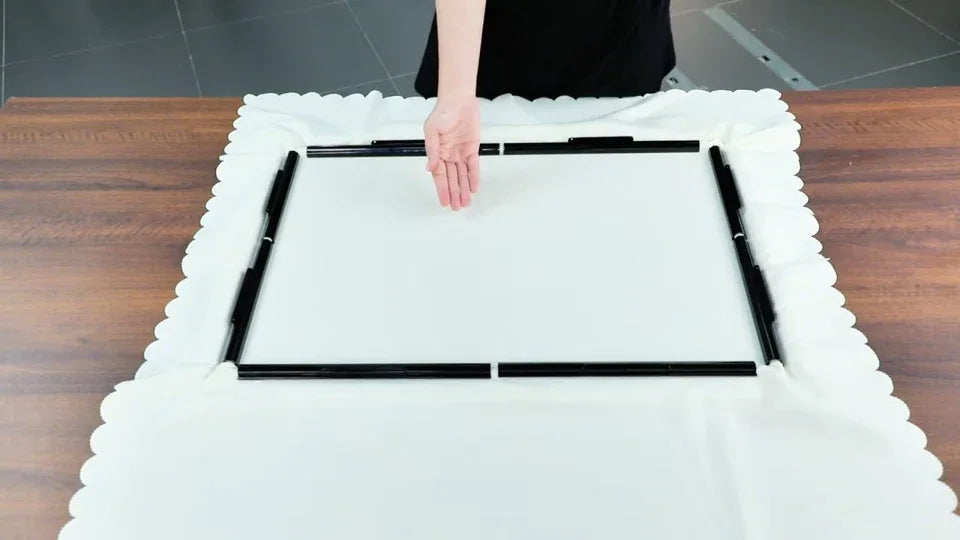
2. Hoop the fabric and stabilizer
Watch at 03:39Place stabilizer behind the fabric and secure the assembly evenly. Check for wrinkles before mounting the frame.
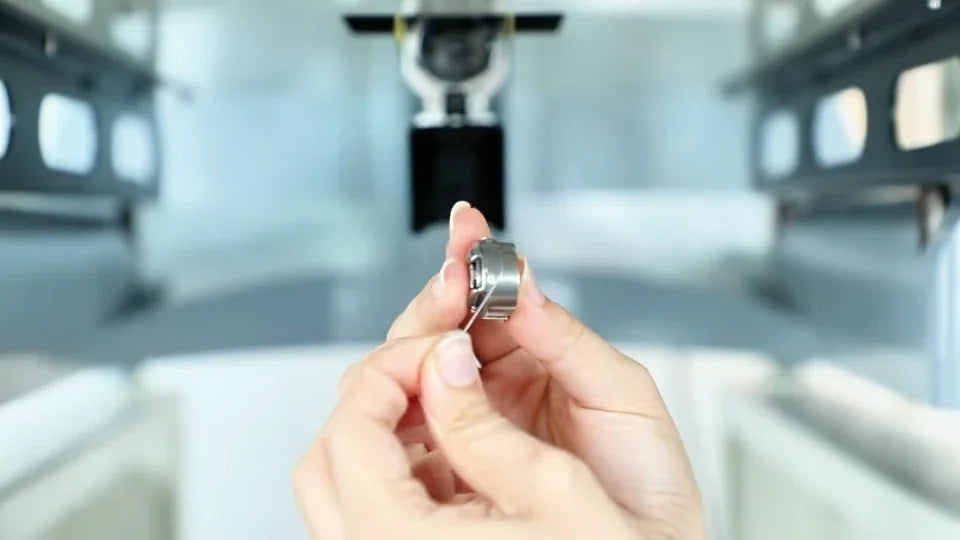
3. Check the bobbin before the run
Watch at 05:41Confirm there is enough bottom thread, then select the design, colors and correct aluminum hoop profile. Use the position controls and trace before starting.
4. Remove the frame after stitching
Watch at 08:20With the machine stopped, loosen the illustrated fasteners and remove the frame using the demonstrated grip. Release the fabric to check the finished stitch-out.