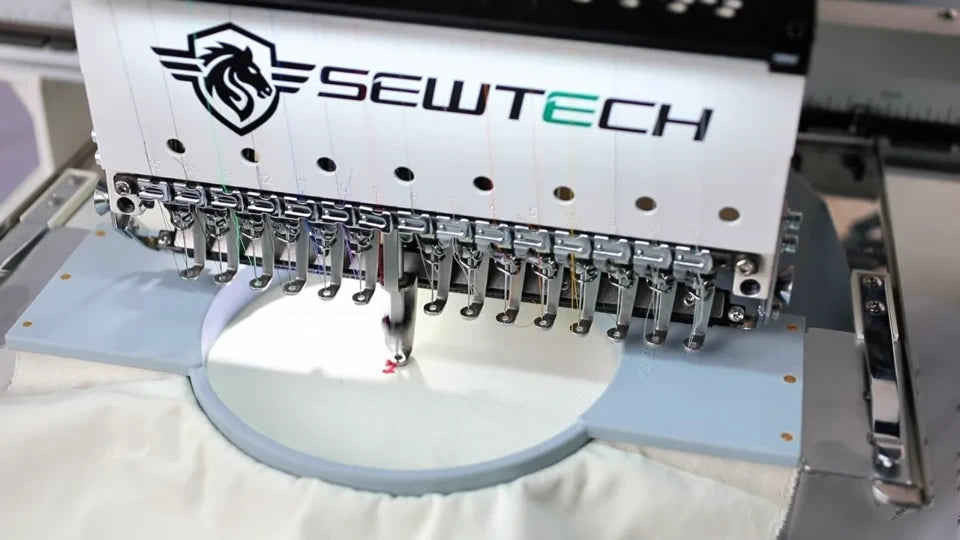
Fix Thread Coming Out After Trimming

Overview
Use this guide for the ST-1501 and SC-1501 when the upper thread repeatedly slips out of the needle eye after automatic trimming. Stop stitching before inspecting the needles. Have a suitable replacement needle, needle-nose pliers and a screwdriver ready for the one-needle check. Keep a piece of hooped scrap fabric for the final trim-and-restart test.
Step-by-step guide
1. Inspect the cut thread tail
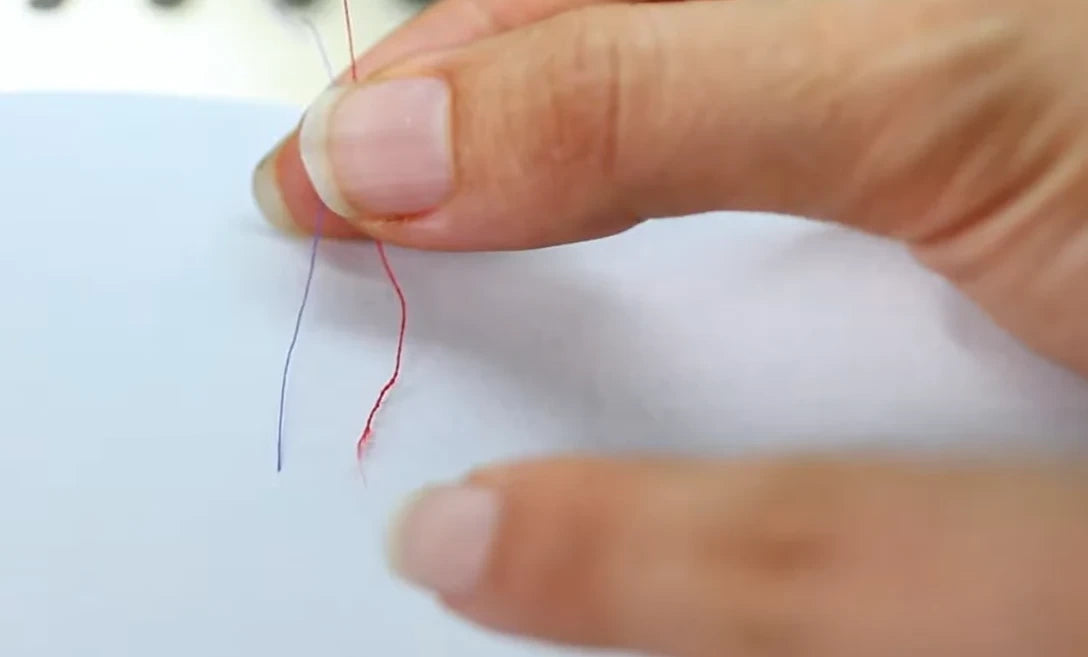
Watch at 00:23After the machine stops, look at the upper thread tail against a light background. An occasional pullout can happen. If it repeats, compare the cut ends. A clean end makes a needle problem less likely. A ragged or frayed end is a reason to inspect that needle.
2. Check which needles are affected
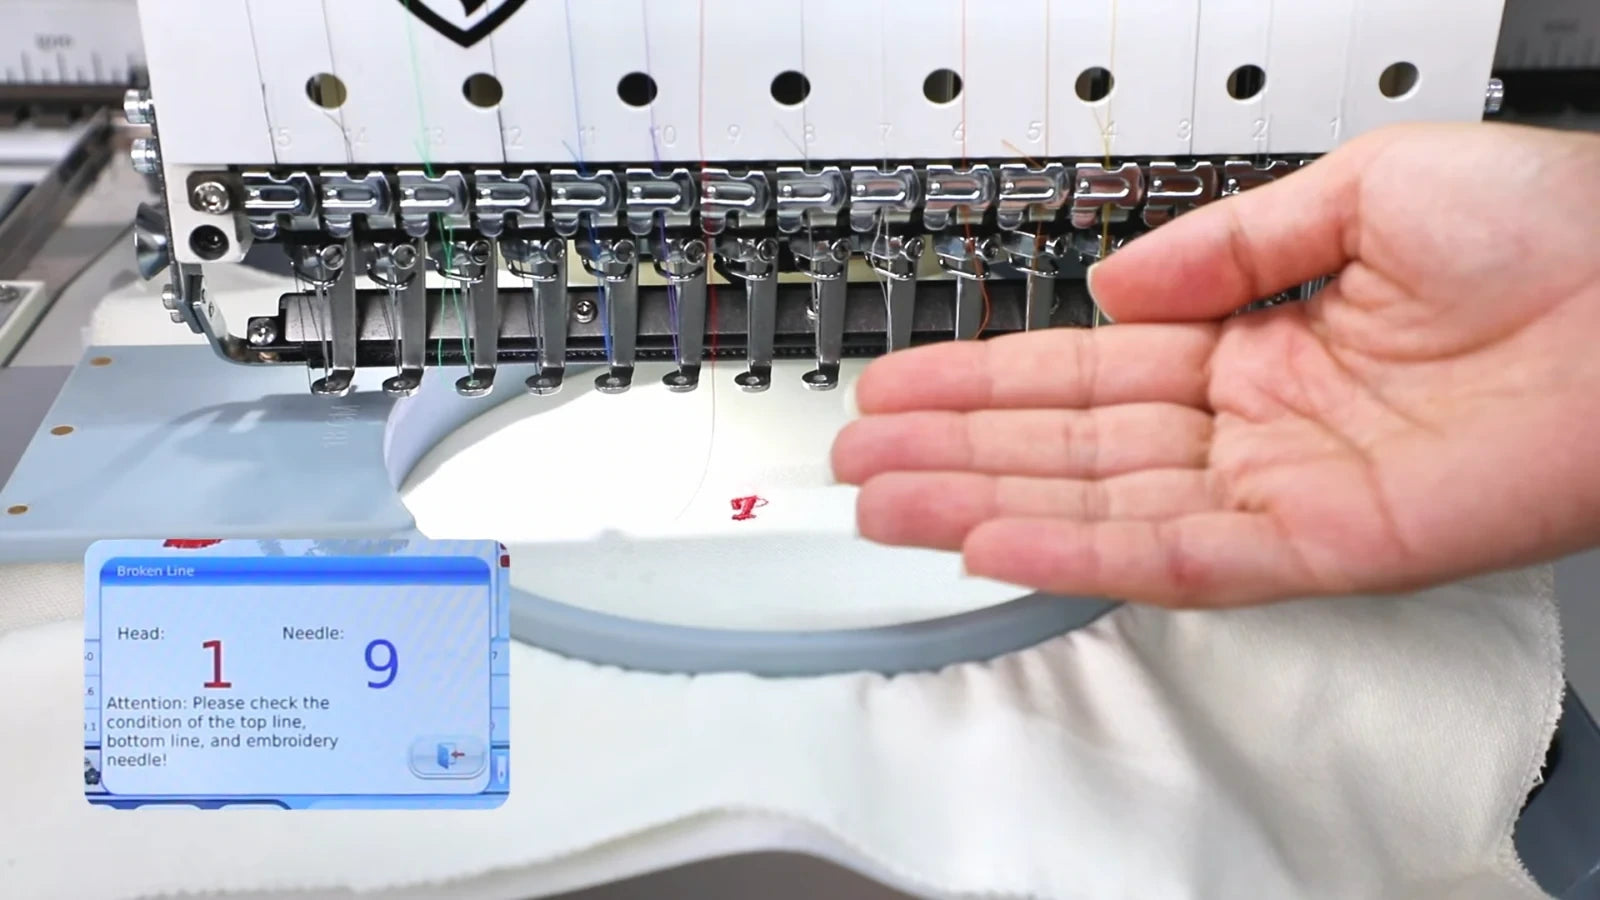
Watch at 00:41Note which needle lost its thread after trimming and compare it with other needles. If the symptom follows one needle, check that needle, its threading and its upper tension. If several needles repeatedly lose their thread after trimming, continue to the trim-length check.

3. Replace and orient the affected needle
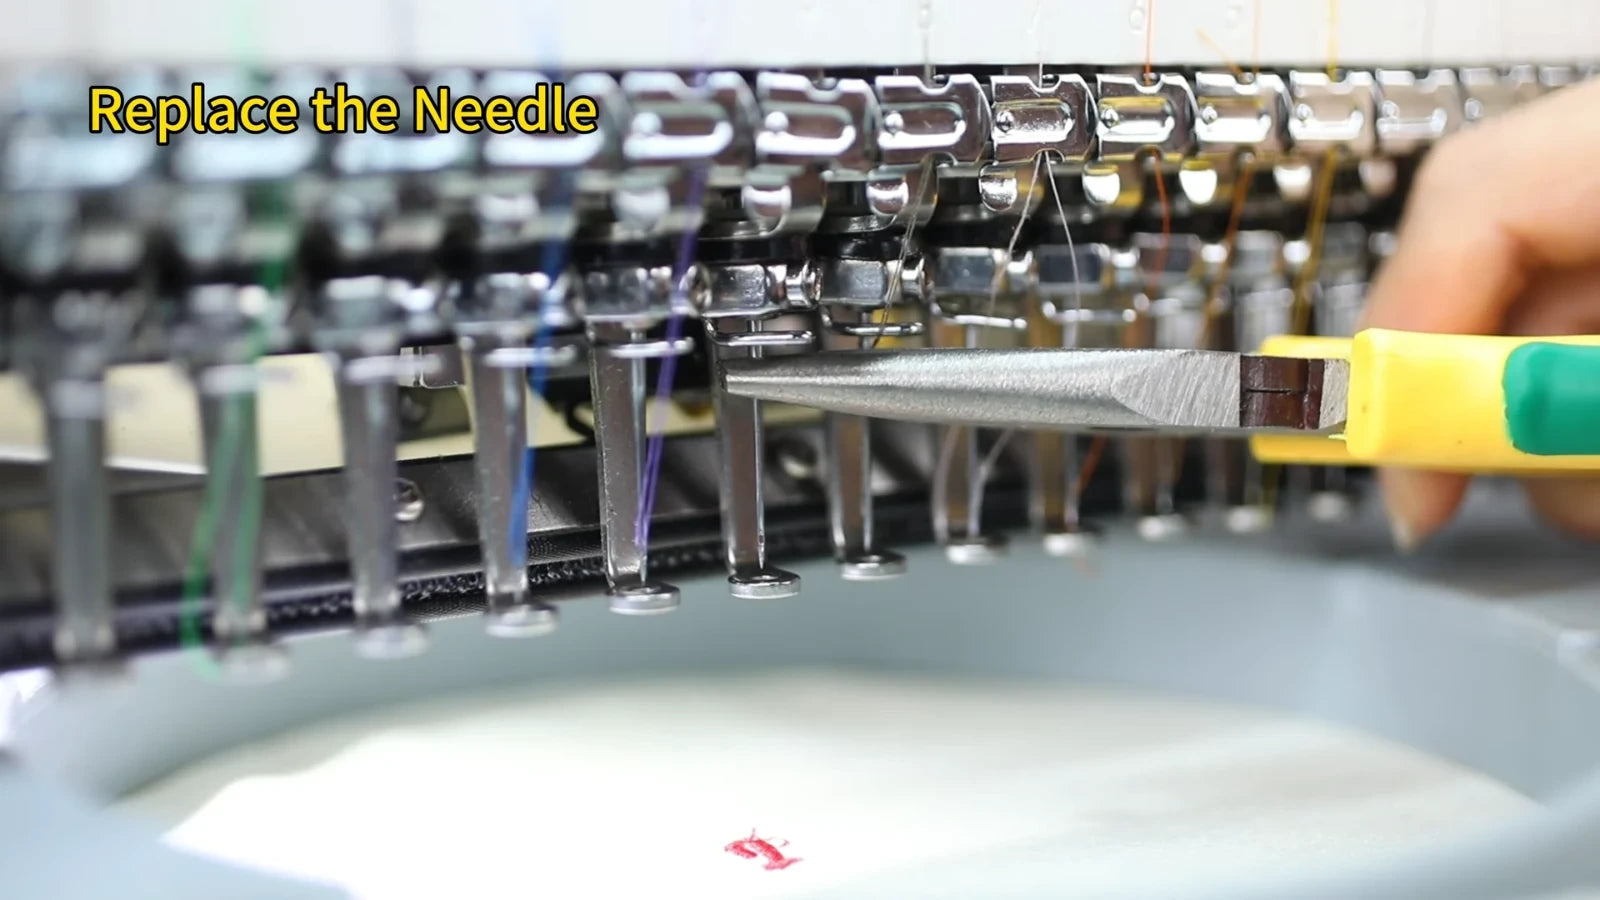
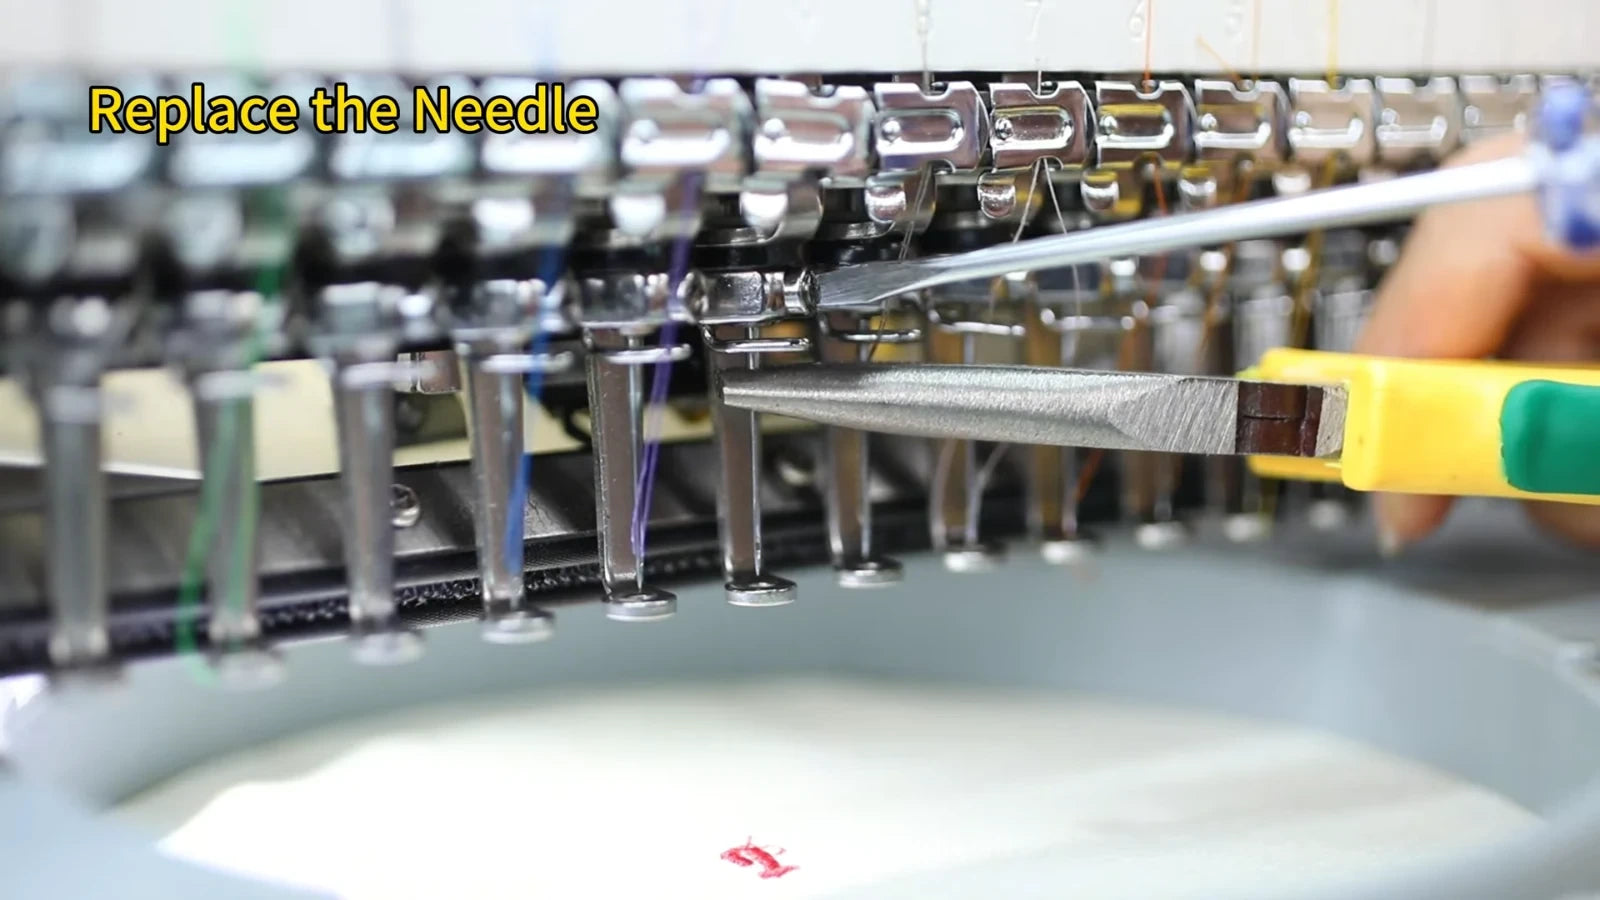
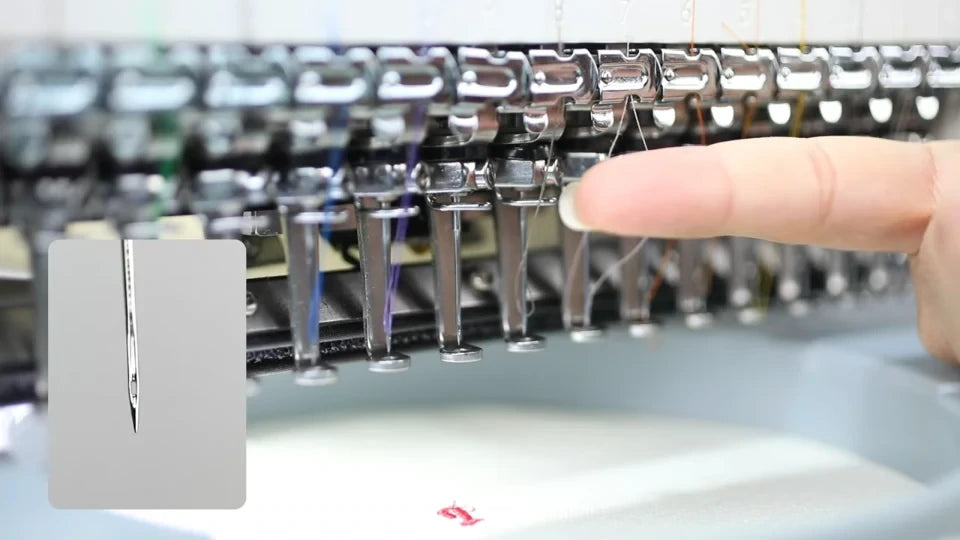
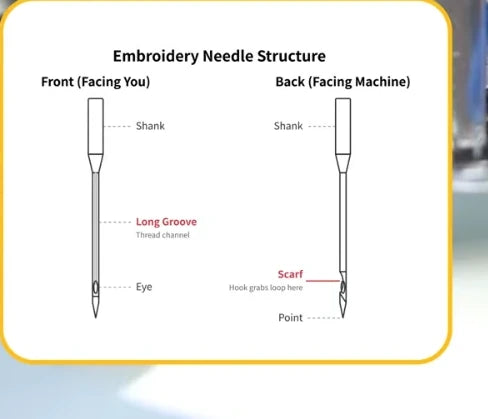
Watch at 00:55Switch the machine off before replacing the needle. Hold the affected needle with needle-nose pliers and loosen the clamp screw above it. Withdraw the old needle downward. Push the replacement fully up into the clamp with its long groove facing you and its scarf (the recess above the eye) facing the machine. Hold it in that position while tightening the screw.
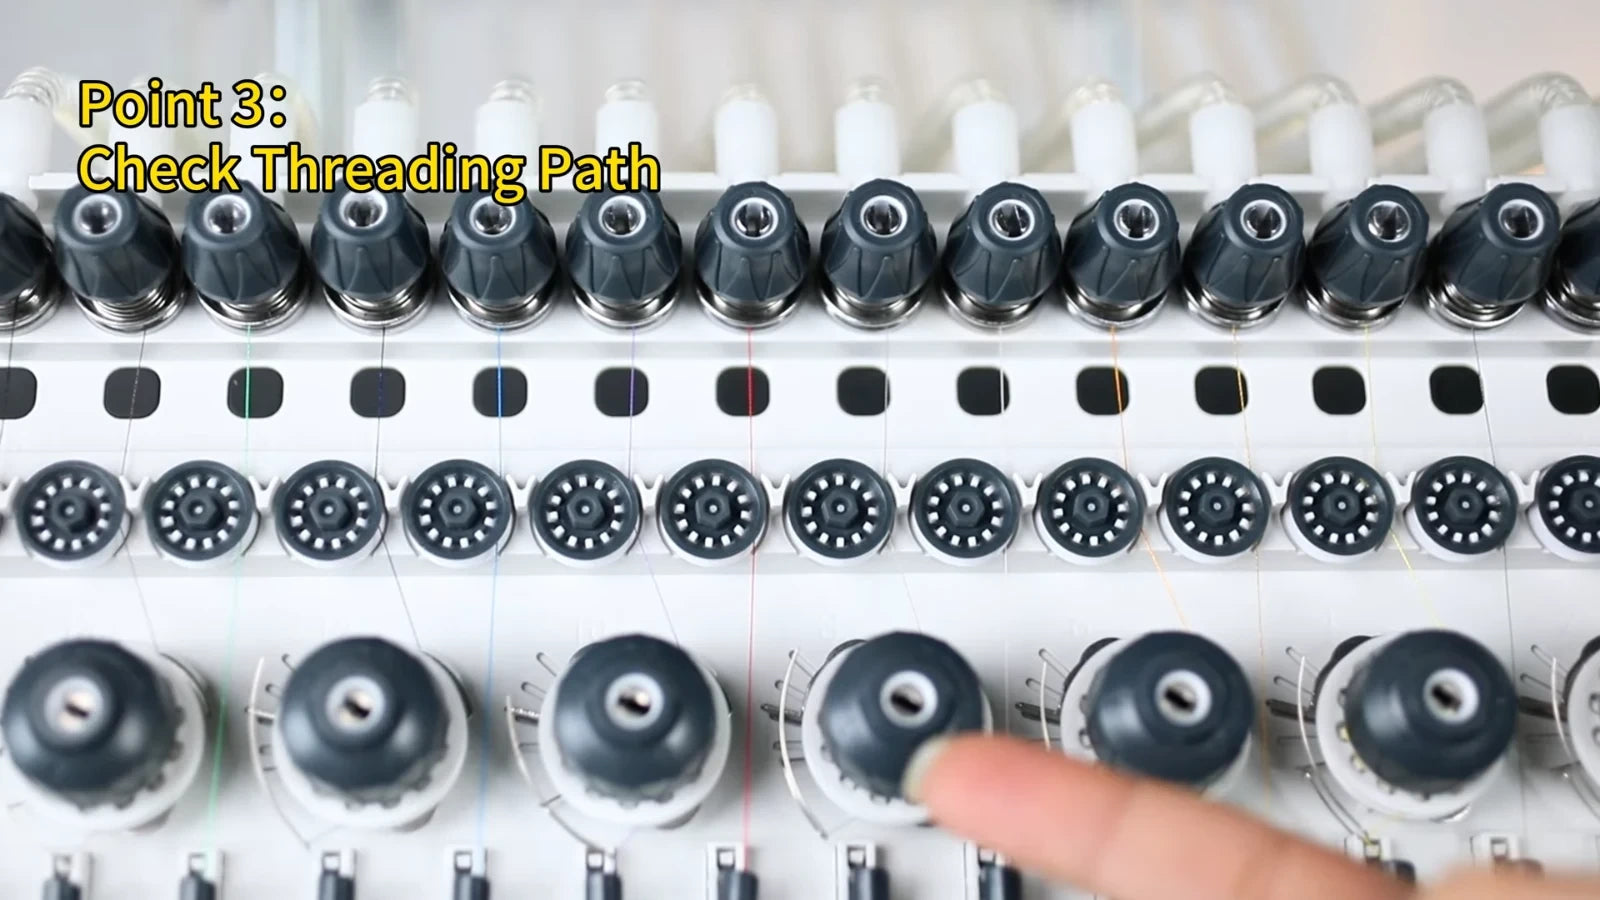
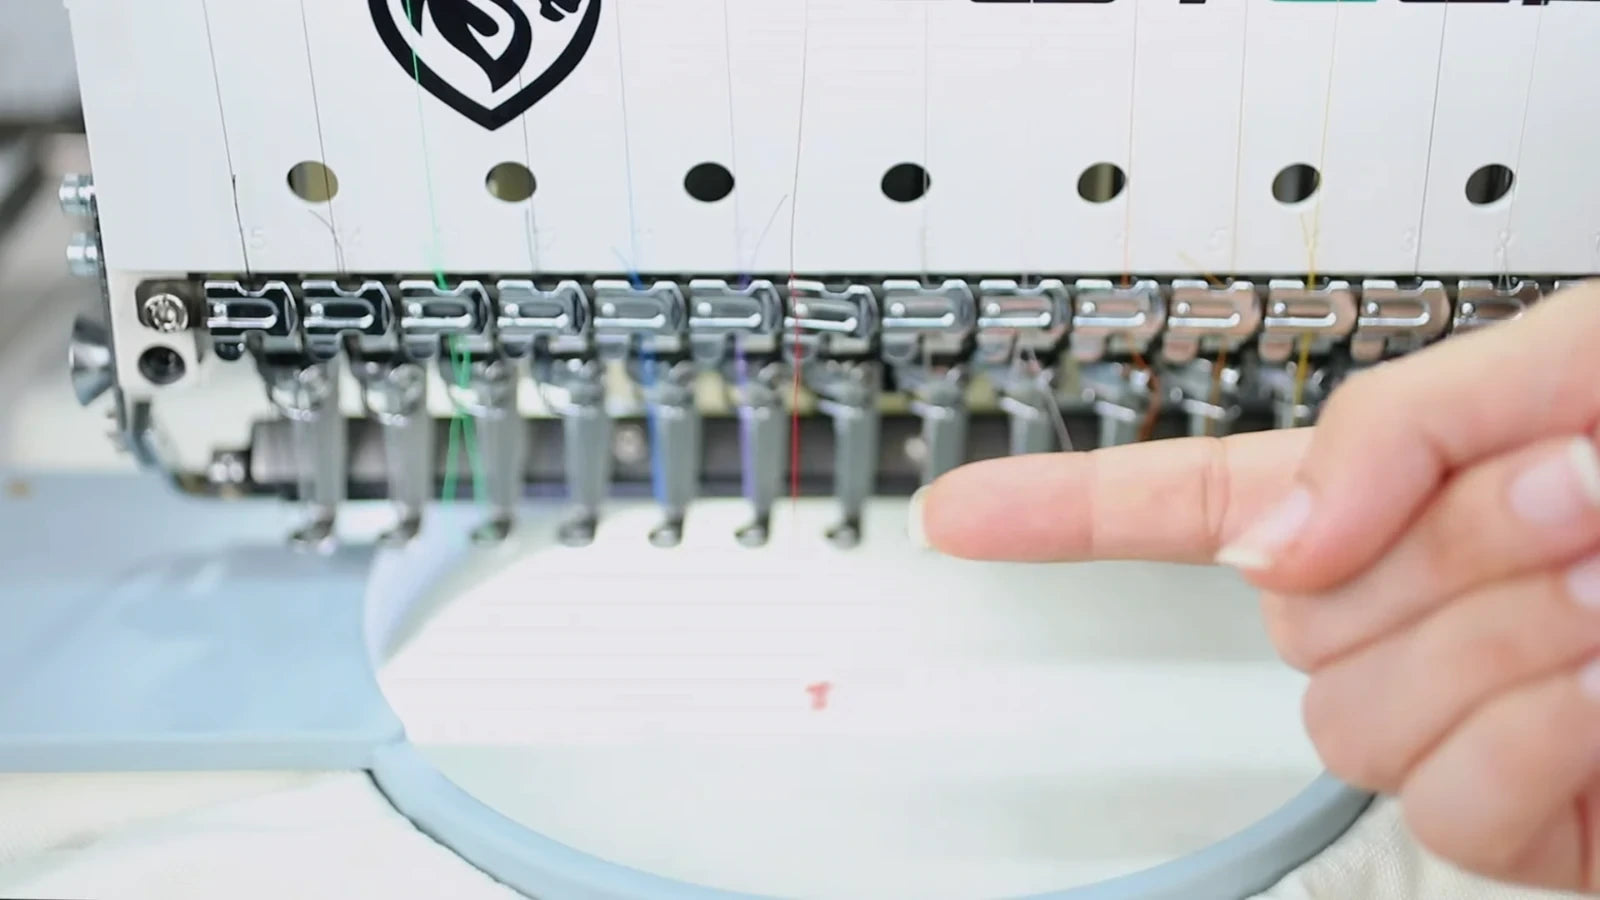
4. Follow the entire threading path
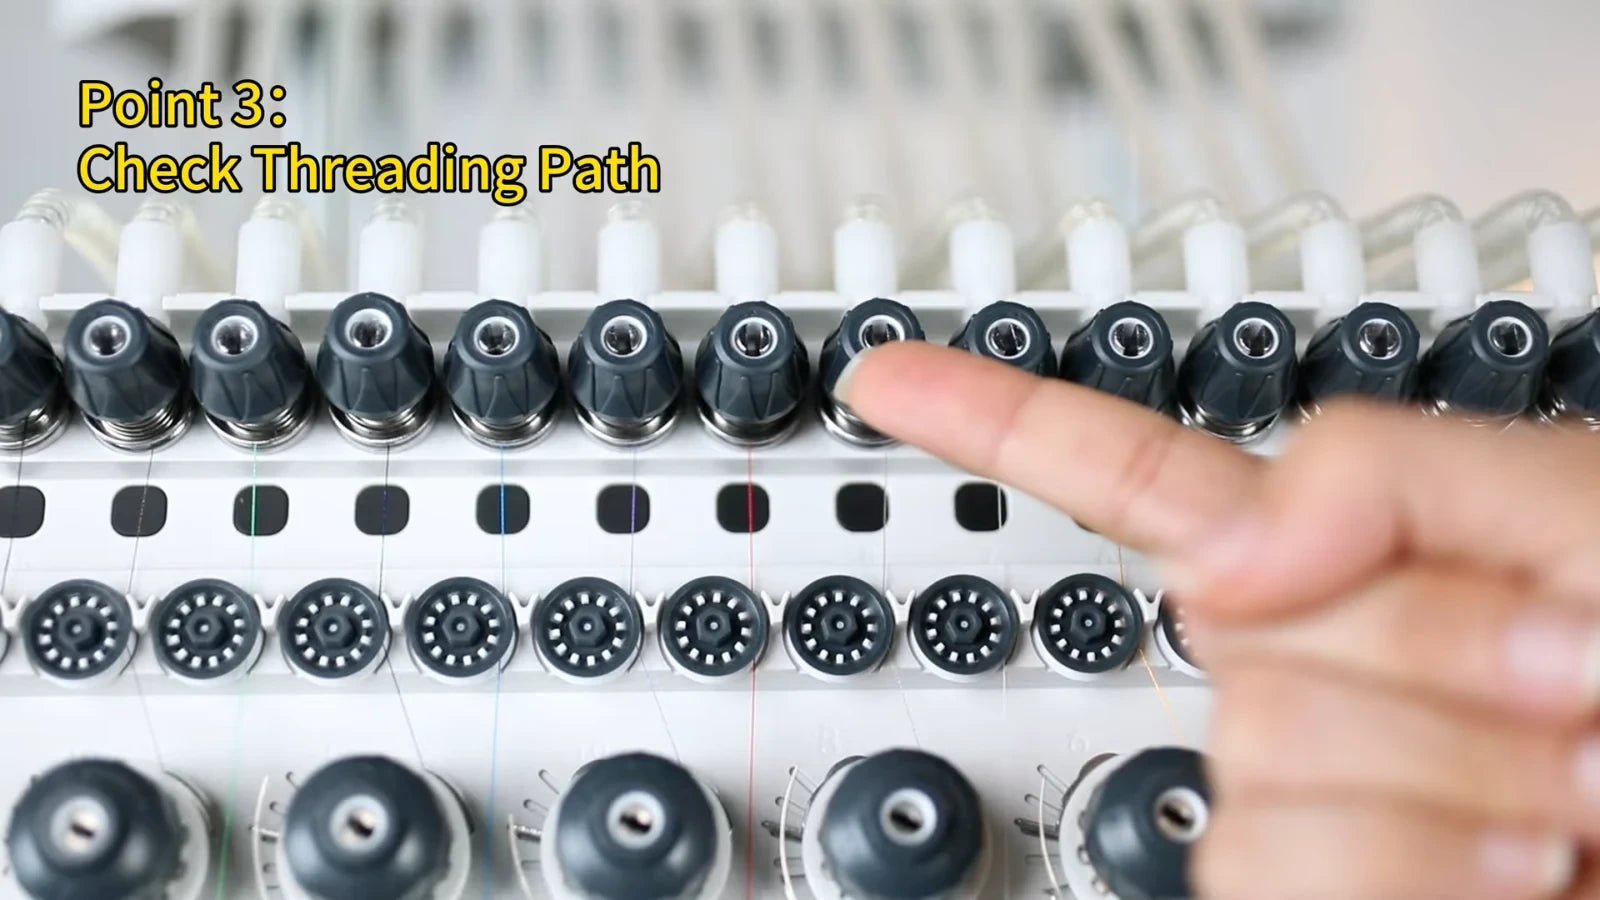
Watch at 01:13Follow the affected color from the upper tension assembly, past the thread wheels and lower guides, down through the take-up area to the needle eye. Check each guide in order for a missed guide or a thread that has slipped out, then rethread that position if needed.

5. Ease the affected needle’s upper tension if tight
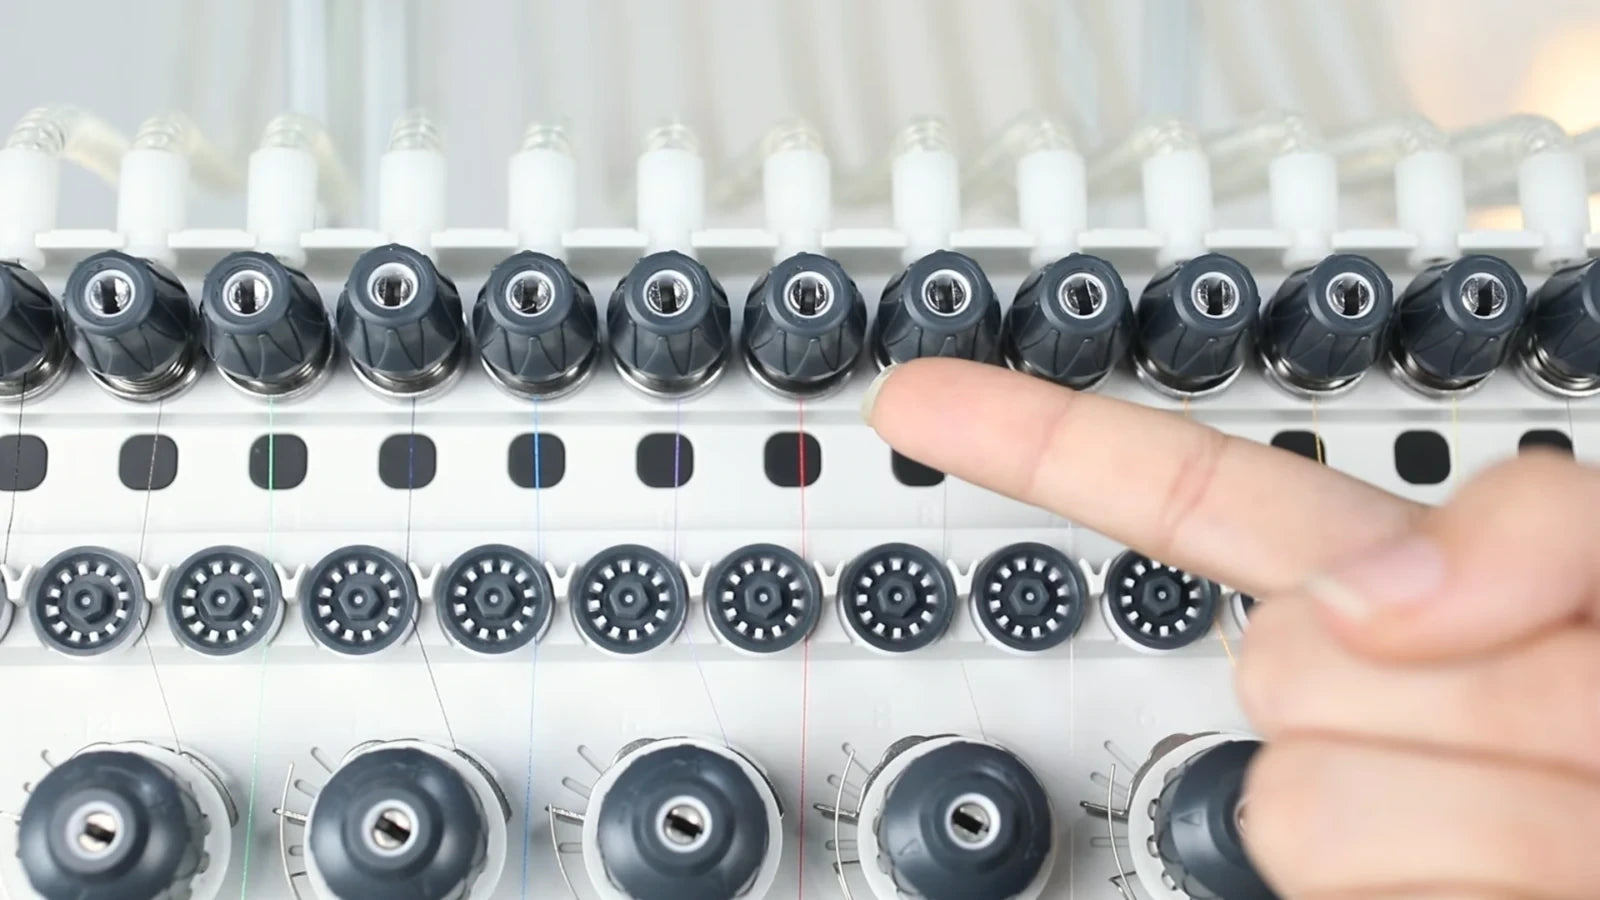
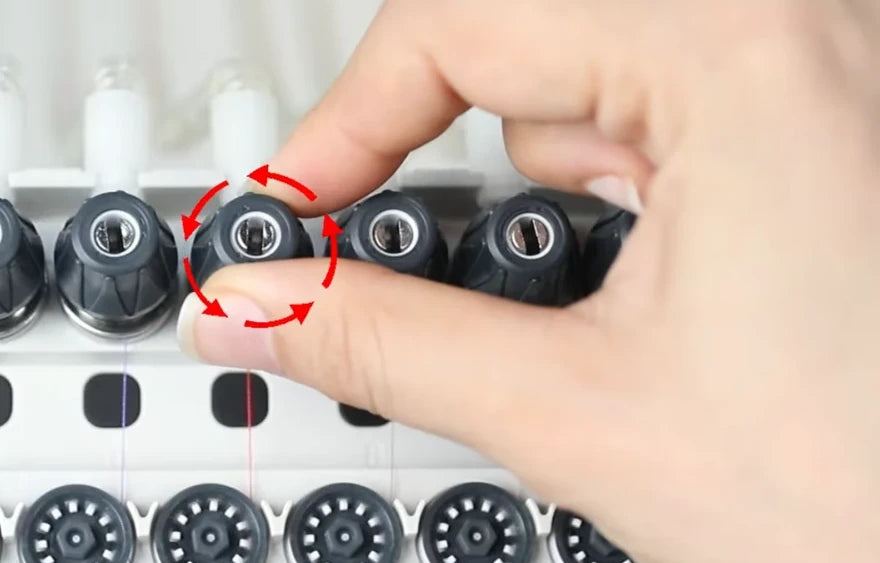
Watch at 01:23Use the small knob in the upper row for that needle. Excess tension can pull the upper thread back after a cut. If it is too tight, turn the knob slightly counterclockwise as shown, then check the next trim and restart.
6. Check trim length when several needles are affected
Watch at 01:40If the symptom repeats across several needles, the automatic trim may be leaving the upper thread tail too short. The tail can slip out of the eye before the upper thread catches the bobbin thread on restart. With stitching stopped, note the current trim value before adjusting it.

7. Open More Set on the controller
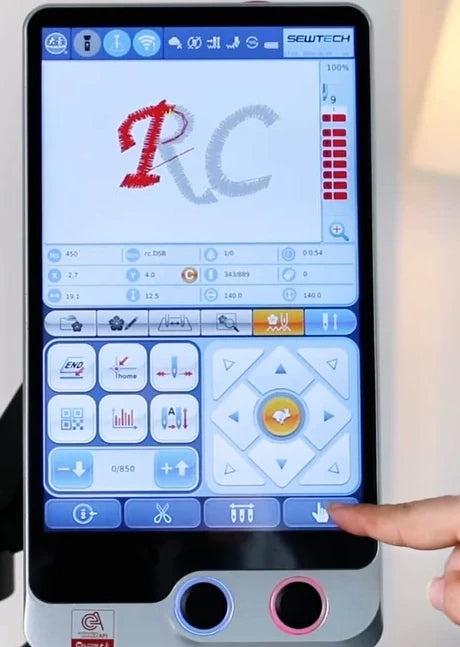
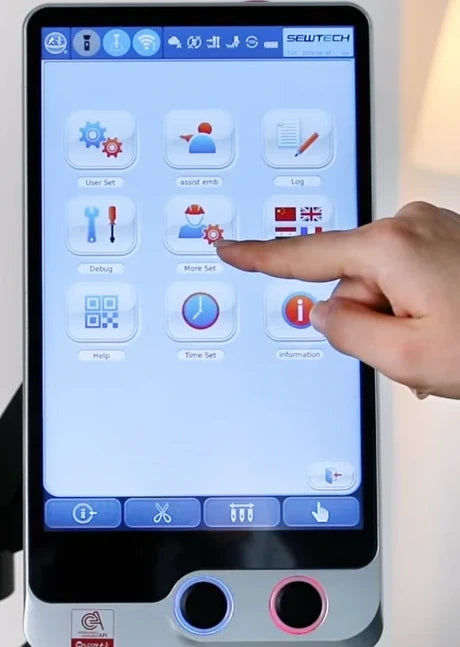
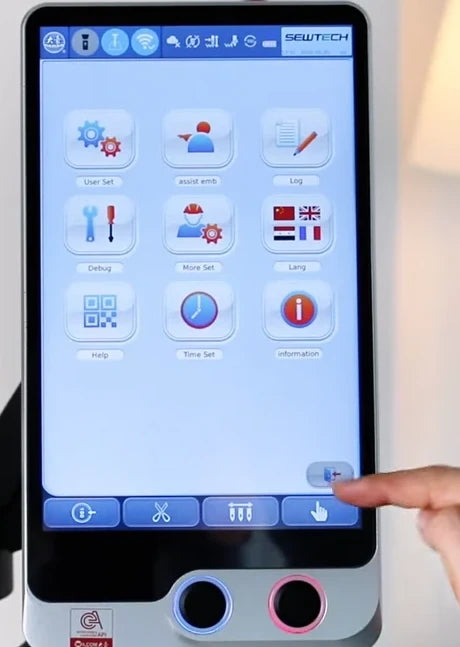
Watch at 02:07On the main embroidery screen, tap the hand icon at the far right of the bottom blue bar. In the 3 × 3 settings grid, tap More Set, the center tile in the second row. On the demonstrated controller it opens a password keypad.
8. Confirm the password prompt if shown
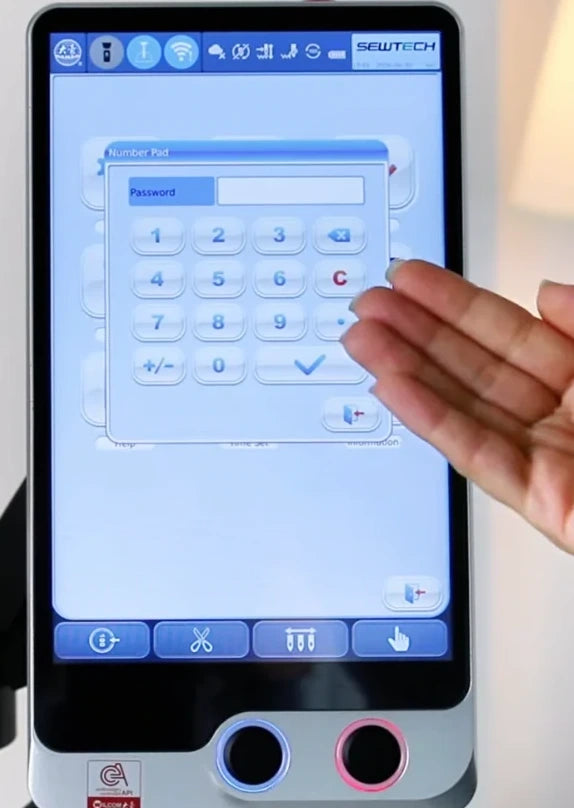
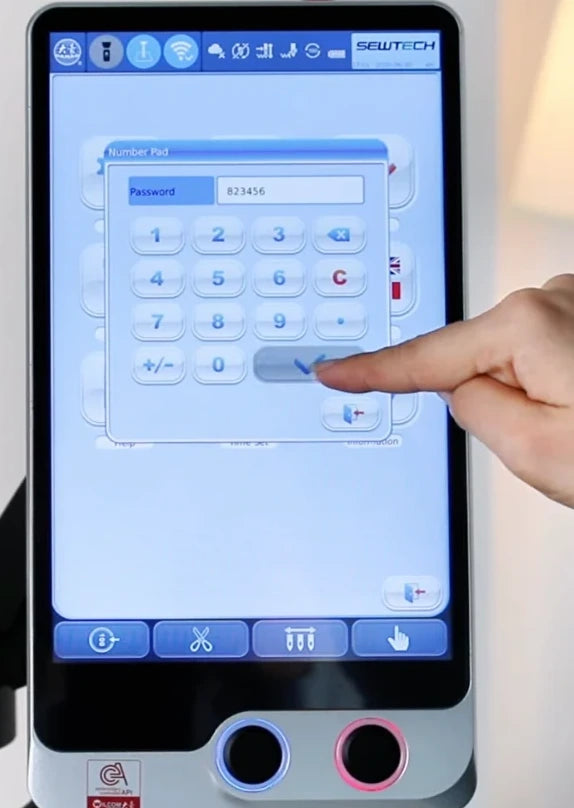
Watch at 02:11If a password prompt appears, enter the code for your controller. The video shows 823456 on the demonstration machine. Tap the check mark on the keypad. When it is accepted, the controller opens the parameter list.
9. Open Trim and find Length of Trim
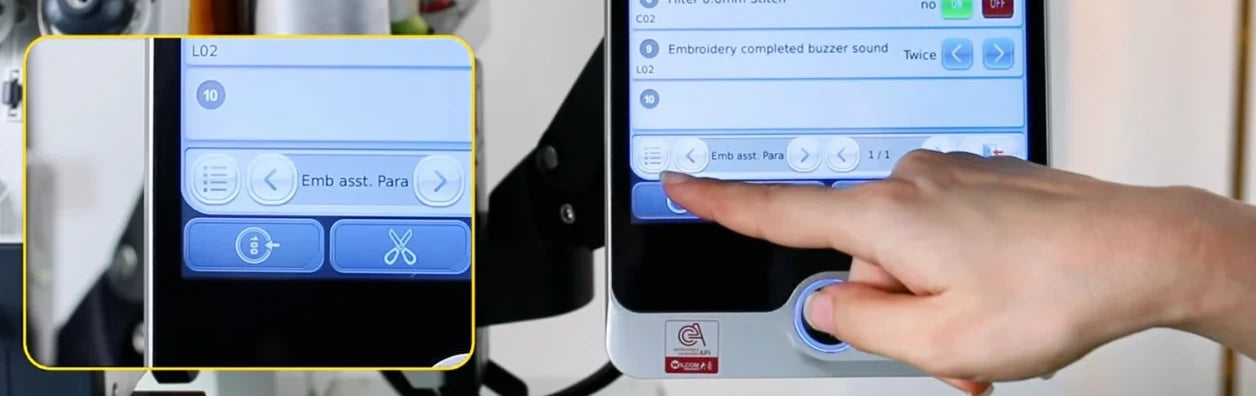
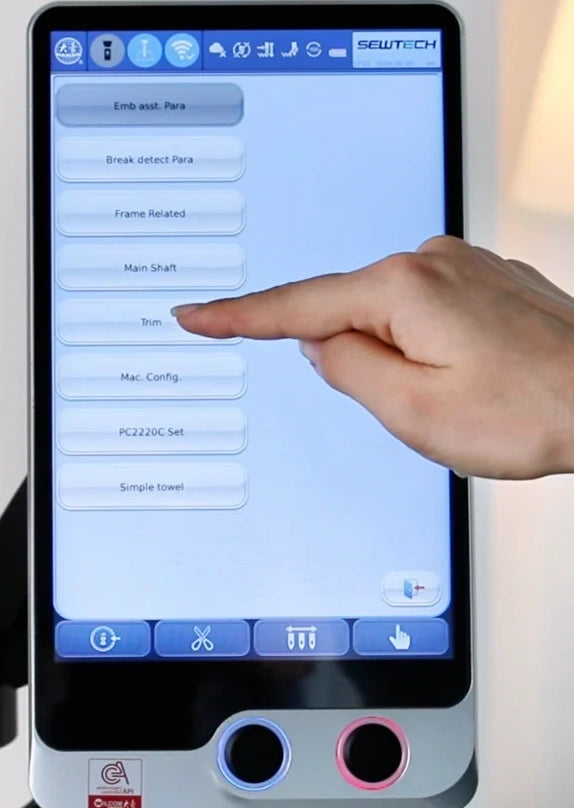
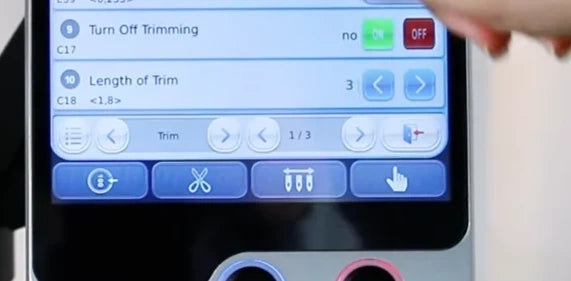
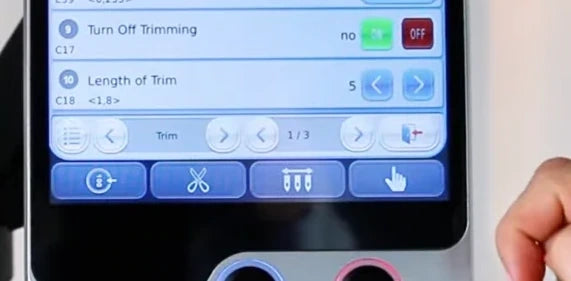
Watch at 02:21On the parameter screen, tap the list icon at the far left of the pale footer, just above the blue toolbar. In the category list, tap Trim, immediately below Main Shaft. On Trim page 1/3, find Length of Trim (C18) at the bottom, just under Turn Off Trimming.
10. Increase the trim length one setting at a time
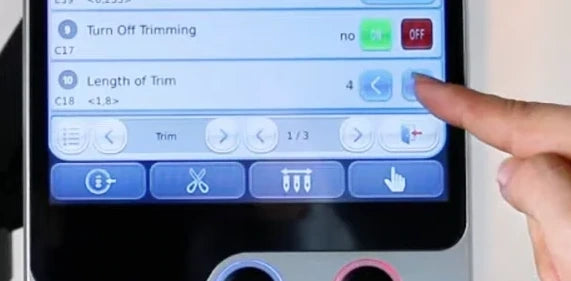
Watch at 02:28Use the right arrow on the Length of Trim row to raise the value by one, then run a trim-and-restart test. If the same problem persists, add one more and test again. The screen in the video goes from 3 to 4 and then 5. Use your own starting value and check the displayed value after each press.

11. Return to the embroidery screen
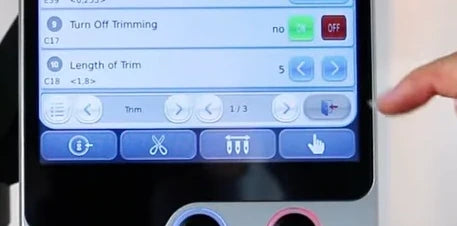
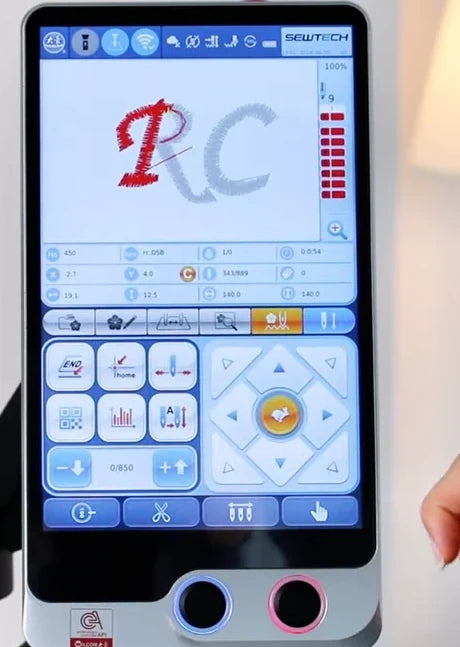
Watch at 02:41After each adjustment, use the exit icon at the right end of the pale Trim footer to return to the settings grid. Tap the grid’s lower-right exit icon to go back to the embroidery screen for the test. The design preview reappears.
12. Test a trim and the first stitches after it
Watch at 02:44On scrap fabric in a hoop, stitch a short sample with a trim and restart on an affected needle. After the trim, verify that the upper thread is still through the eye and long enough for the next start. Confirm that it catches the bobbin thread and forms the first stitches without pulling out, then repeat on the other affected needles if applicable.