Match Screen Colors to Thread on the ST-1501

Overview
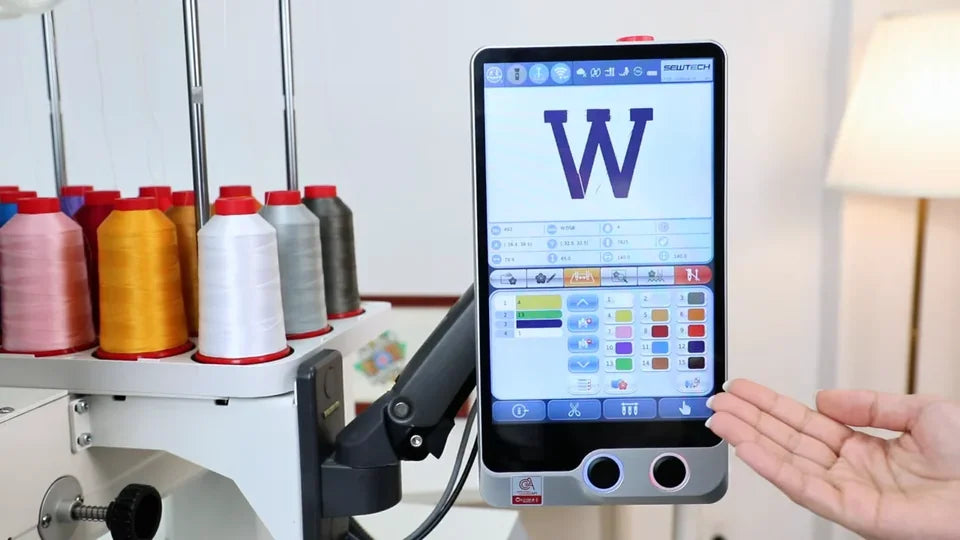
Update the stored needle colors on the SEWTECH ST-1501 so the control panel matches the thread currently feeding each needle. The video uses a W design to demonstrate two corrections, from light purple to white for needle 1 and from green to yellow for needle 4.
Step-by-step guide
1. Open page 3 and locate the needle colors
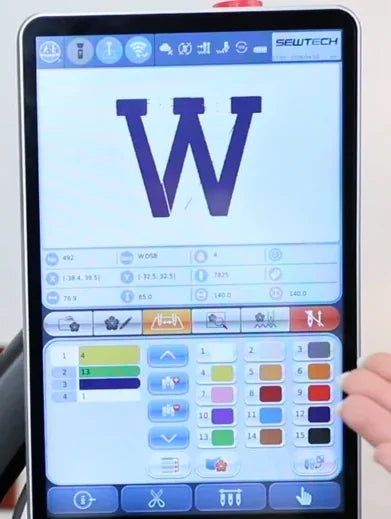
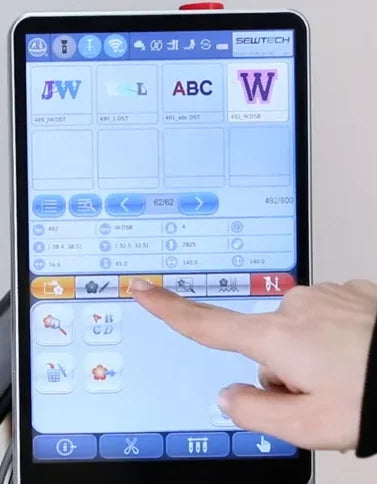
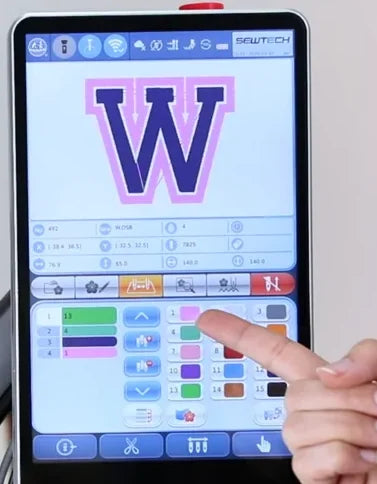
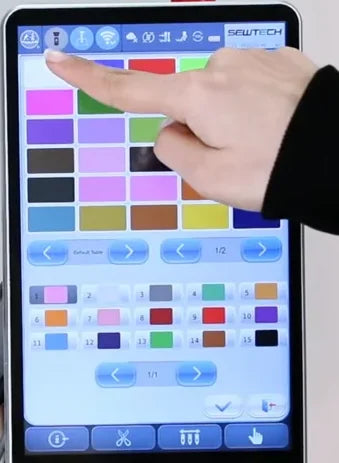
Watch at 00:13With the ST-1501 idle and your thread cones in place, tap the third icon from the left in the row below the design information. It turns orange. Look for the 15 numbered swatches on the right. Each shows the stored thread color for one needle.
2. Compare needle 1 with its thread cone
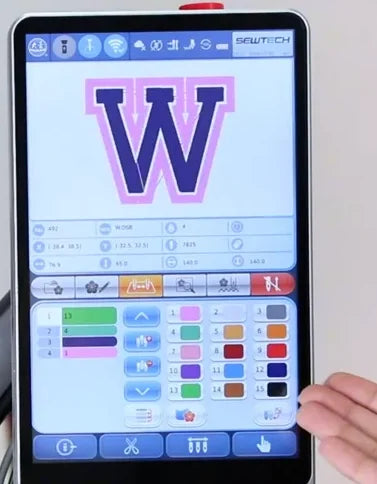
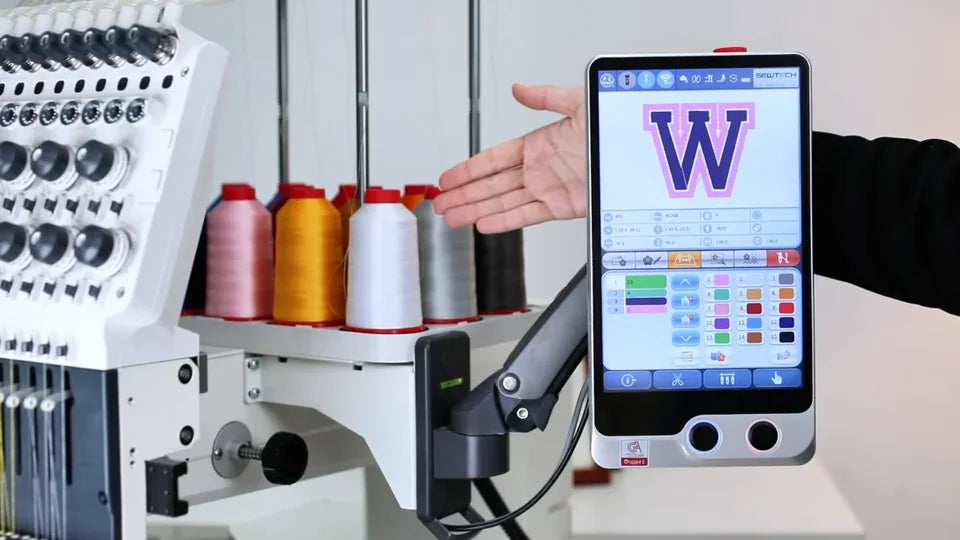
Watch at 00:25Find the needle number in the right-hand grid and check the color of the thread feeding that needle. In the first example, block 1 at the top left is light purple on the screen, but the thread feeding needle 1 is white.
3. Open Color Change
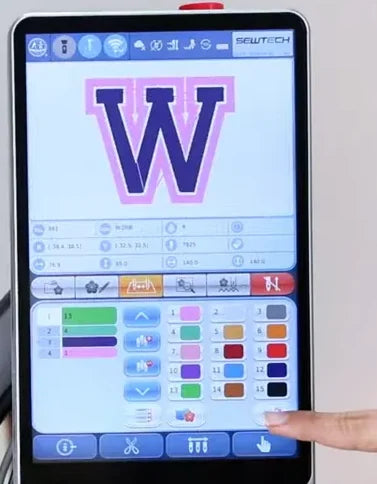
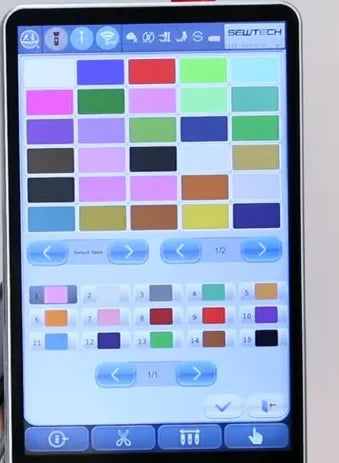
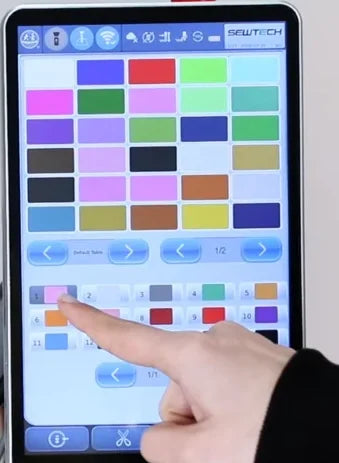
Watch at 00:33On page 3, tap the Color Change icon just below the numbered swatches at the lower right of the screen, above the blue toolbar. The touchscreen opens a large color palette above a smaller grid of numbered needle blocks.
4. Select block 1 and choose white
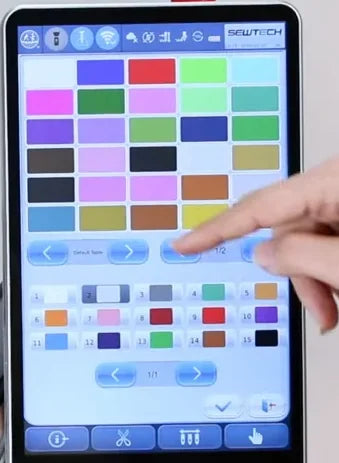
Watch at 00:47Tap block 1 at the far left of the first row in the lower grid. When it is highlighted, tap the white swatch at the top left of the upper palette. Block 1 turns white. In the demo, the dark highlight moves to block 2 immediately after the color is picked.
5. Confirm and recheck the white swatch
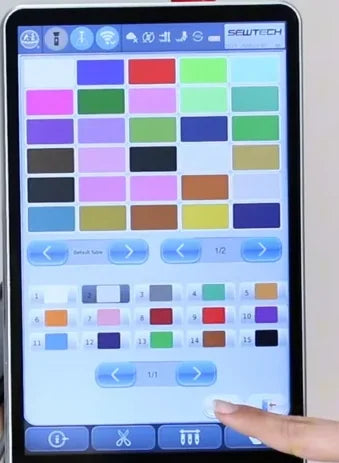
Watch at 00:58Tap the checkmark near the lower-right corner of the palette, just left of the exit icon. Page 3 returns. Verify that block 1 is white. In the sample W preview, the former purple outline now blends into the light background, so use the numbered swatch to confirm the change.
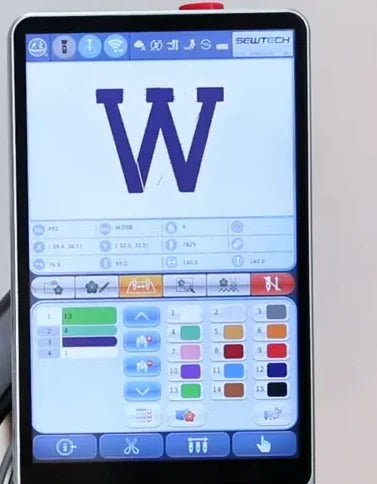
6. Check the mismatch on needle 4
Watch at 01:08Find block 4 in the right-hand grid, at the left of the second row on page 3. It appears green in the demo, while the installed thread feeding needle 4 is yellow. Use the thread on your own machine to choose its matching swatch.
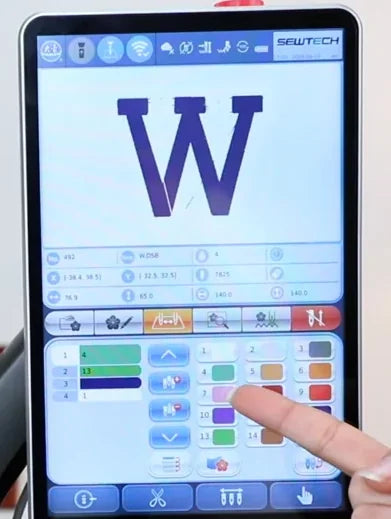
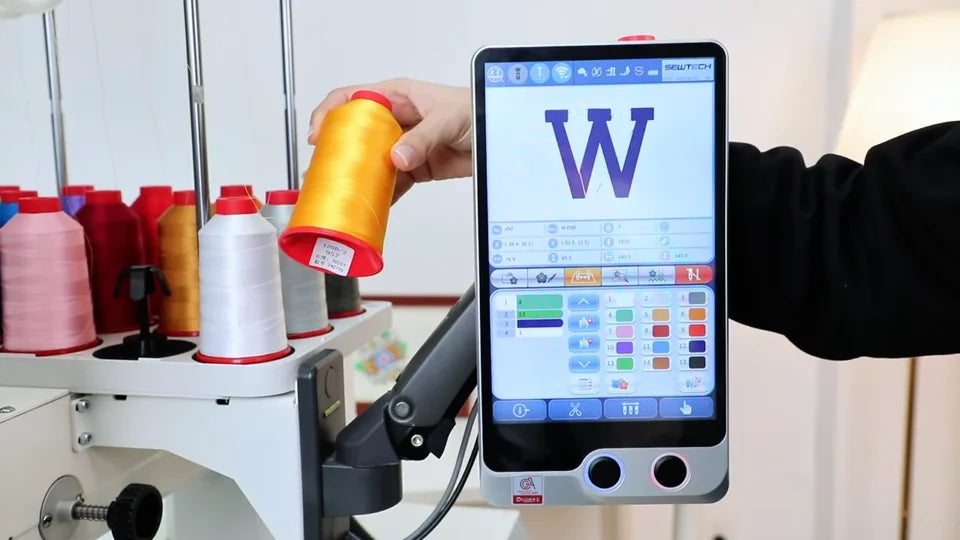
7. Reopen Color Change and select block 4
Watch at 01:22Tap the same Color Change icon again. In the lower grid of the palette, tap the block labeled 4. This grid has five needles across, so block 4 is the fourth block in the first row. Check that the dark highlight is on 4 before picking a color.
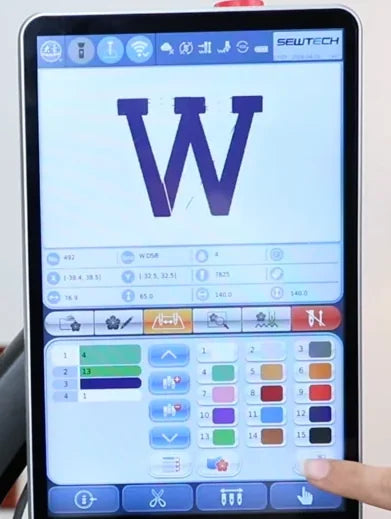
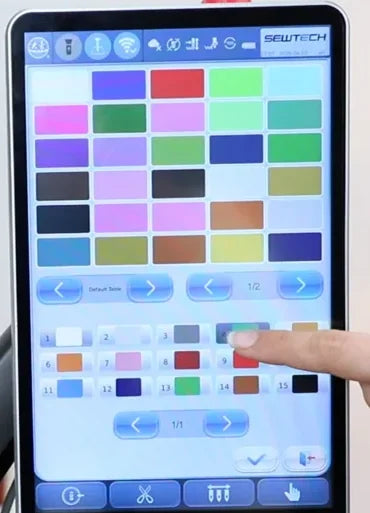
8. Choose yellow and confirm
Watch at 01:32On the palette page shown, tap the yellow swatch in the bottom row, fourth from the left. Check that block 4 turns yellow even as the highlight moves to 5. Tap the checkmark again to save the change and return to page 3.
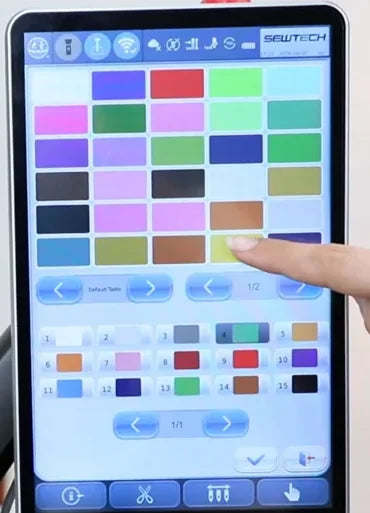
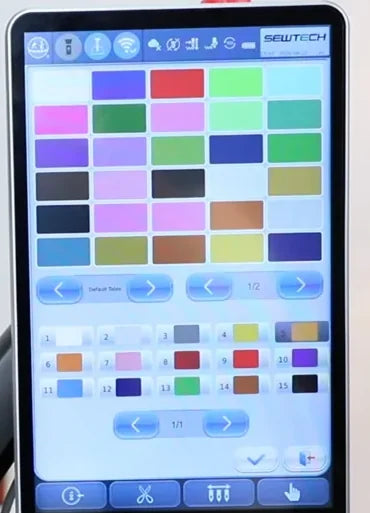
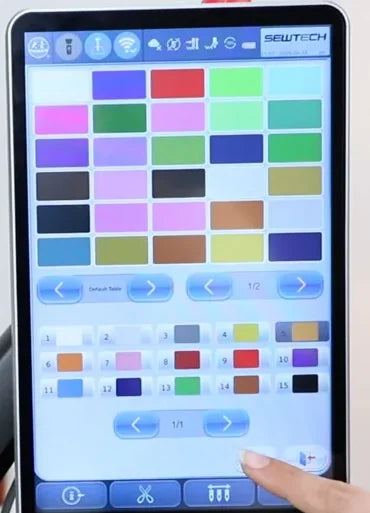
9. Verify both stored needle colors
Watch at 01:37Once page 3 returns, compare the numbered swatches with the two thread cones again. In the example, block 1 now shows white and block 4 shows yellow. Use this check for any other needle you update.