Oil the ST-1501 Before First Use at Four Lubrication Points

Overview
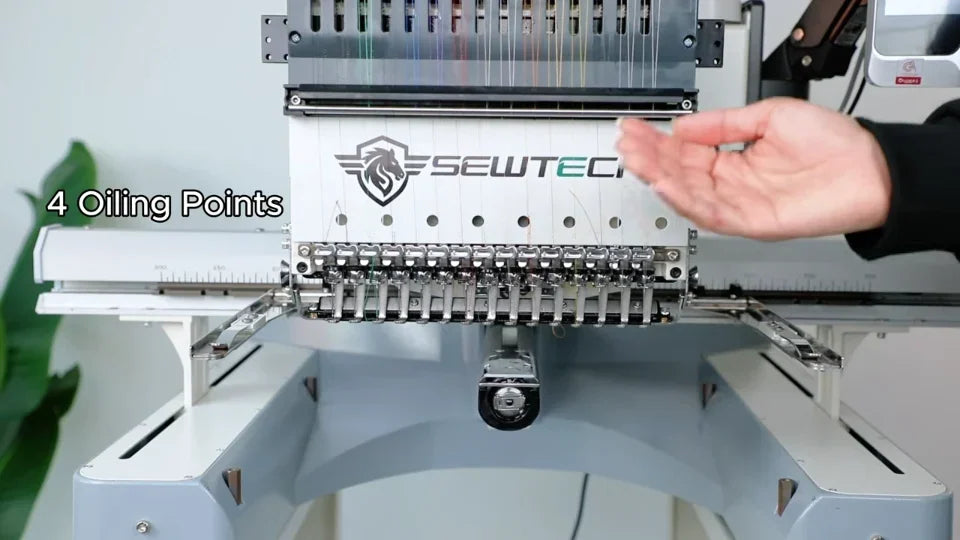
Before the first run, lubricate the four points shown on this ST-1501 head: the rotary hook, the round needle-bar holes, the vertical needle-bar slots and the main oiling hole. Use this guide if those points match your machine head.
Step-by-step guide
1. Prepare the oil and switch off the machine
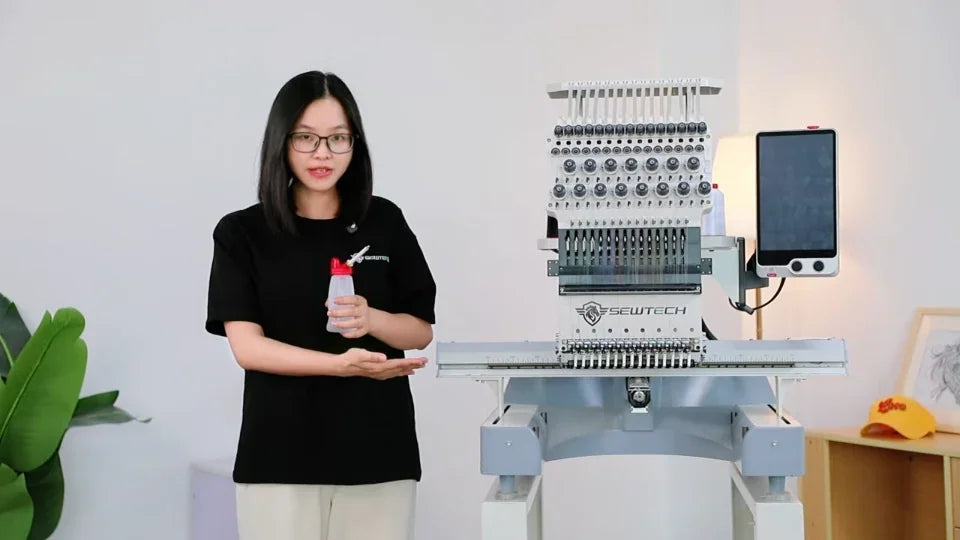
Watch at 00:13Have embroidery machine oil in a fine-tip bottle, a soft lint brush, a soft cloth and a piece of scrap fabric ready. Switch off the machine before opening the bobbin cover or oiling the needle bars. The later needle change uses the touchscreen, so power is needed briefly to position the head.
2. Open the bobbin cover and clean the hook
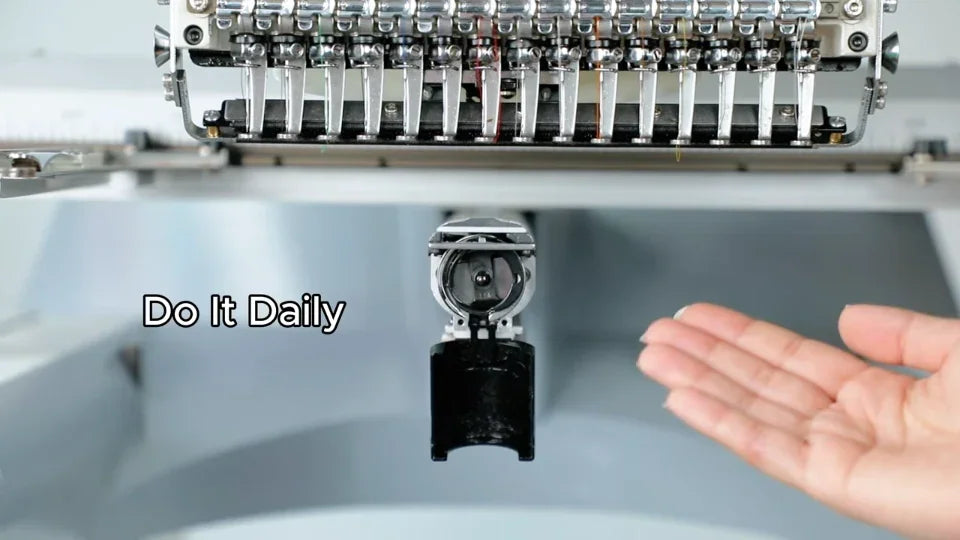
Watch at 00:36Open the small cover below the needle plate. Pull the bobbin case out by its latch to expose the rotary hook. Brush loose thread and lint out of the hook area and the inside of the cover before adding oil.
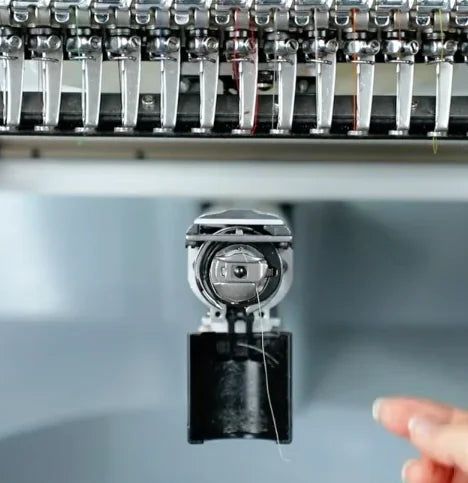
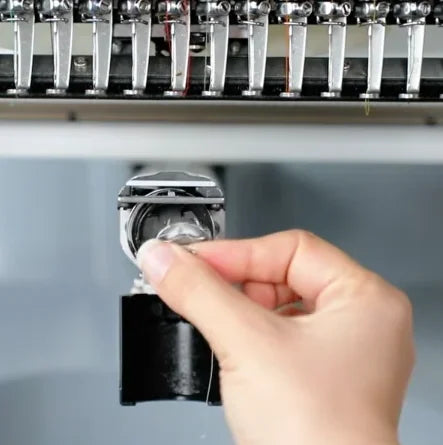
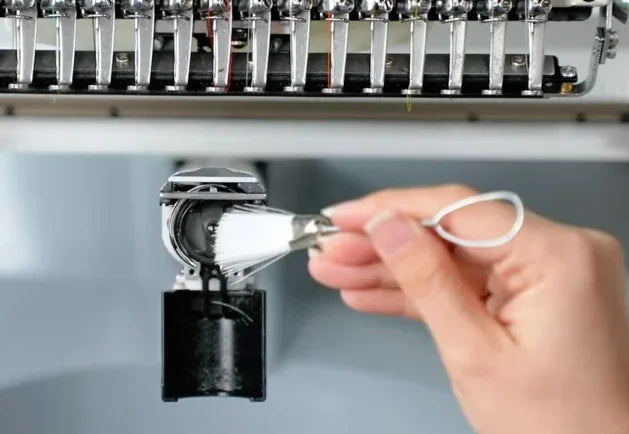
3. Add one or two drops to the rotary hook
Watch at 00:47With the case removed, aim the fine nozzle at the hook point shown in the close-up and apply one or two drops. For a machine used daily, repeat this at the end of each workday.
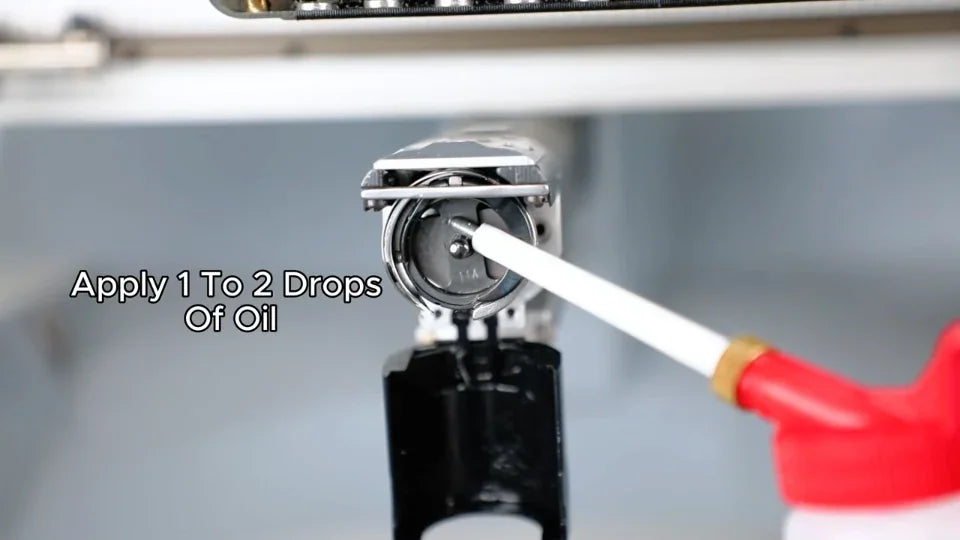
4. Oil the round needle-bar holes
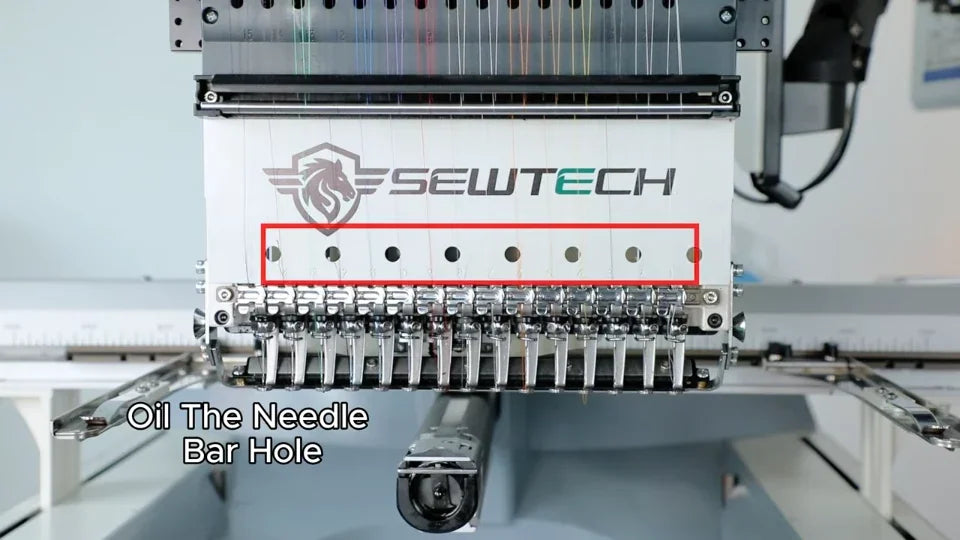
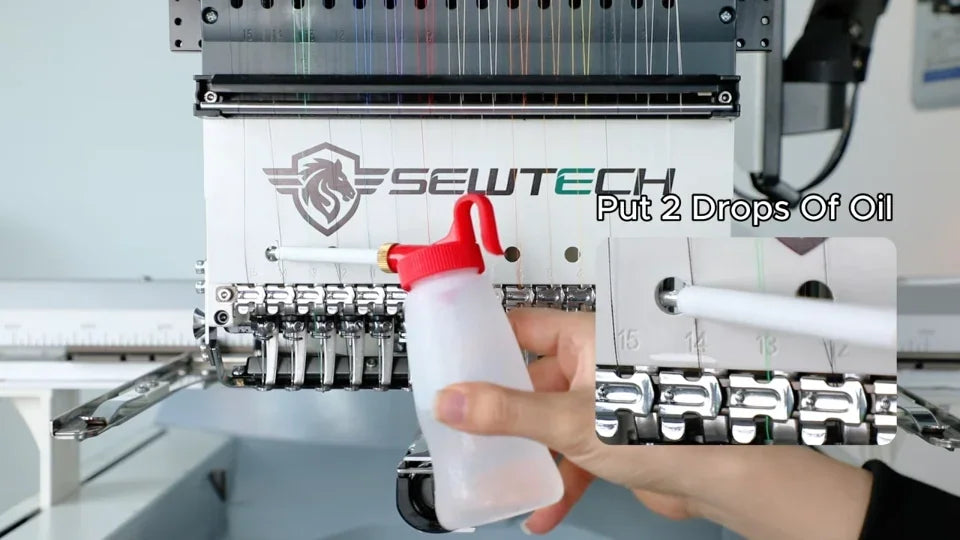
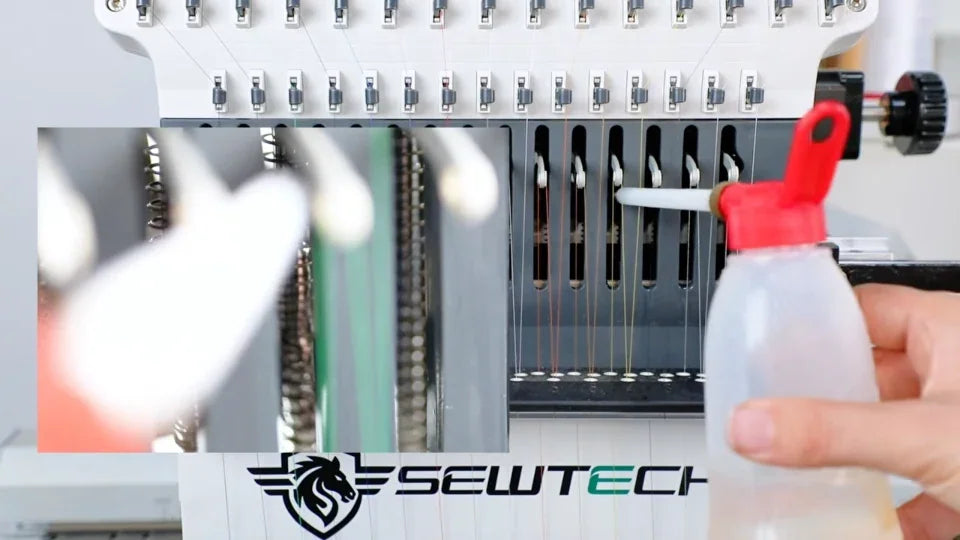
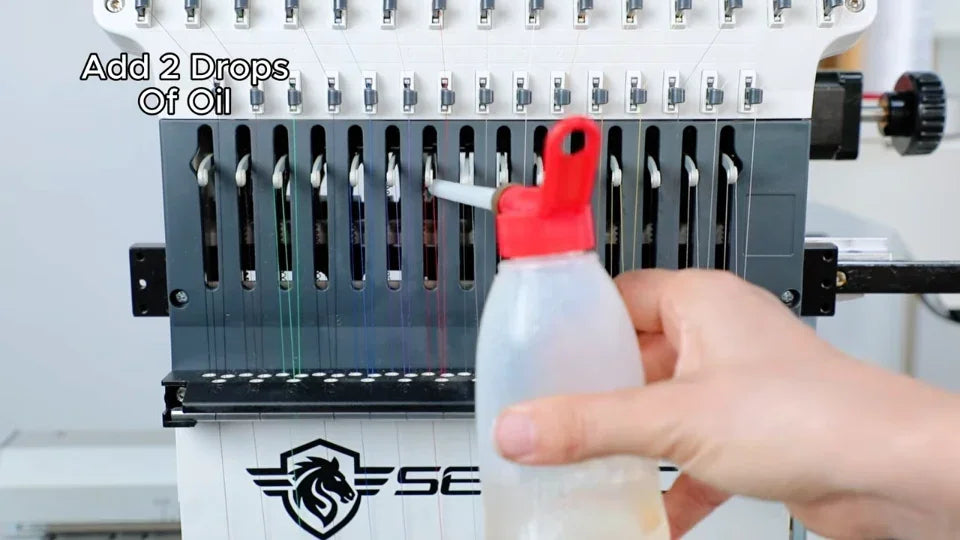
Watch at 01:00Find the horizontal row of round holes in the silver front plate just above the needles. Place the fine nozzle at each hole in that row and add two drops per hole. The video specifies weekly maintenance for these holes.
5. Oil the vertical needle-bar slots
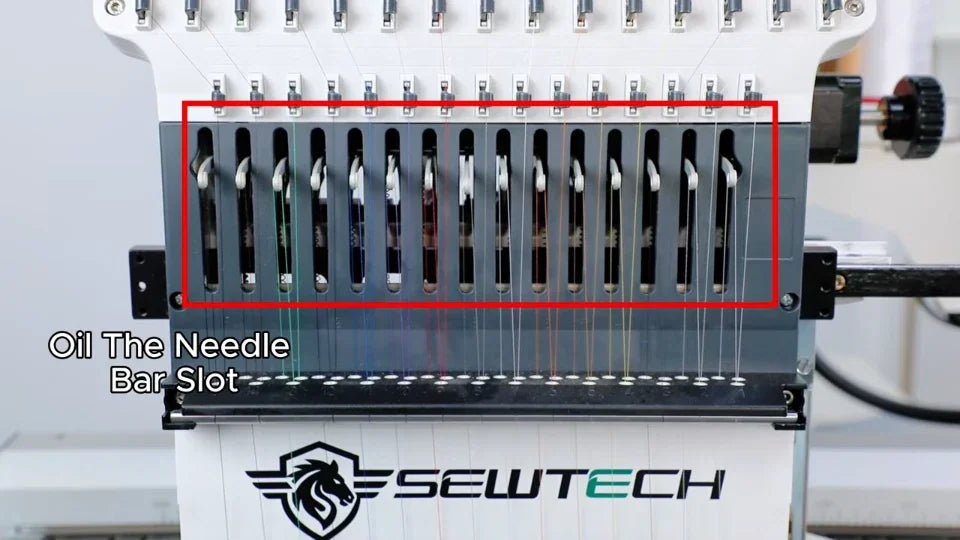
Watch at 01:13Find the row of narrow vertical slots in the dark panel above the silver plate. Aim through each slot at the vertical rod visible inside and apply two drops per slot. Repeat weekly as shown.
6. Power on briefly and select needle 1
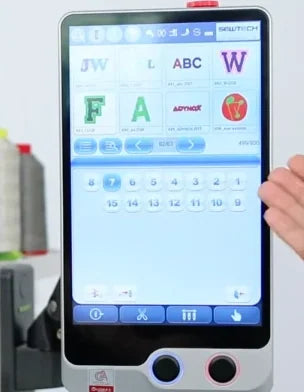
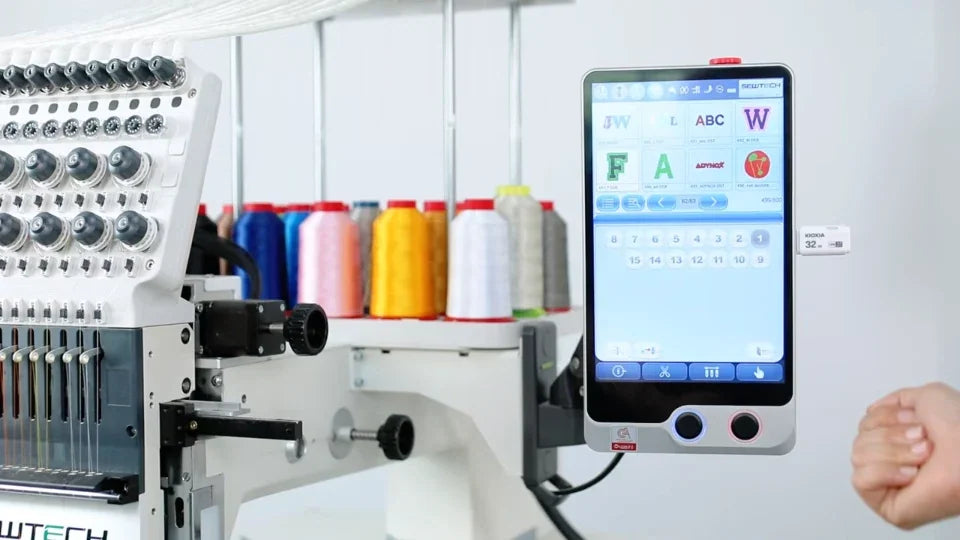
Watch at 01:36Switch the machine on to position the head for access to the felt. Tap the needle-selection icon in the bottom row of the touchscreen, then tap 1 in the number grid. Check that 1 is highlighted and the head has stopped moving. Switch the machine off before reaching behind the needle bars.

7. Check whether the oil felt is dry
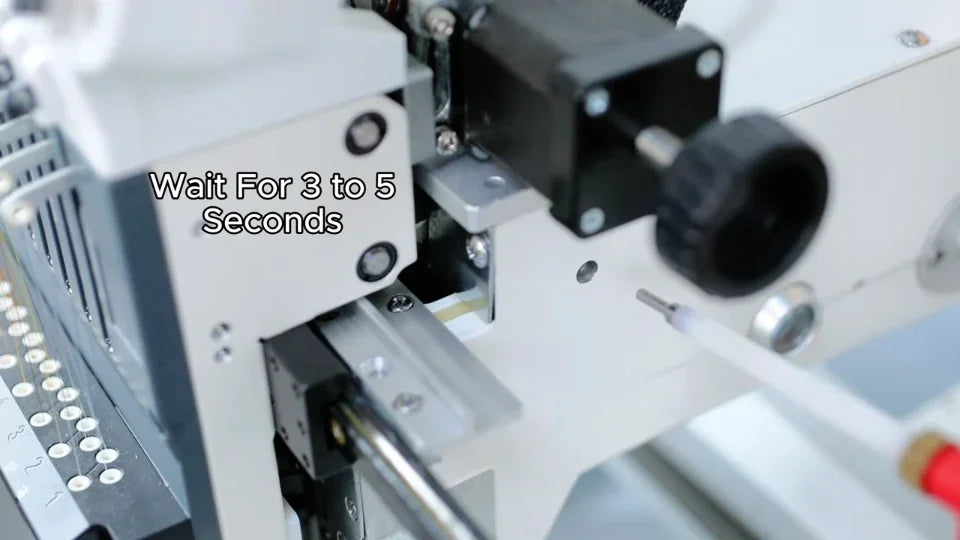
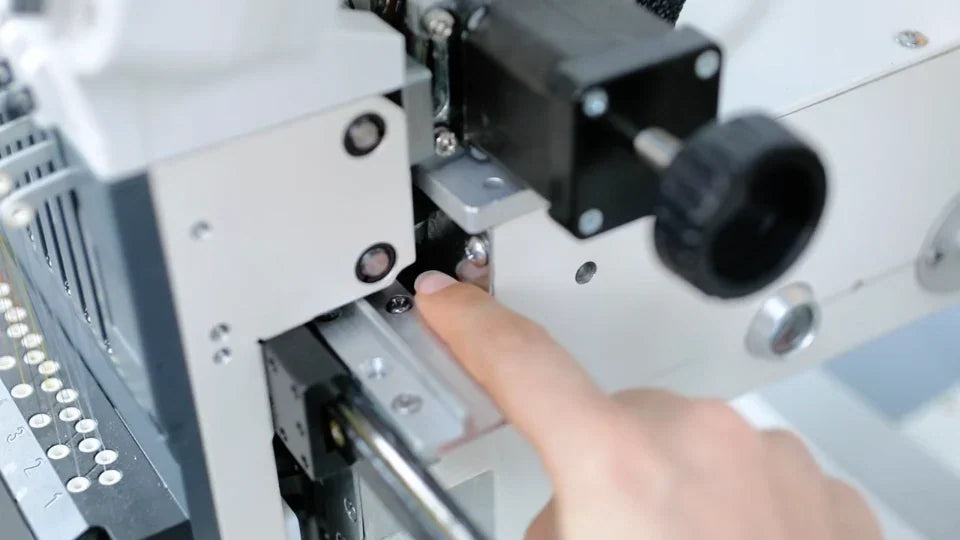
Watch at 01:49Look through the opening behind the needle bars at the felt above the metal rail. The video calls for checking it every two weeks. If the felt is dry, locate the small round main oiling hole in the white side plate near the black knob.
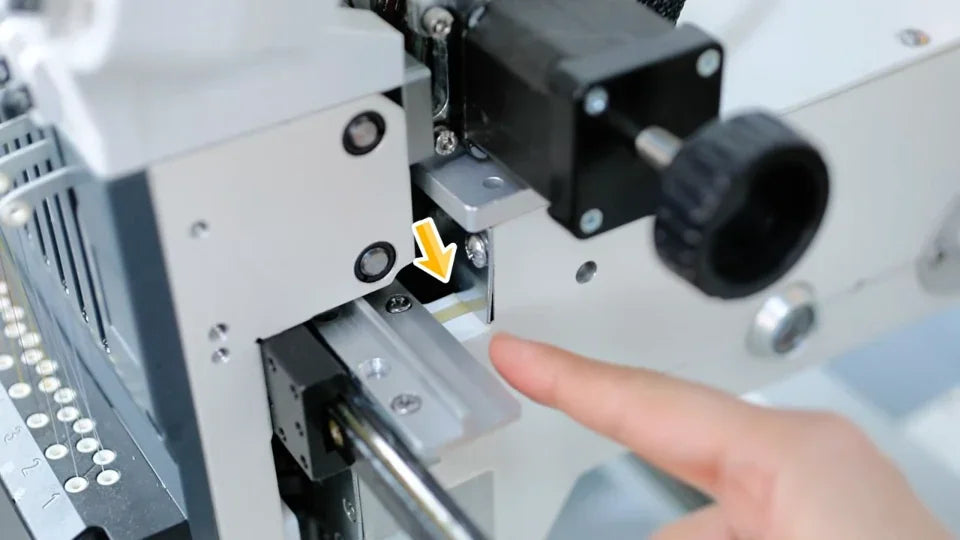
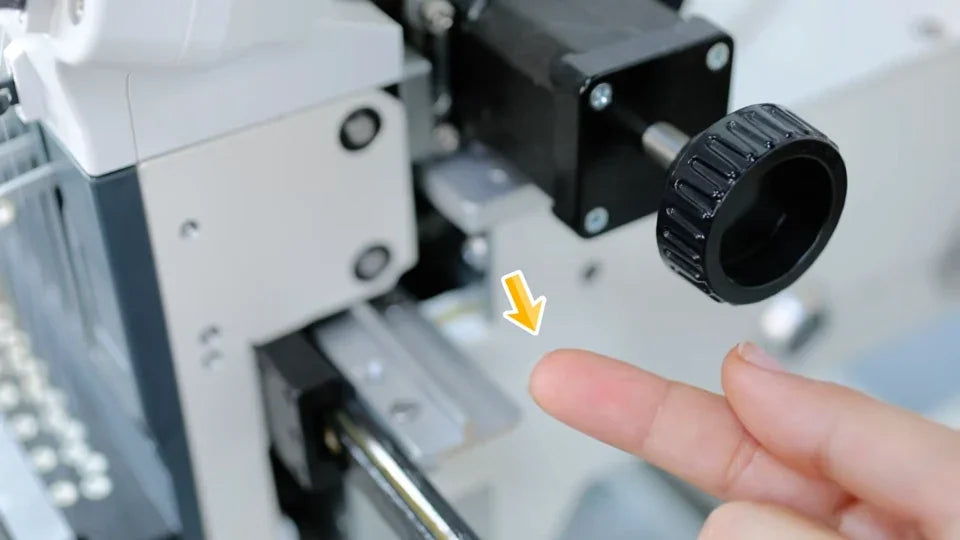
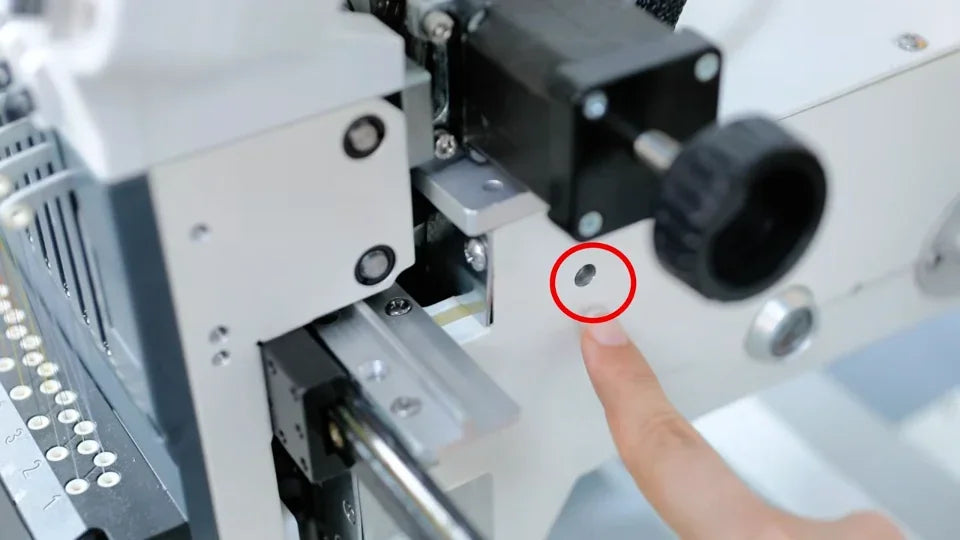
8. Feed the dry felt one drop at a time
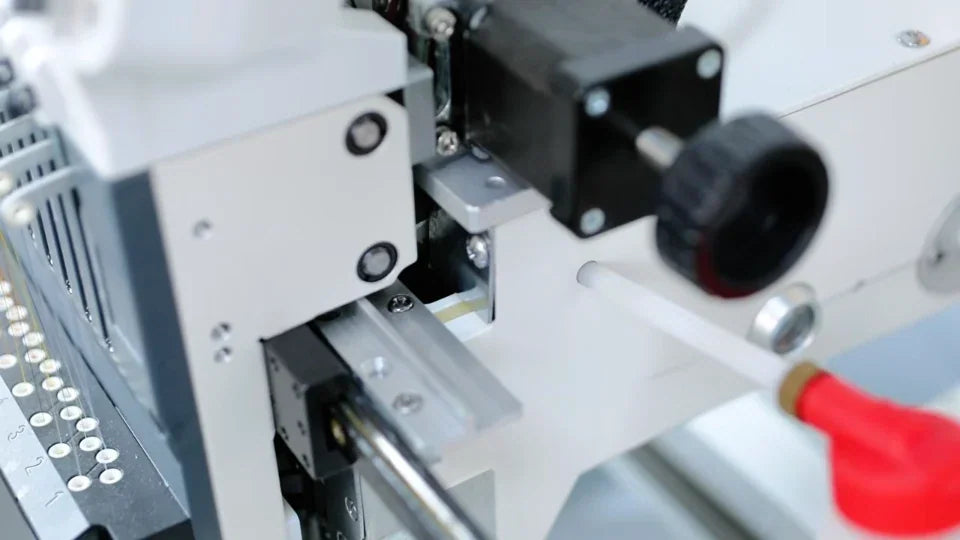
Watch at 01:58Put one drop into the main oiling hole and wait 3–5 seconds for it to soak in. Repeat one drop at a time, waiting between drops. For the dry felt in this demonstration, the video specifies ten drops in total.
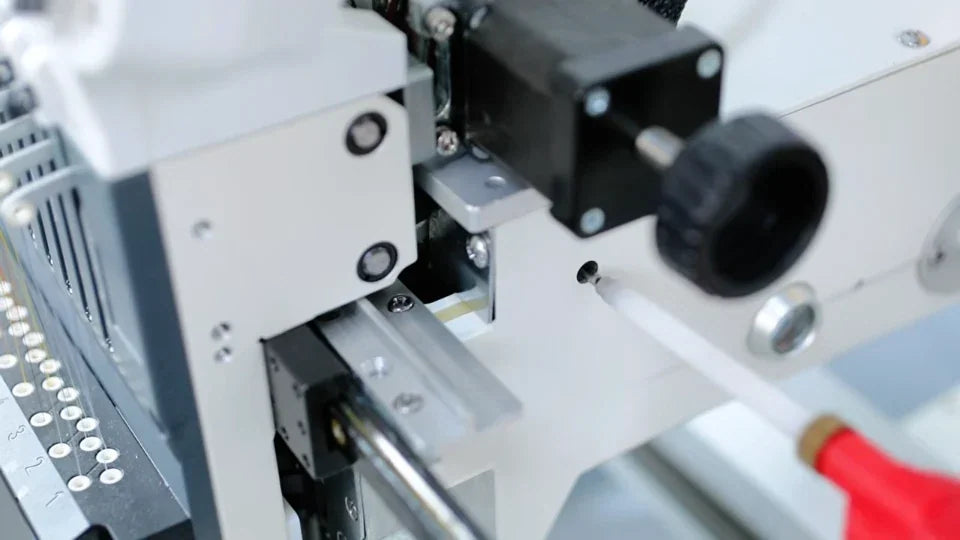
9. Confirm the felt has absorbed the oil
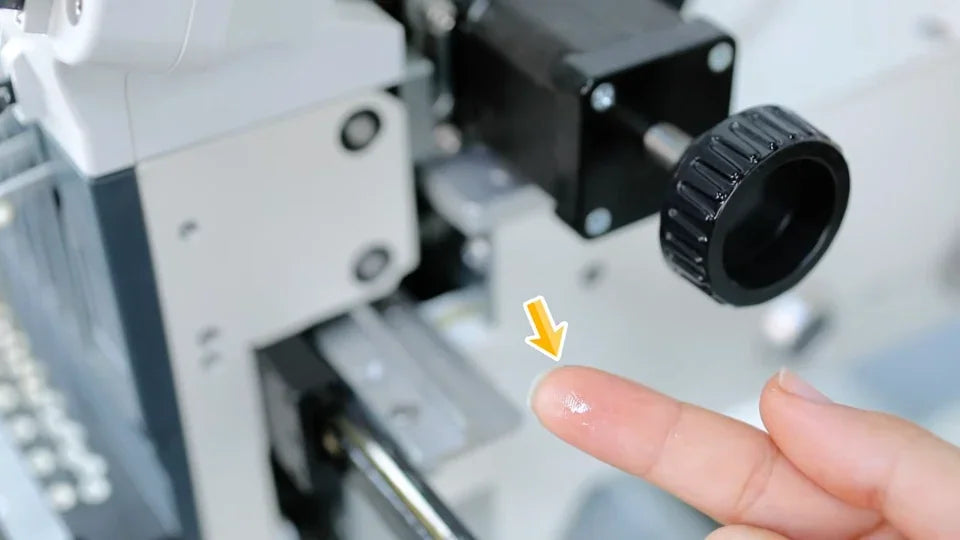
Watch at 02:19Recheck the same felt through the opening. The video shows a light trace of oil on the fingertip after the check, indicating that the felt has taken up oil.
10. Wipe excess oil and prepare the hook for sewing
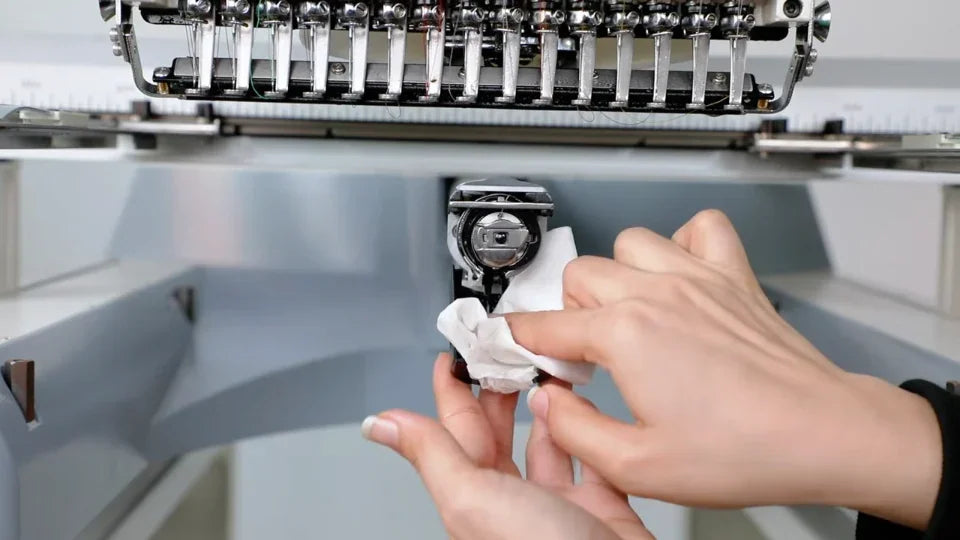
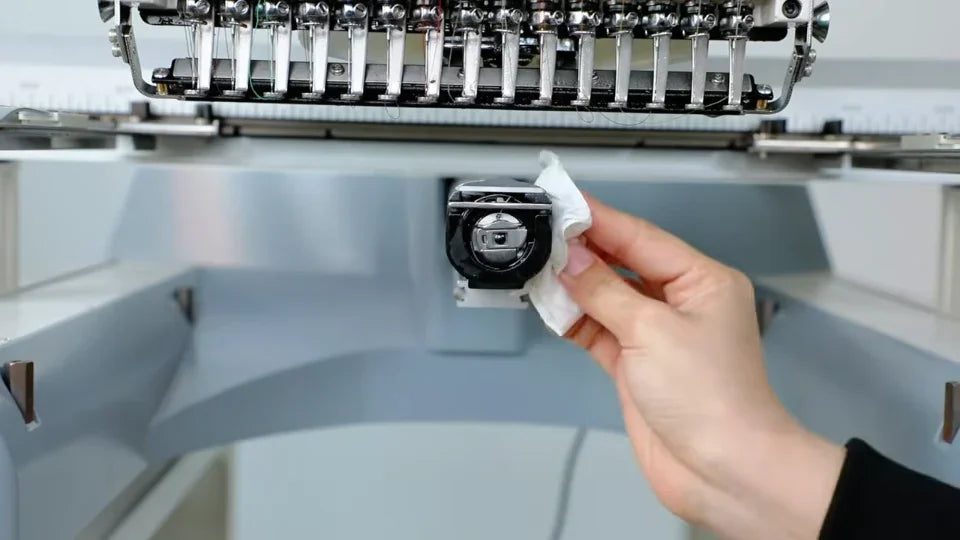
Watch at 02:36With the machine stopped, wipe off excess oil with a soft cloth, including around the hook and bobbin cover shown here. Check that the bobbin case is seated and close the cover before starting the test.
11. Run a test on scrap fabric
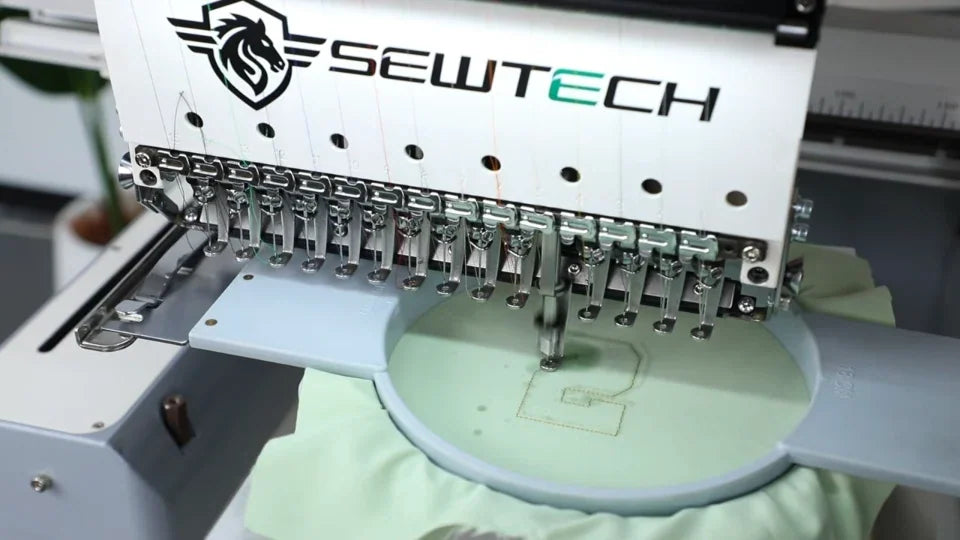
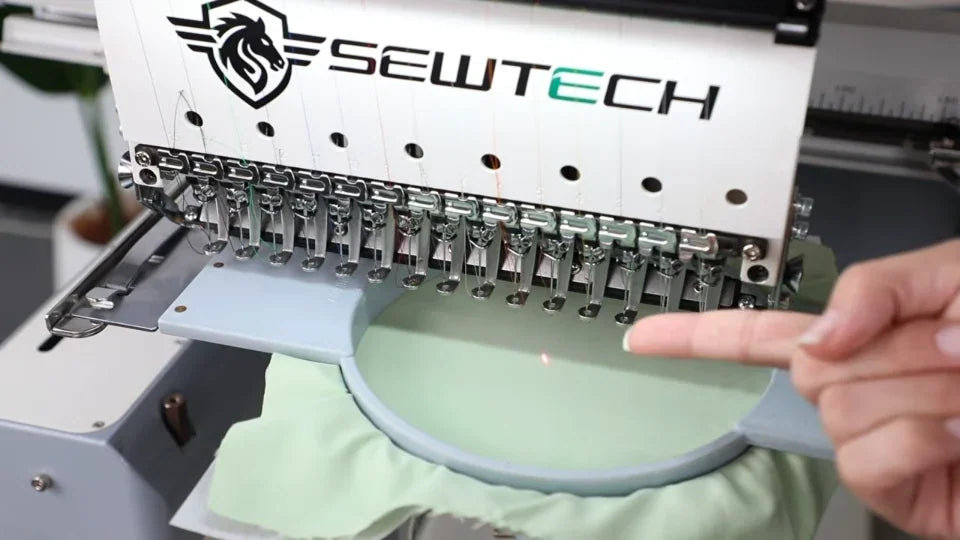
Watch at 02:46Hoop a piece of scrap fabric and run the machine on it for about two minutes, as directed in the video. This gives any excess oil a chance to transfer to the scrap. Stop before checking the cloth.
12. Check for oil marks before sewing your project
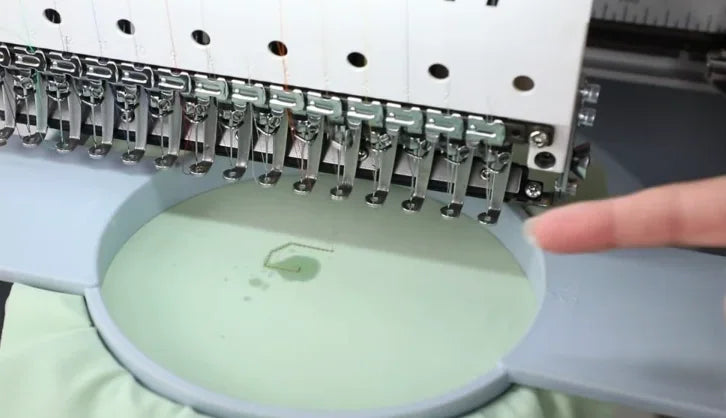
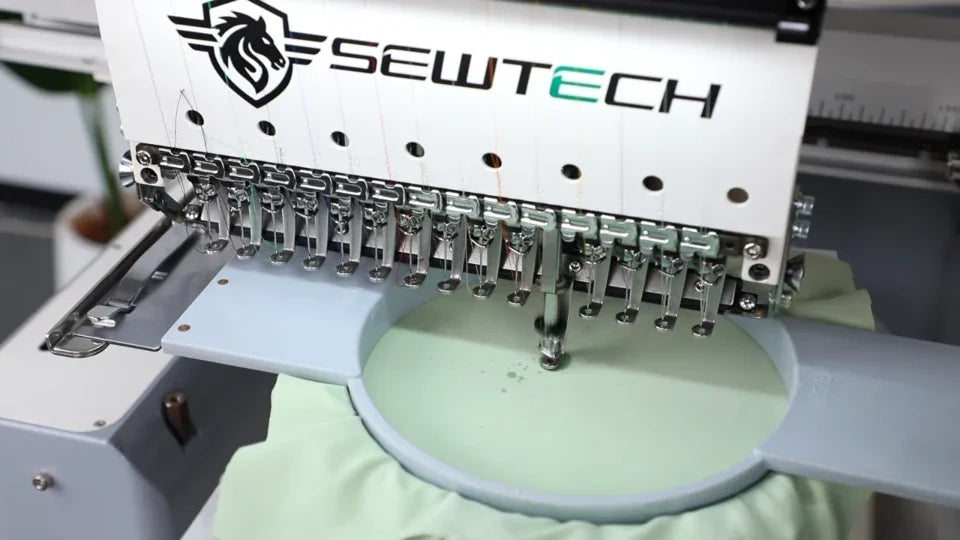
Watch at 03:00Check around the test stitching for an oily patch like the one shown. If a mark appears, keep testing on spare fabric and check again. Start using your project fabric only when a fresh test area shows no new oil marks.