
Embroider a Shoe with the ST-1501 Shoe Clamp

Overview
Prepare the shoe, set up the clamp and trace the design before stitching to check clearance around the metal arms.
Step-by-step guide
1. Mark the shoe and apply stabilizer
Watch at 00:24Mark the center of the embroidery area. Smooth the stabilizer inside the shoe so it supports the entire stitching area.

2. Mount the clamp on the machine
Watch at 01:41Adjust the clamp arms for the shoe. Mount the clamp between the indicated plates and tighten its screws after lining up the holes.
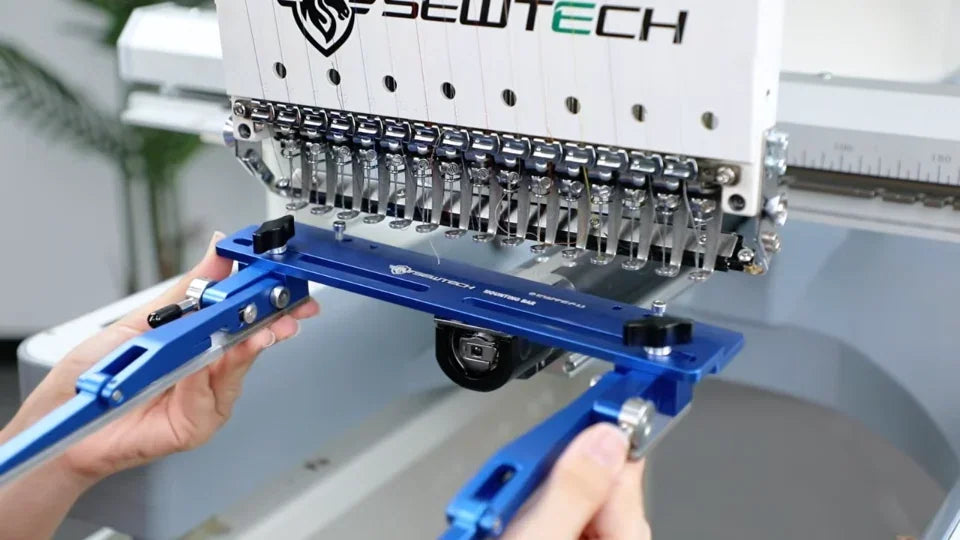
3. Clamp the shoe flat with clearance
Watch at 03:12Position the shoe with the embroidery area facing up. Check the shoe clears the bobbin area and sits firmly in the clamp.
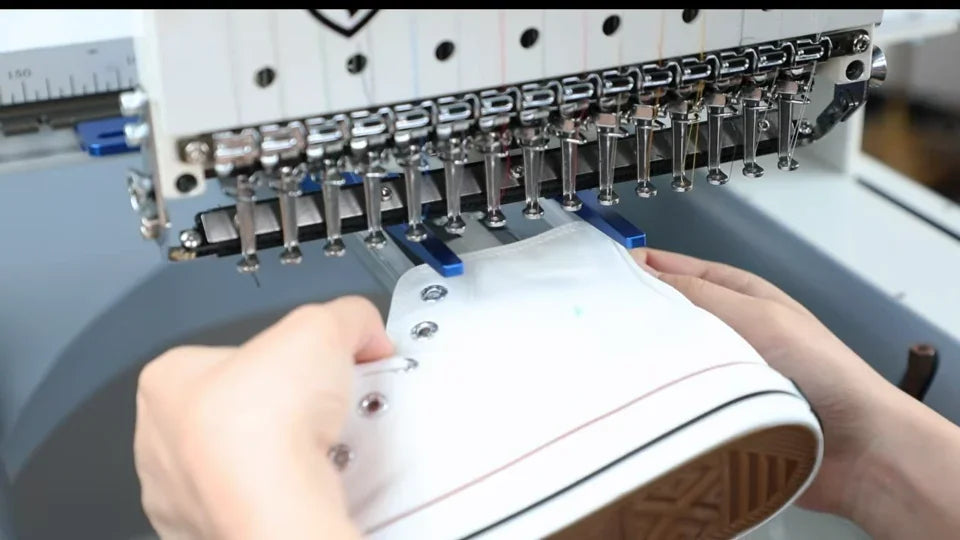
4. Trace and check before pressing Start
Watch at 03:56Use the positioning arrows, trace the design and verify the needle path clears the clamp. Confirm the setup and run the design.

