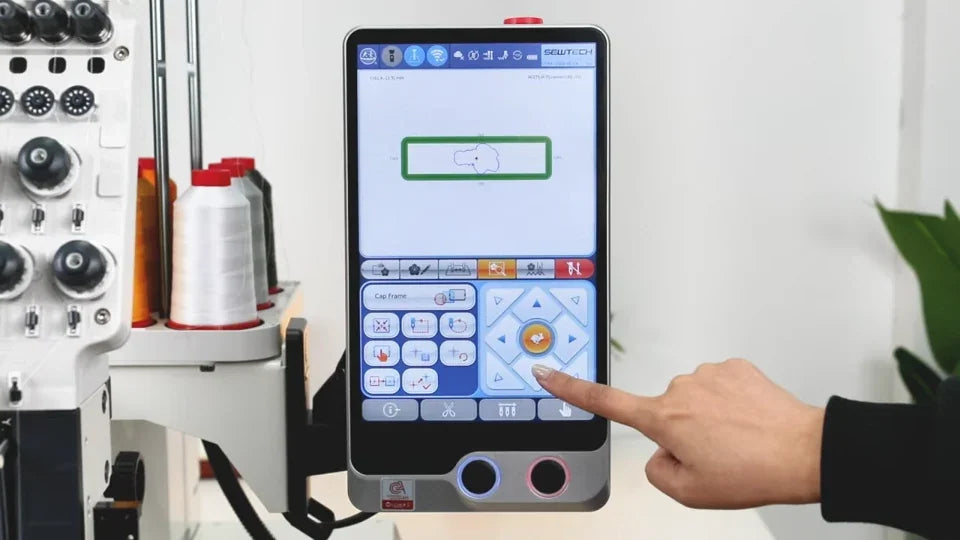
Embroider a Cap on the ST-1501

Overview
Prepare the cap station, carrier and backing, then fit the cap driver and position the design on the ST-1501.
Step-by-step guide
1. Set up the station and cap hoop
Watch at 01:10Secure the station and listen for the cap hoop clips to engage. Prepare stabilizer for the front of the cap.

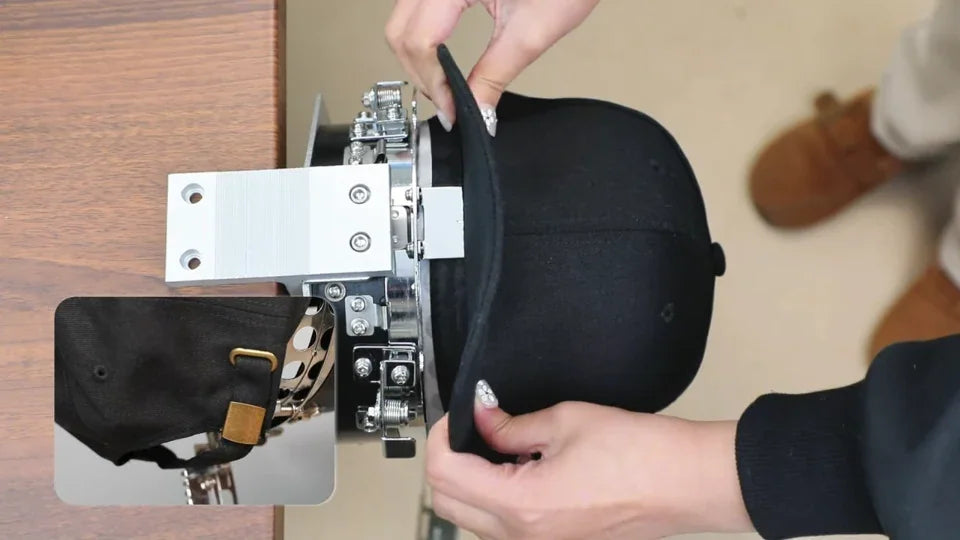
2. Clamp the cap over the backing
Watch at 04:00Arrange the cap over its backing, line up the cap edge with the strap and clamp it as shown. Check the front panel is smooth.
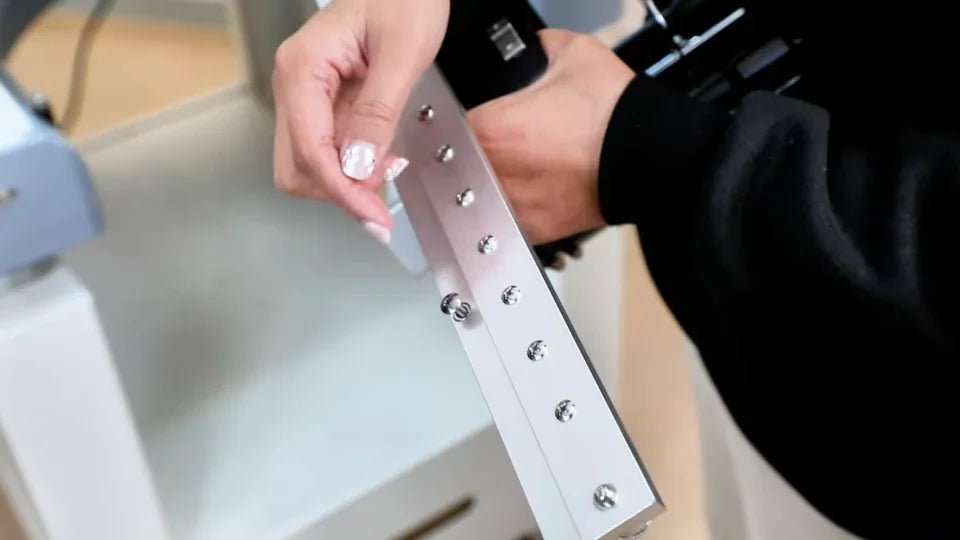
3. Fit the cap driver
Watch at 07:48Stop and power off the machine for driver installation. Follow the demonstrated alignment and tighten the mounts when seated.
4. Choose the cap profile and mount the hooped cap
Watch at 10:11Select the cap frame on the controller, check the bobbin and seat the cap hoop on the driver.
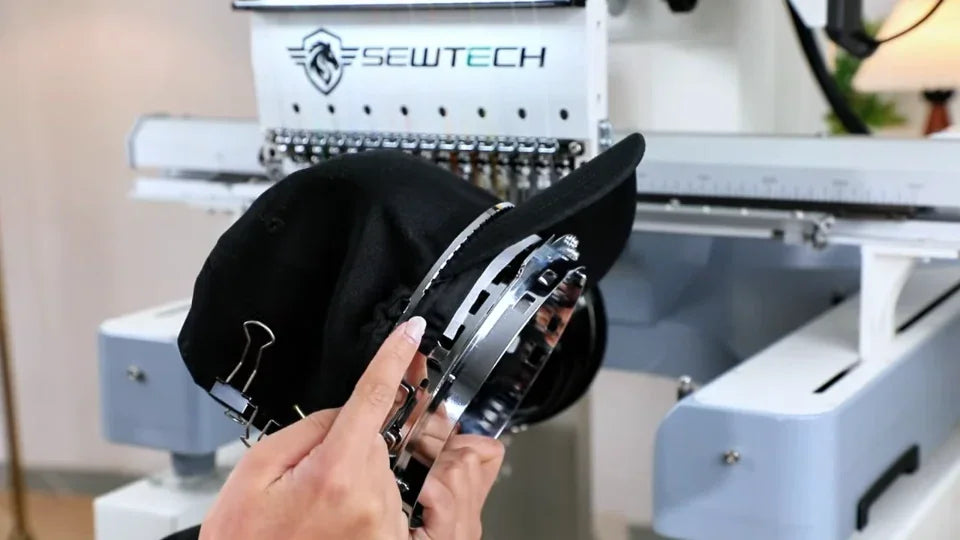
5. Trace and then stitch
Watch at 12:43Center the design and run a trace around the cap. Confirm the clearance, then enable embroidery and start the design.