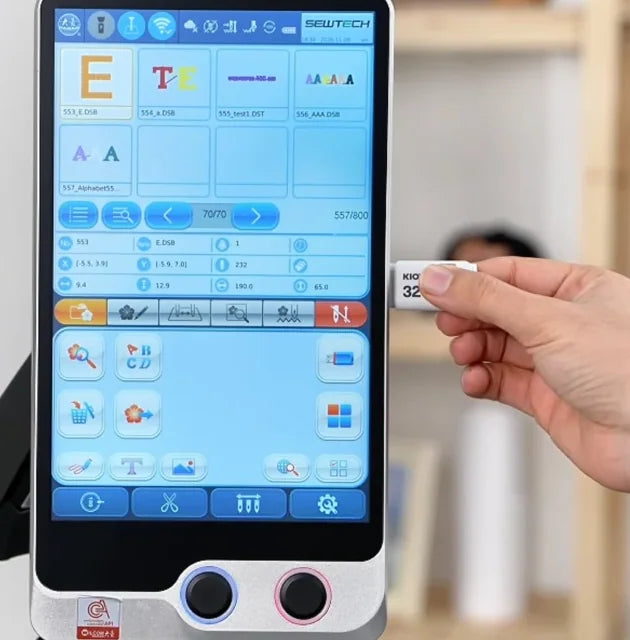
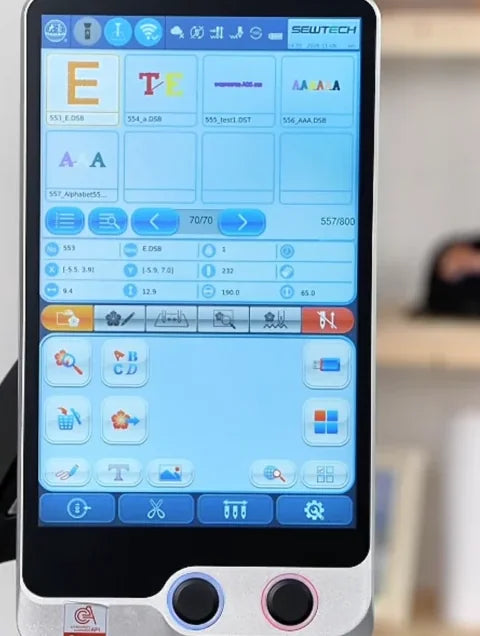
Import Machine and Driver Parameters on the ST-1501

Overview
This ST-1501 procedure imports More Set, Frame and Driver Param Load from a machine-specific USB file. Proceed under the guidance of SEWTECH technical support or an authorized technician. Confirm the file and the three selections with them. Wait for “import param data success” before returning to the main screen and removing the drive.
Step-by-step guide
1. Prepare the approved parameter file
Watch at 00:12Have SEWTECH technical support or an authorized technician confirm the parameter file for your specific ST-1501 and guide the import. The presenter instructs you to put only the approved parameter file on the USB drive. An incorrect file or selection can trigger a machine error.
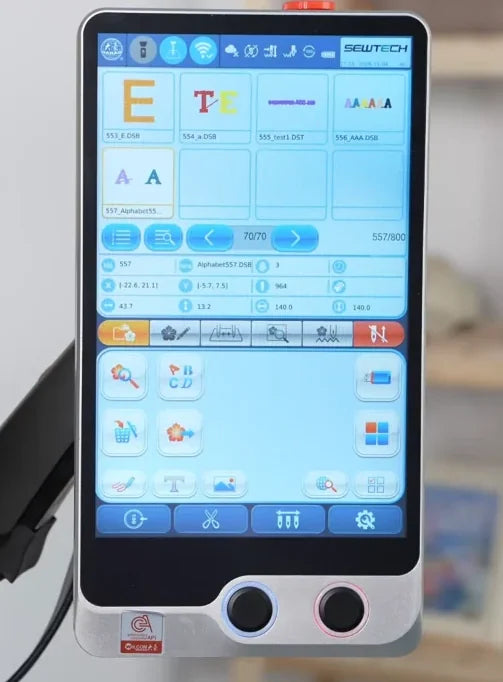
2. Insert the USB drive
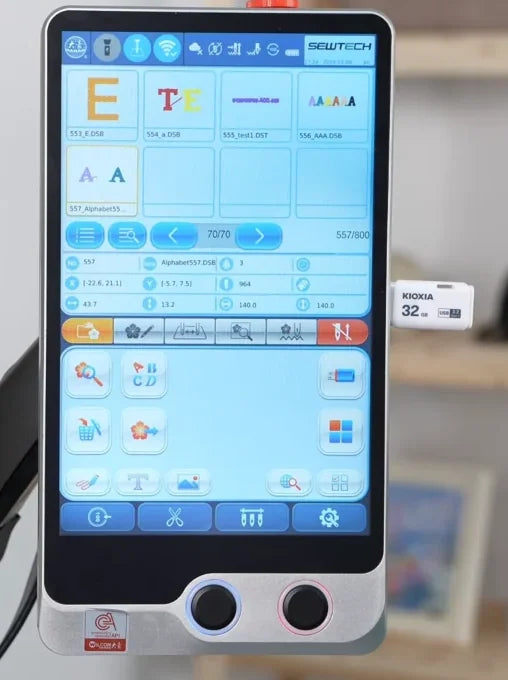
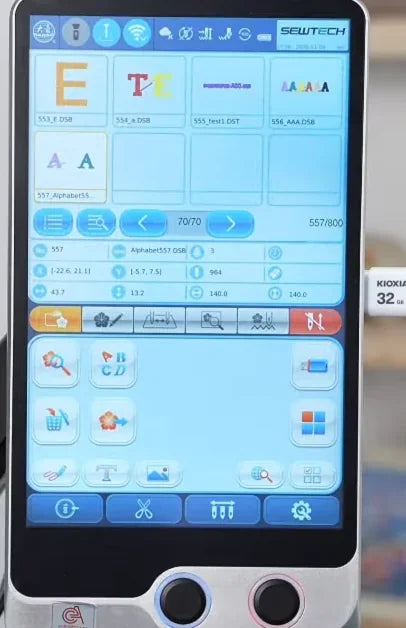
Watch at 00:18Plug the drive into the port on the right edge of the controller while the design thumbnails are visible on the main screen. Leave it connected through the import.
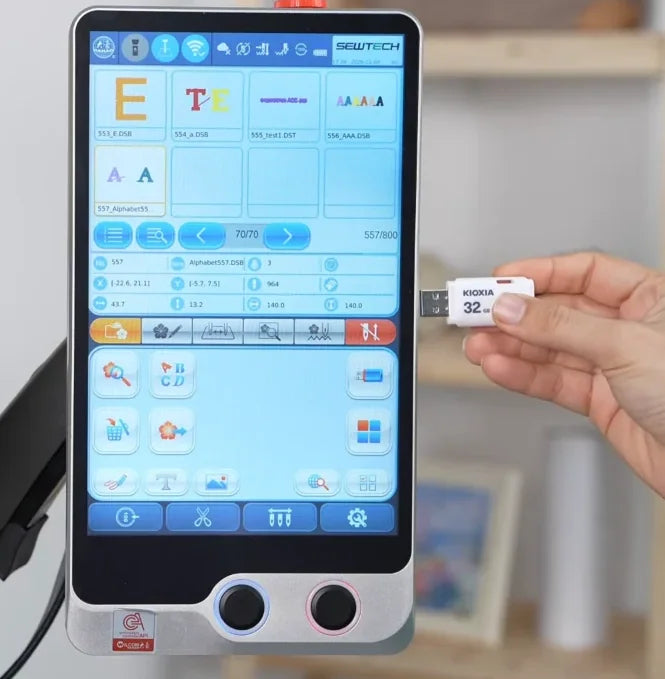
3. Open Other Functions
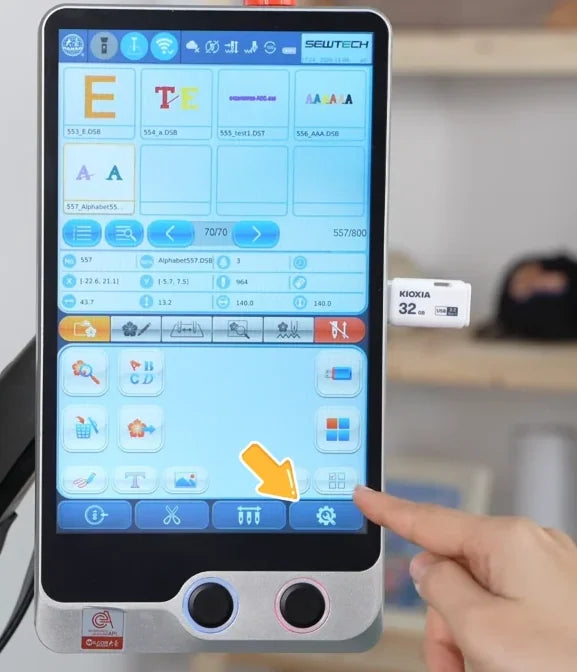
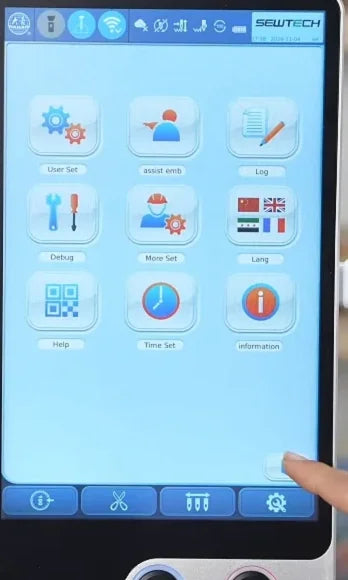
Watch at 00:25Tap the gear at the far right of the bottom blue toolbar. The main screen switches to a grid of functions.
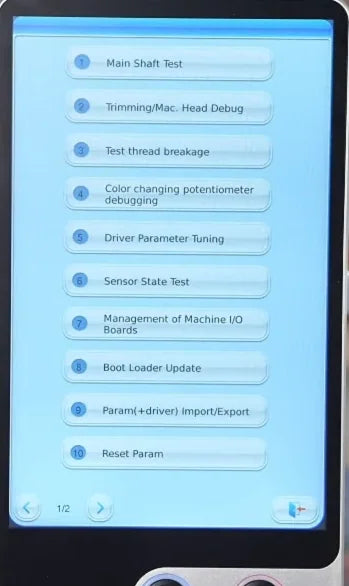
4. Open Debug and confirm access
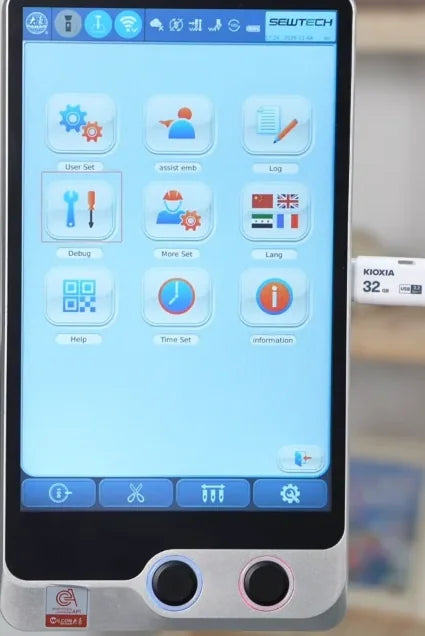
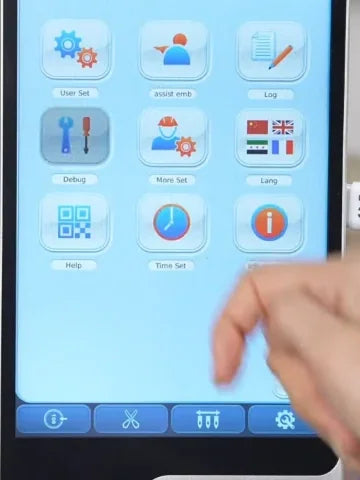
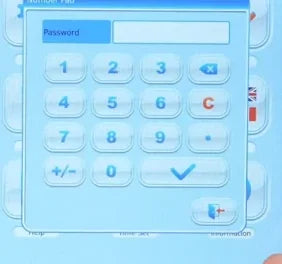
Watch at 00:29Tap Debug, the wrench-and-screwdriver icon in the second row on the left. Enter the service password your technician confirms for this controller. Tap the large blue check mark on the keypad to open the numbered Debug menu.
5. Open Param(+driver) Import/Export
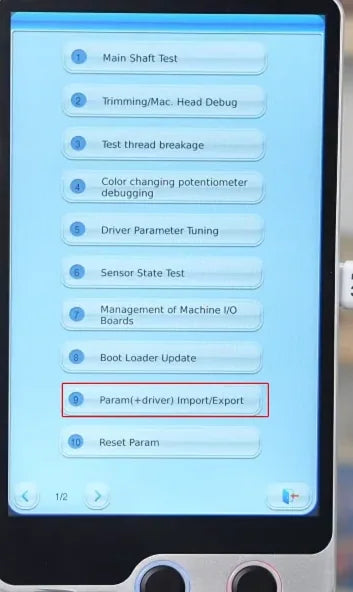
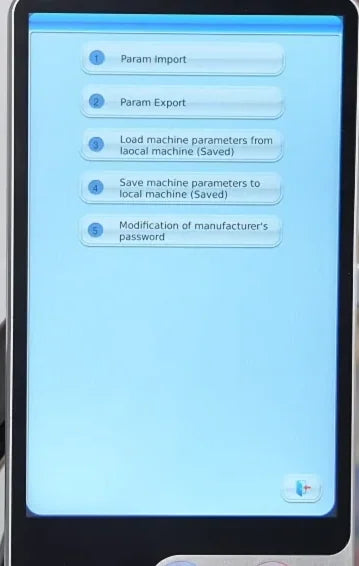
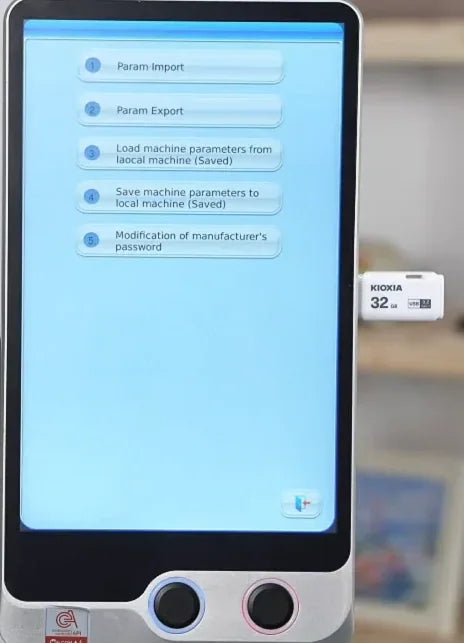
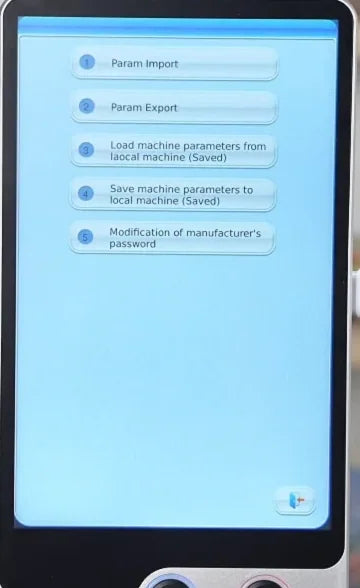
Watch at 00:38On page 1/2 of Debug, tap item 9, Param(+driver) Import/Export, immediately above Reset Param. The next screen has five entries, with Param Import at the top.
6. Open Param Import
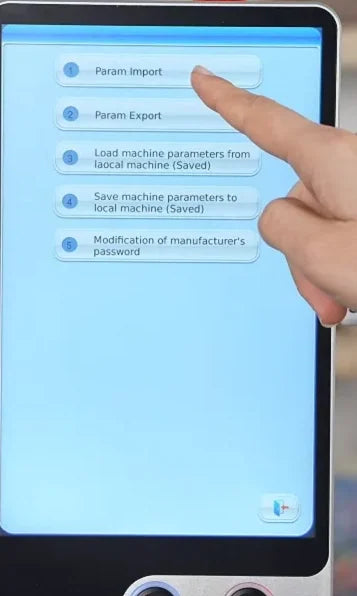
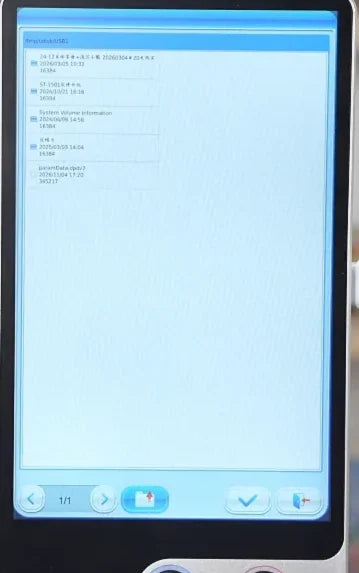
Watch at 00:44Tap Param Import at the top. The file browser opens, with the list above the highlighted USB device icon in the bottom bar.
7. Select the approved file
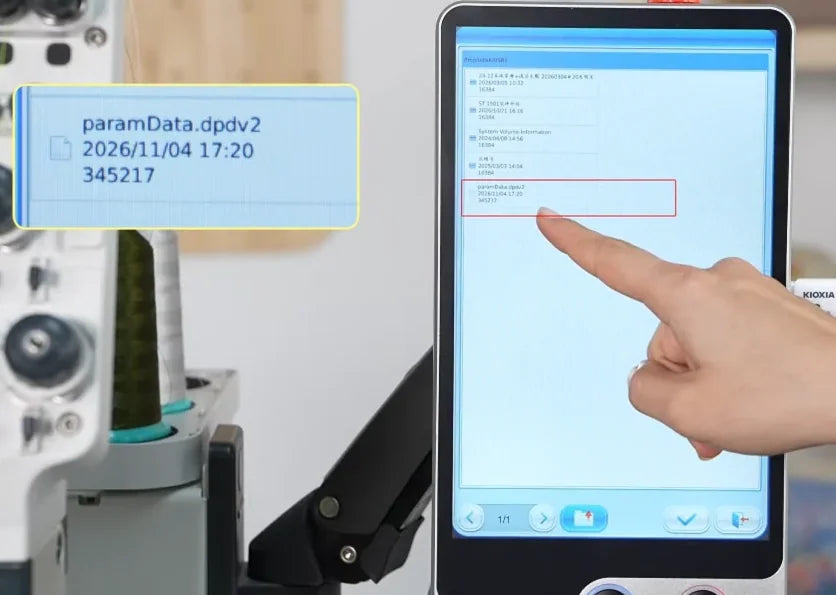
Watch at 00:47Tap the row for the file approved for your machine. The demonstration uses paramData.dpdv2. Check the filename provided by your technician.
8. Confirm the file with the first check mark
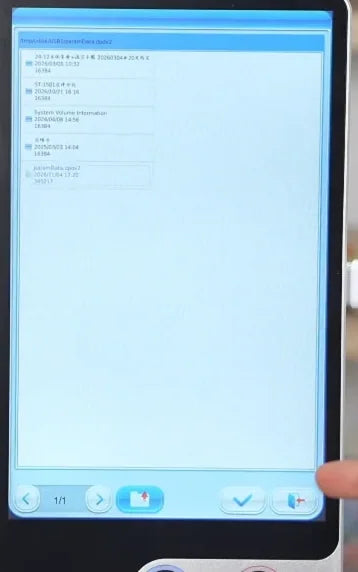
Watch at 00:51Tap the check mark in the file browser’s bottom bar, immediately left of the exit icon. This opens a new dialog for selecting which parameter categories to import.
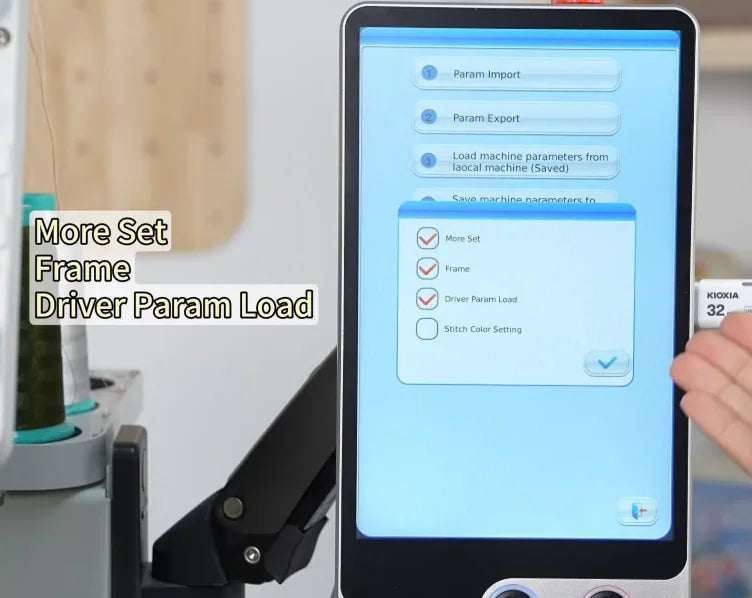
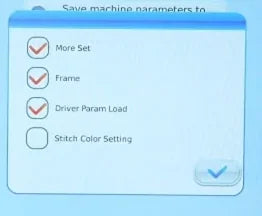
9. Verify the three import categories
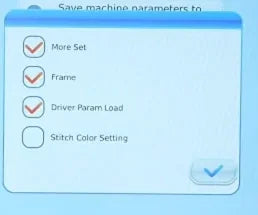
Watch at 00:53For this service-approved import, verify that More Set, Frame and Driver Param Load are all checked. They are already checked when the dialog opens in the video. Leave the fourth box, Stitch Color Setting, empty as shown.
10. Start the import with the second check mark
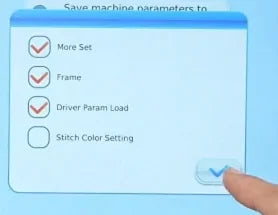
Watch at 01:05After verifying the three choices, tap the blue check mark at the lower right of the category dialog. The dialog closes. Keep the USB drive connected while the controller imports the parameters and wait for its success message.
11. Verify the success message
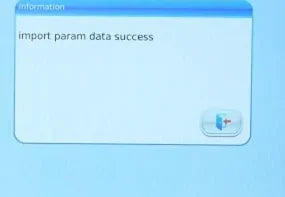
Watch at 01:10Wait for the Information dialog to read “import param data success”. If the controller reports an error or the success message never appears, check with the technician before repeating the import.
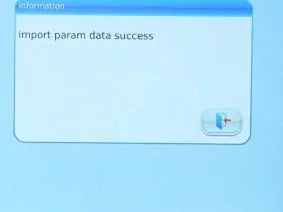
12. Close the message and return to the main screen
Watch at 01:15Tap the exit icon in the lower right of the success dialog. Then use the lower-right exit icon on each screen to leave the parameter submenu, the numbered Debug menu and the Other Functions grid. Check that the design thumbnails and main controls are visible again.
13. Remove the USB drive
Watch at 01:21Once the main screen is back, pull the USB drive out of the right-side port. The main screen remains visible after removal.