Fix Wobbling on 8-in-1 and 6-in-1 Magnetic Hoops

Overview
This guide covers the SEWTECH 8-in-1 and 6-in-1 magnetic hoops. If the fitted hoop bounces during stitching, check the vertical space above the needle plate. The video shows how flat washers between the metal mounting brackets and the white frame arms can reduce excessive clearance. Switch the machine off and unplug it before inspecting or adjusting the mounting hardware.
Step-by-step guide
1. Recognize the up-and-down bounce
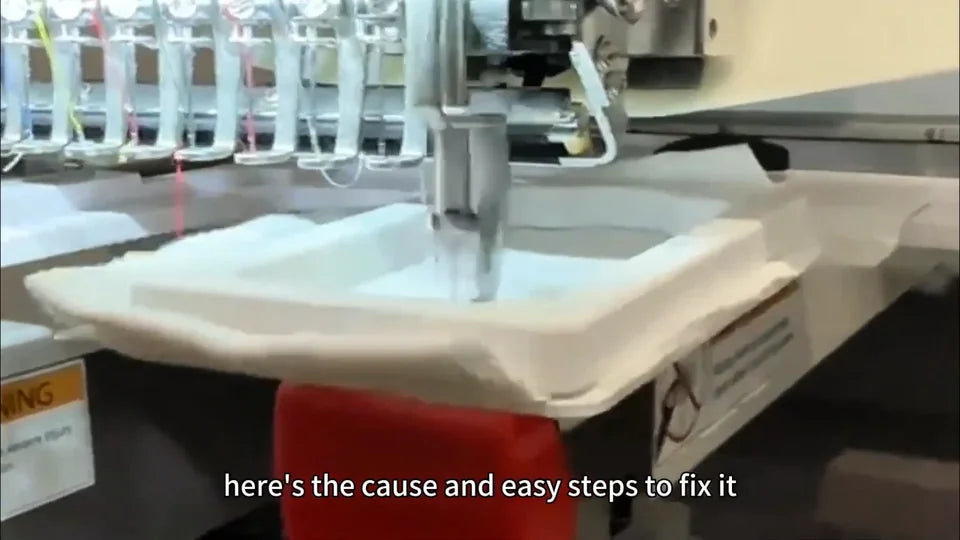
Watch at 00:01The opening shows the fabric and hoop rising and dropping near the needle plate as the machine stitches. If you see this motion, stop the machine before checking the fit by hand.
2. Check the gap with the hoop seated
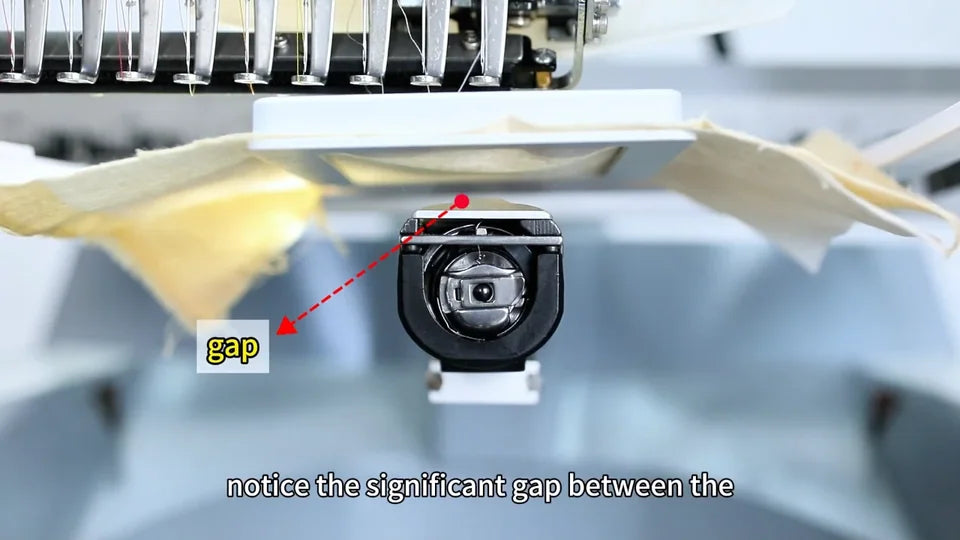
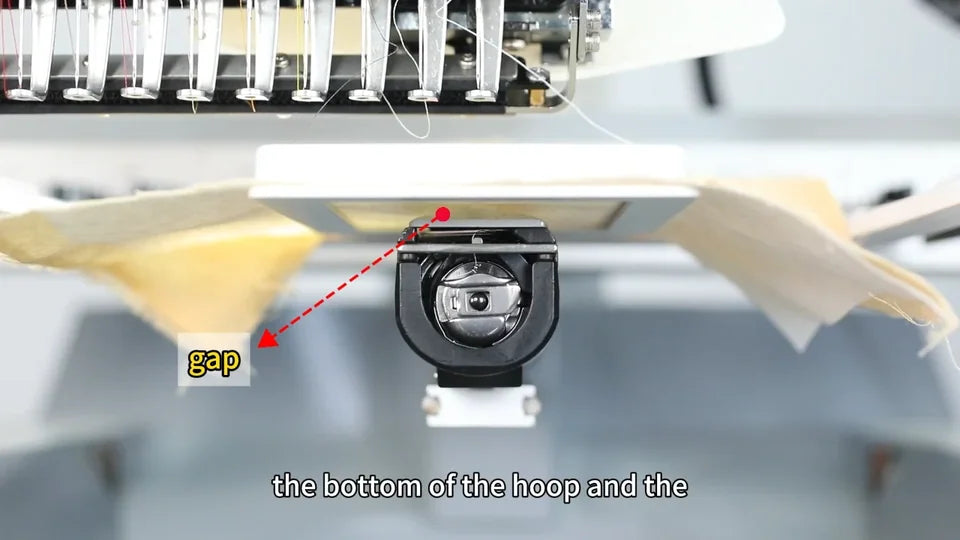
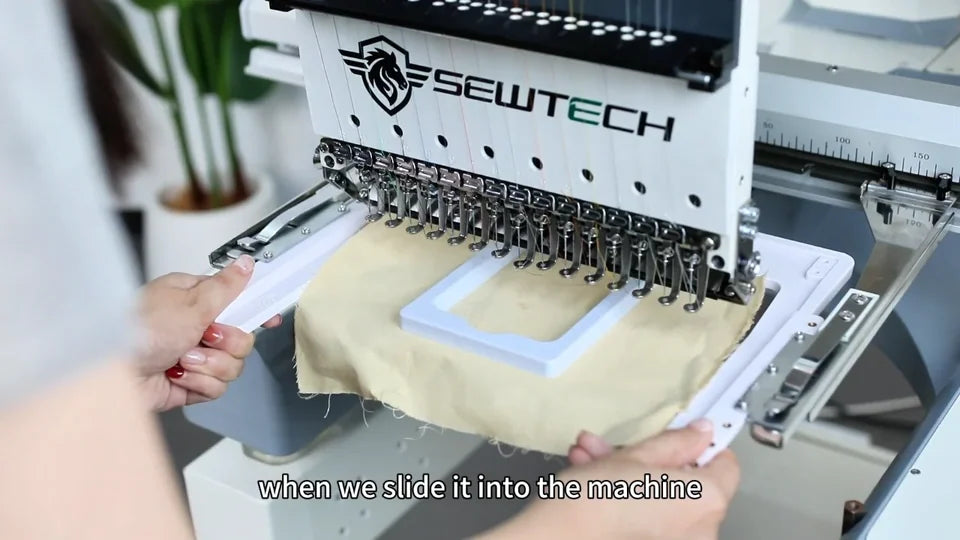
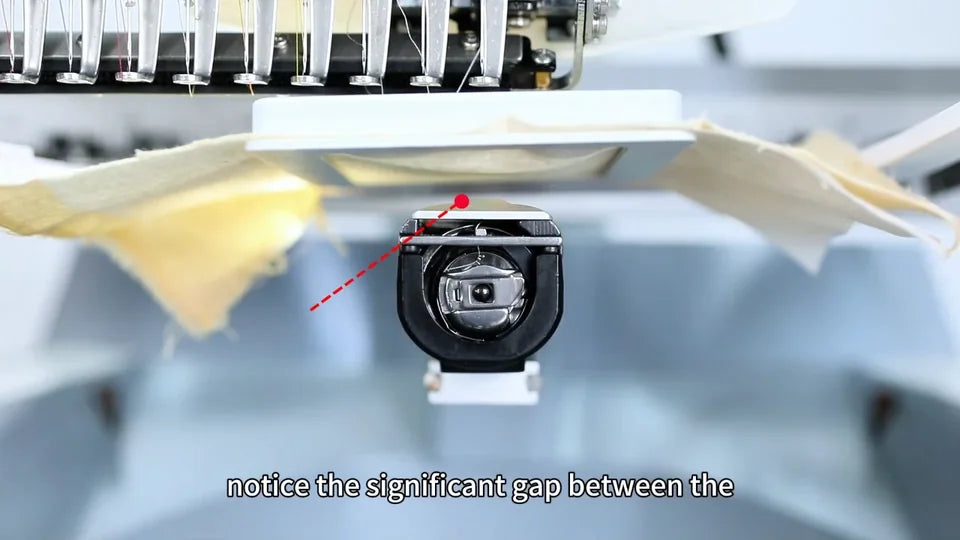
Watch at 00:12Seat both sides of the hoop in the machine’s mounting arms as usual. Look from the front at the space between the bottom of the hoop and the top of the needle plate. The red marks in the video show where the frame sits too high in the example.
3. Check where the frame rebounds
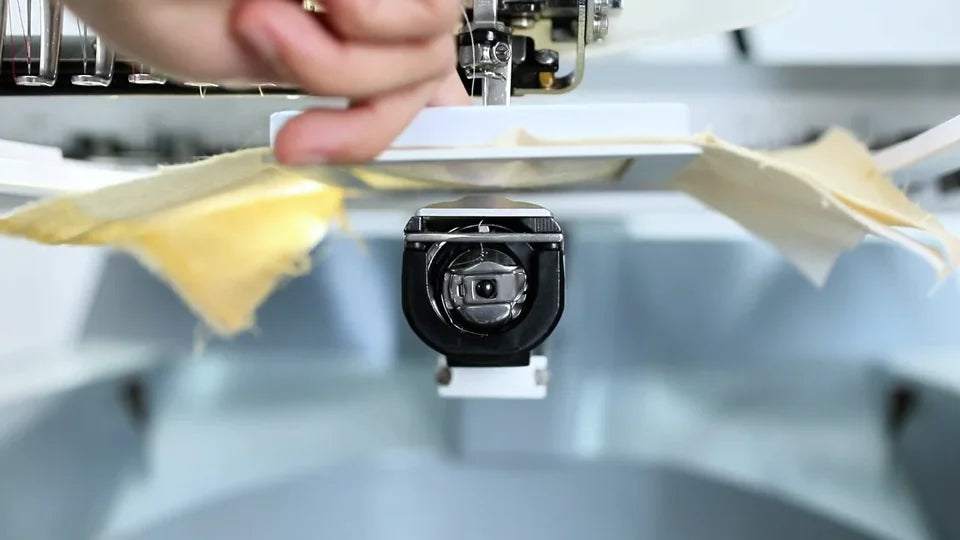
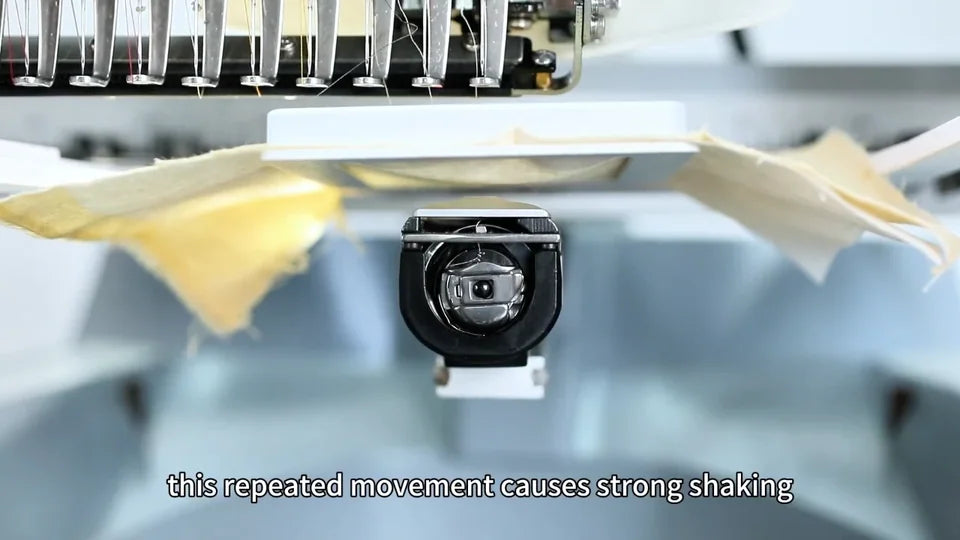
Watch at 00:22With the machine stopped, the presenter presses and releases the front of the hoop to show its vertical travel. The narration explains that a descending presser foot can push the high fabric and hoop down. The hoop then rebounds, and repeated movement at speed makes the shaking more pronounced.
4. Remove the hoop and lay out the hardware
Watch at 00:43Keep the machine unplugged. Take the hoop to a workbench, then remove the three screws and metal bracket from each frame arm. The demo lays out a Phillips screwdriver, six screws, two brackets and 12 washers. SEWTECH lists SUS304 stainless steel M3 × 10 mm Phillips pan-head screws and SUS304 M3 flat washers (10 mm outer diameter, 3 mm inner diameter, 0.8 mm thick).
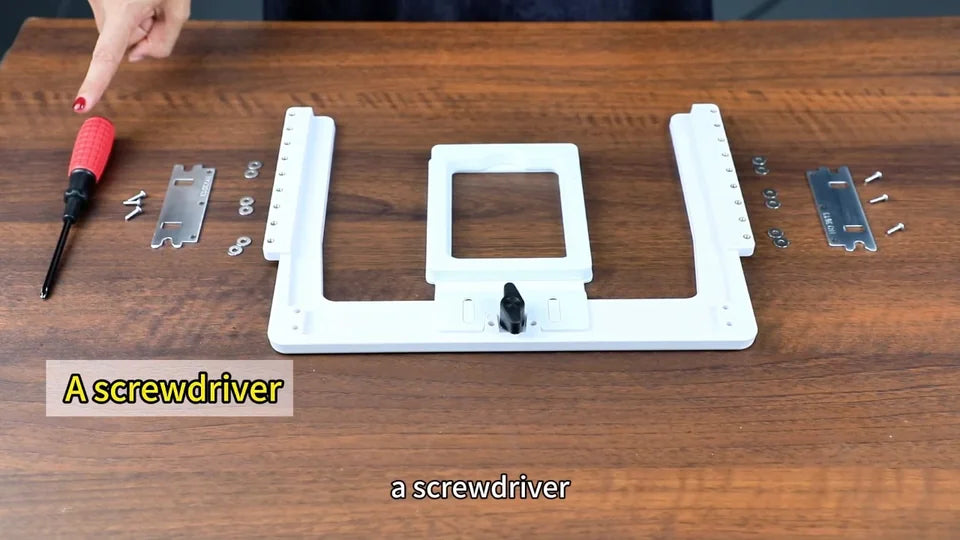
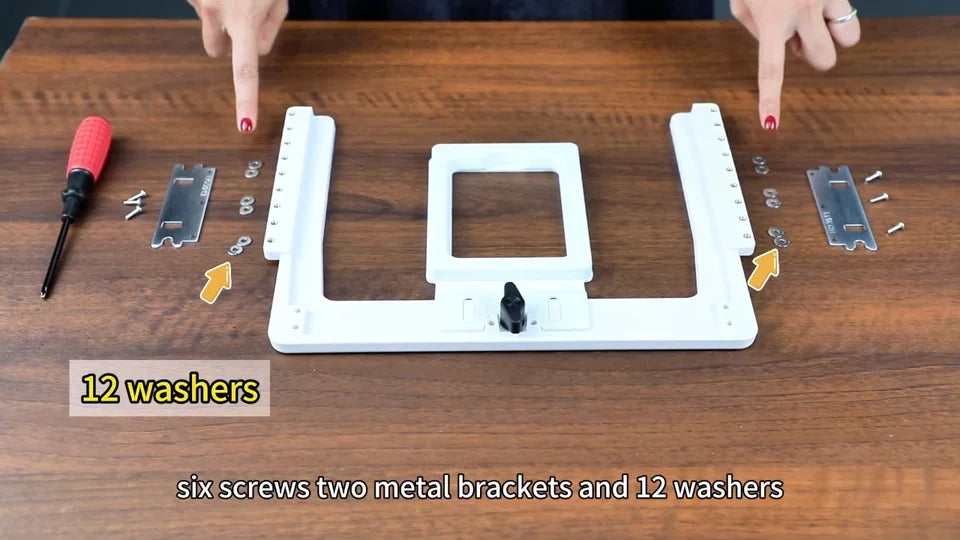
5. Stack washers over the three holes on one arm
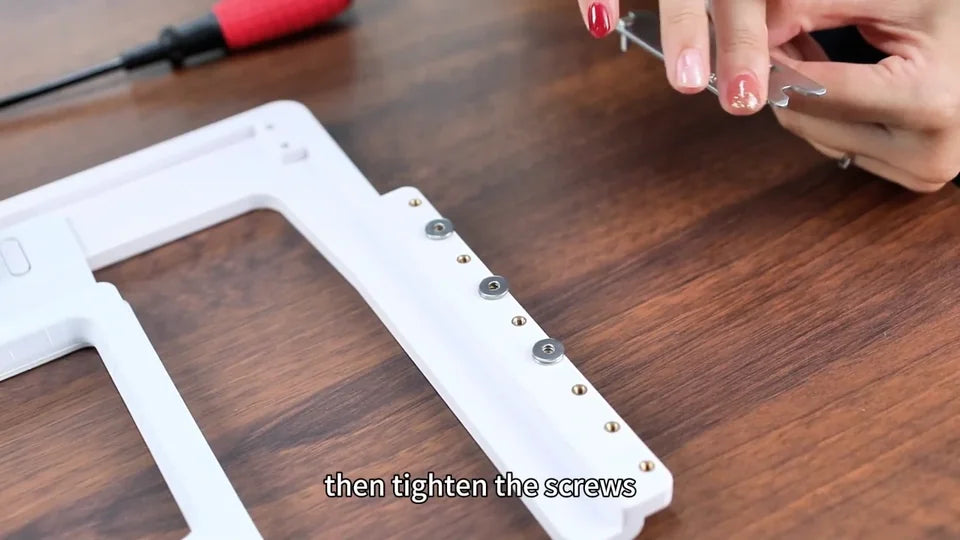
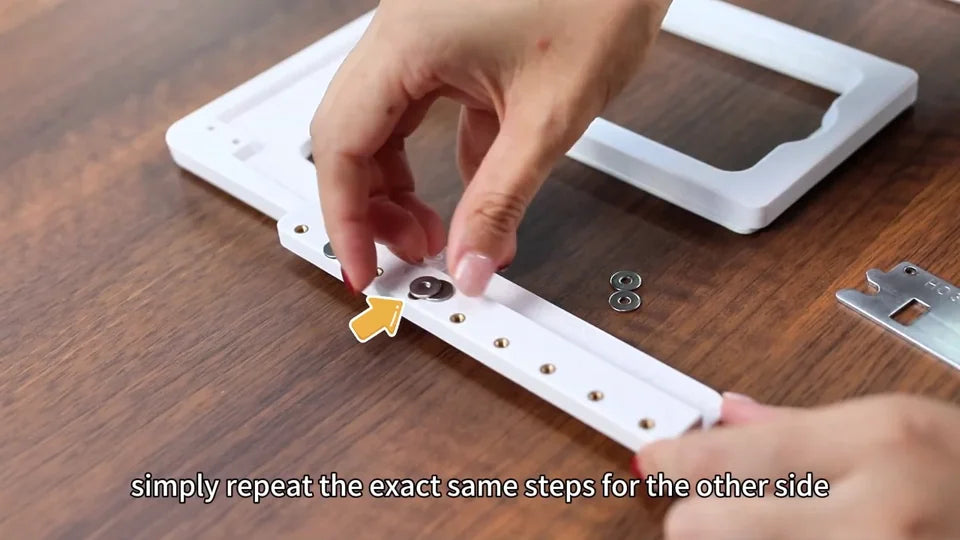
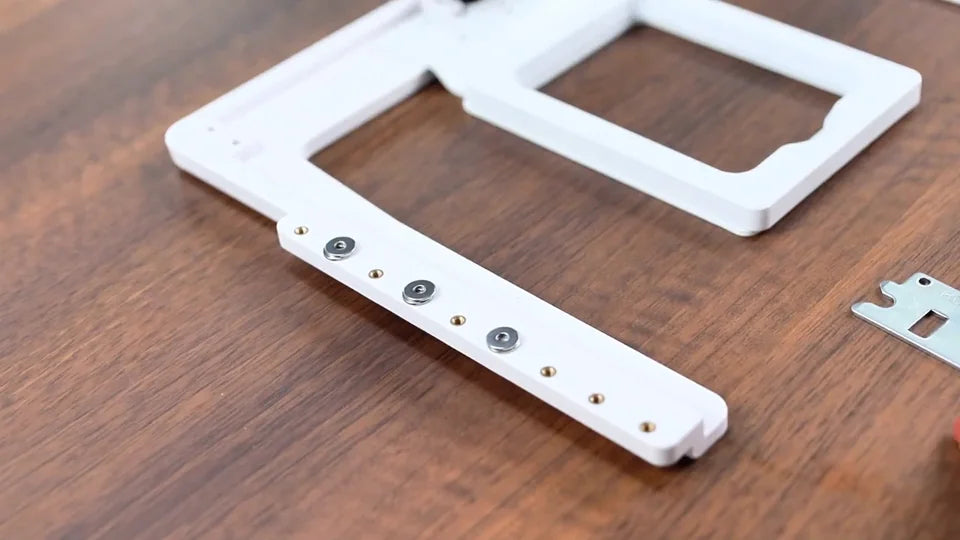
Watch at 00:58Line up the flat washers over the three threaded holes used by the bracket on the white frame arm. The video stacks two at each of those holes. Center the washers so the screw can pass through them, and use only as much thickness as needed to correct the fit on your setup.
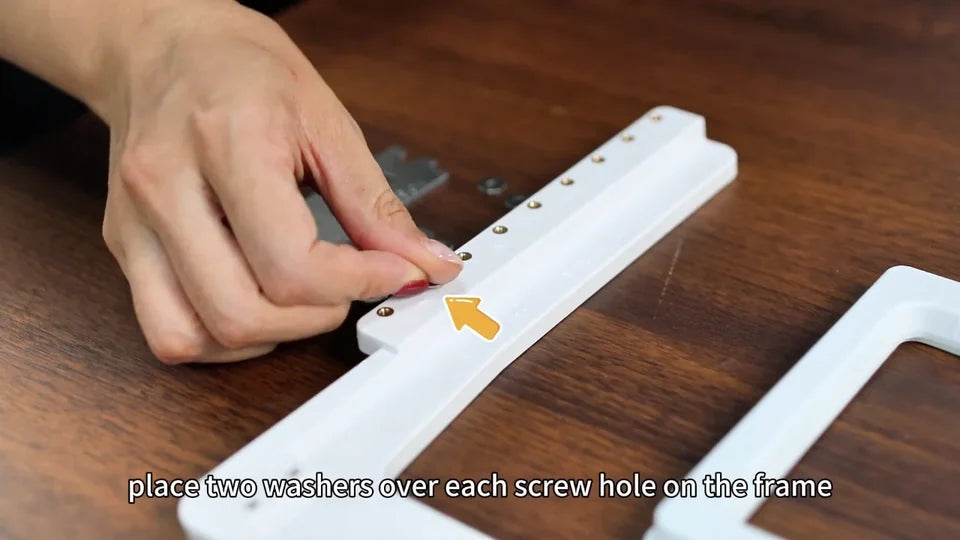
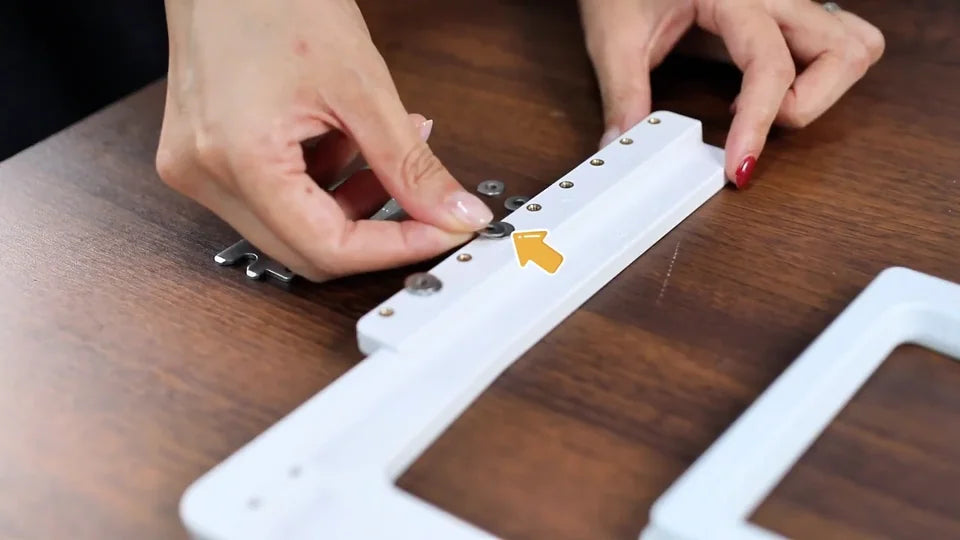
6. Fit and tighten the first metal bracket
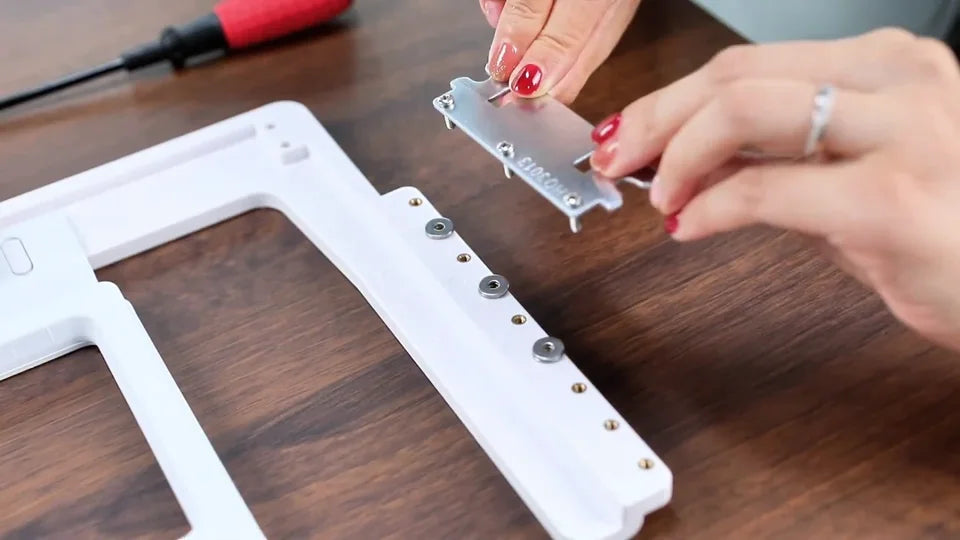
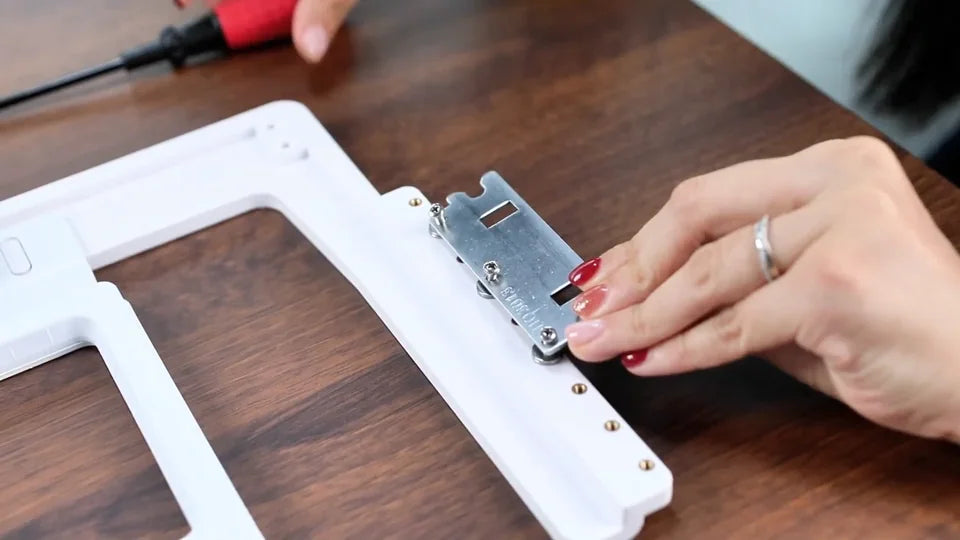
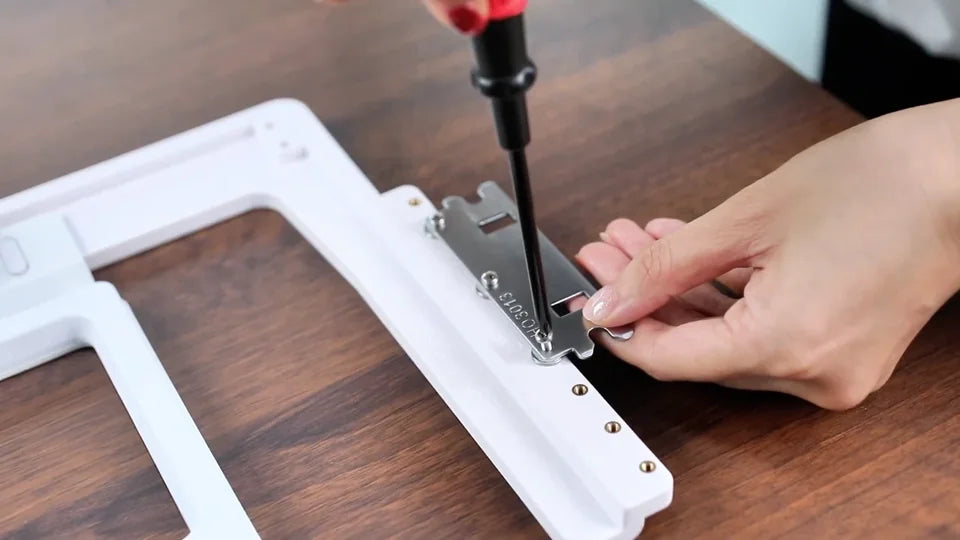
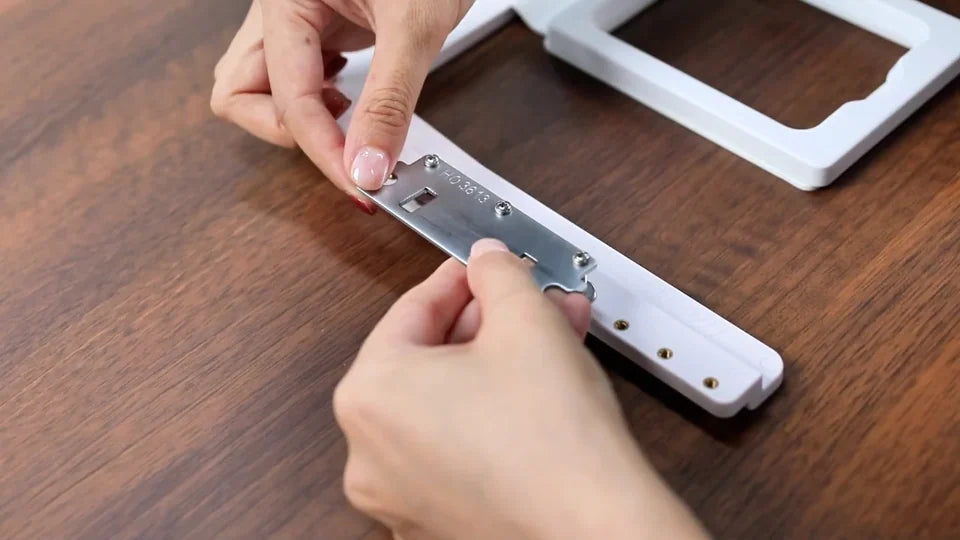
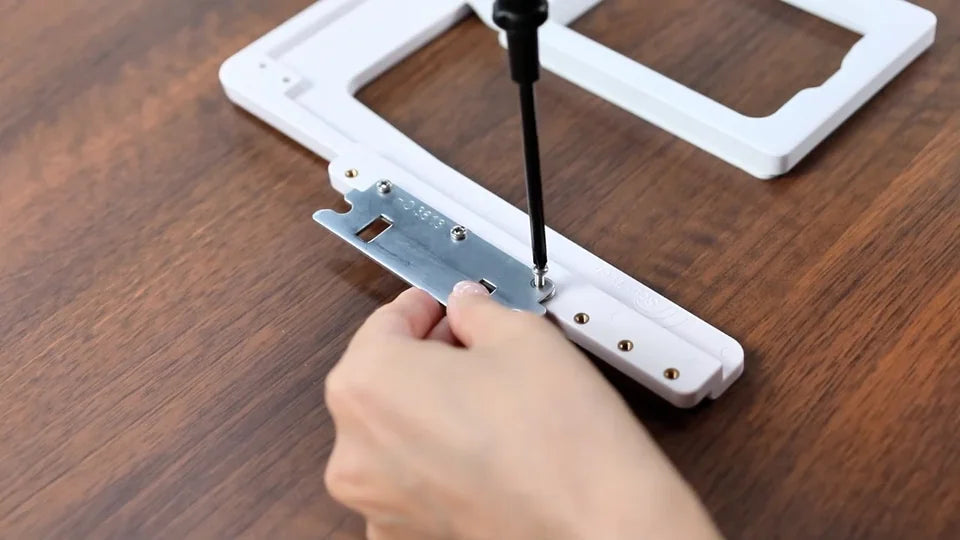
Watch at 01:10Pass the three screws through the metal bracket and set it back in its original orientation over the washers. Start all three screws, then tighten them evenly with the Phillips screwdriver without overtightening. If the added thickness leaves the M3 × 10 mm screws too short, choose longer M3 Phillips pan-head screws that engage securely and clear nearby parts and the frame’s travel path.
7. Match the washer height on the other arm
Watch at 01:24Repeat the washer placement at the corresponding three holes on the opposite arm. The example uses the same two-washer stack at each point on both sides. Keep the added thickness even so the frame seats level.
8. Secure the second bracket and check both sides
Watch at 01:35Set the second bracket over the washer stacks and start its three screws. Hold the bracket in place and tighten the screws evenly. Before putting the hoop back on the machine, check that neither bracket rocks, both sit level, and the washers stayed centered while tightening.
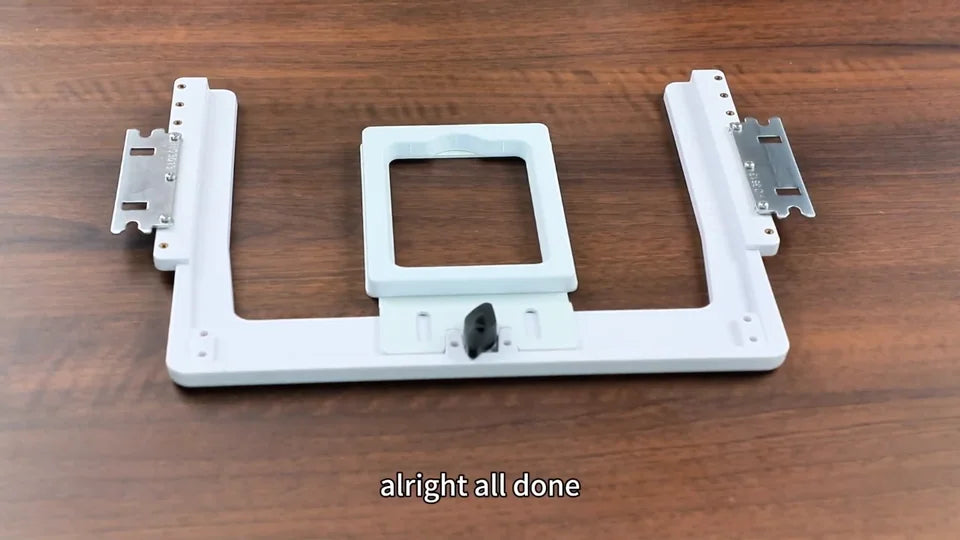
9. Slide the hoop back into the machine
Watch at 01:53Support the hoop by both sides and slide the brackets into the machine’s mounting arms. Check from the front that both sides are seated and the frame is level before comparing the gap.
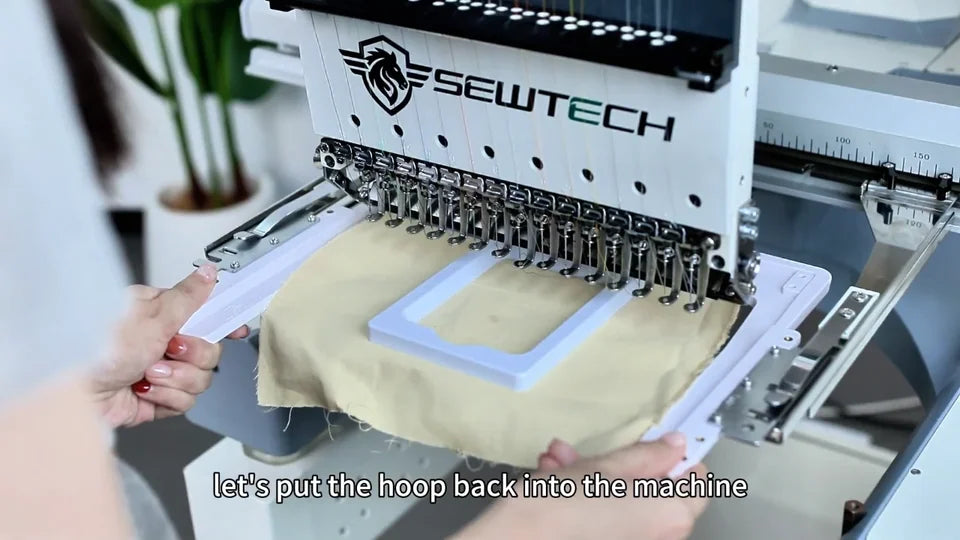
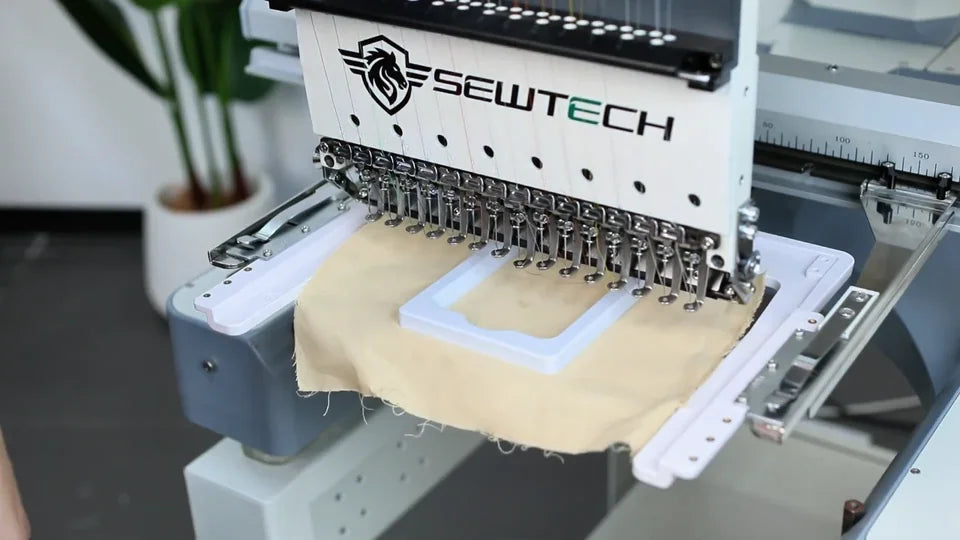
10. Compare the gap and check free travel
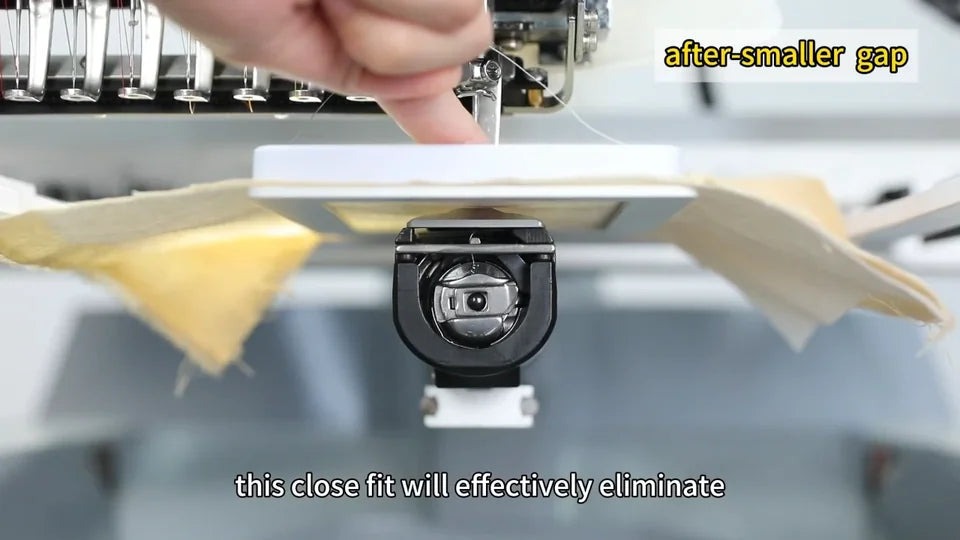
Watch at 01:57Compare the gap at the same spot above the needle plate. The video ends with a visibly smaller gap and a hand check on the hoop. Once the brackets are secure and the frame is level, SEWTECH recommends a slow test run. Check that the frame travels without touching the machine and no longer bounces up and down before returning to normal speed.