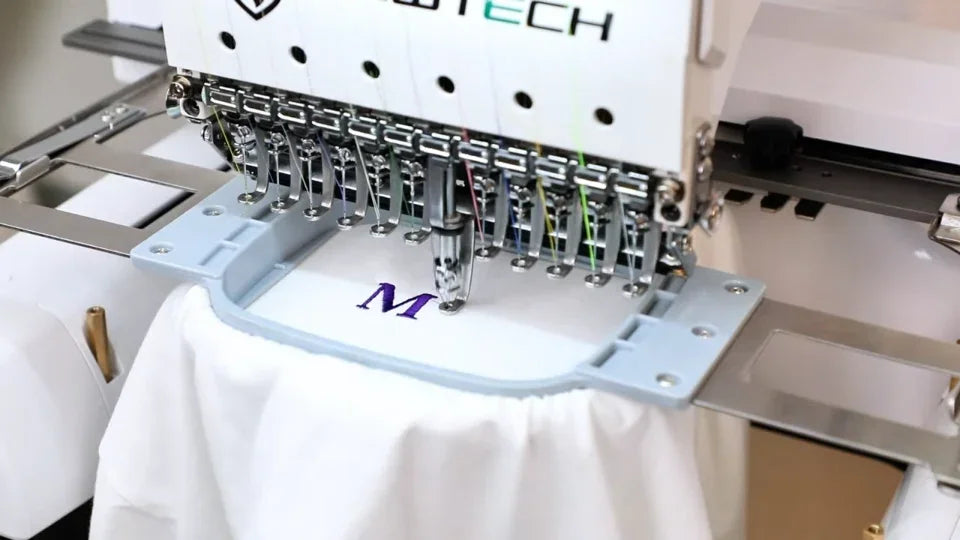
Fix Long Thread Tails After Trimming on the ST-1201 and SC-1501

Overview
Start with the needle that leaves a long upper-thread tail after a trim. The video demonstrates three checks on the ST-1201 for this ST-1201 / SC-1501 guide. Stop the machine before touching the thread clamp or tension knob, and have a 2 mm hex key ready for the clamp check.
Step-by-step guide
1. Identify the long upper-thread tail
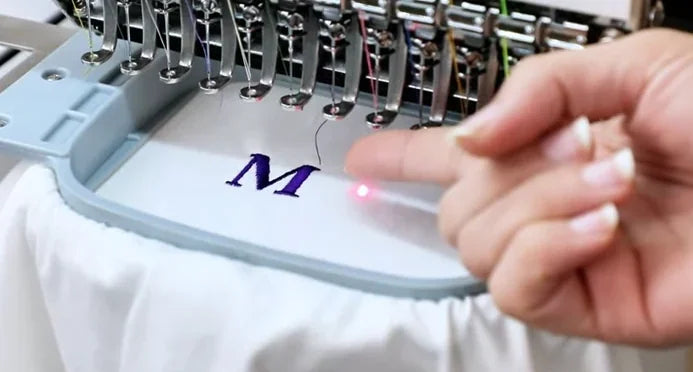
Watch at 00:14After a trim, look below the needle bank. In the video, a purple thread tail hangs down from the needle area toward the hoop. A long tail can interfere when the next color starts.
2. Adjust an overtight upper-thread clamp
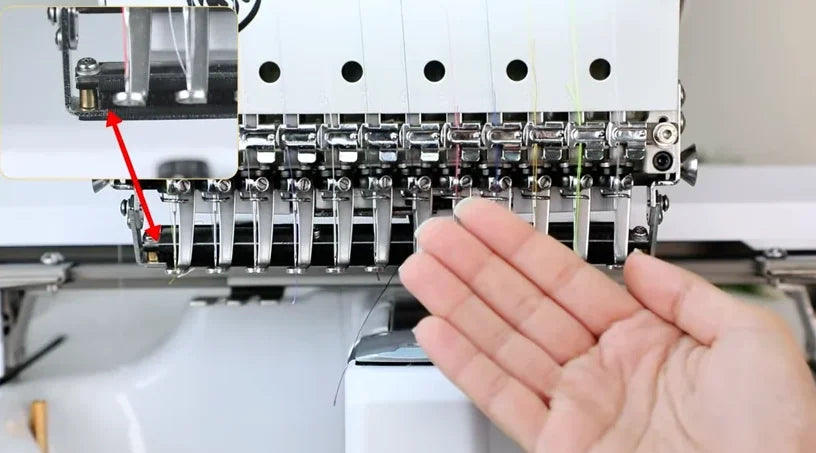
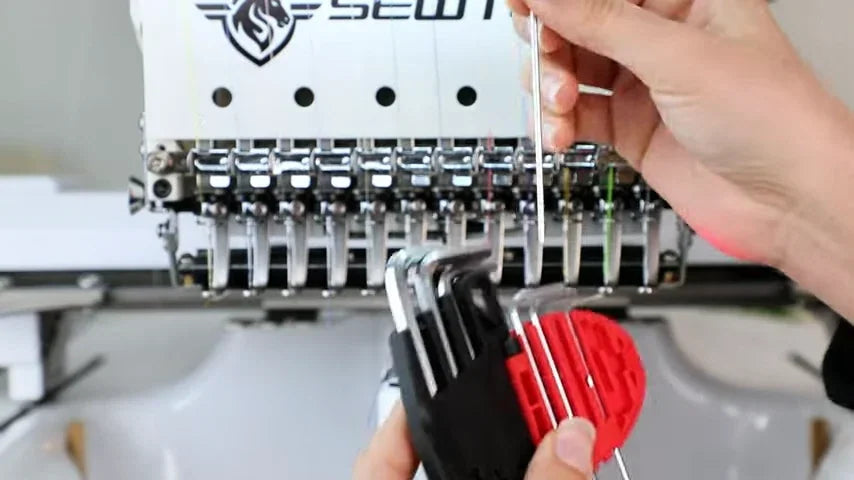
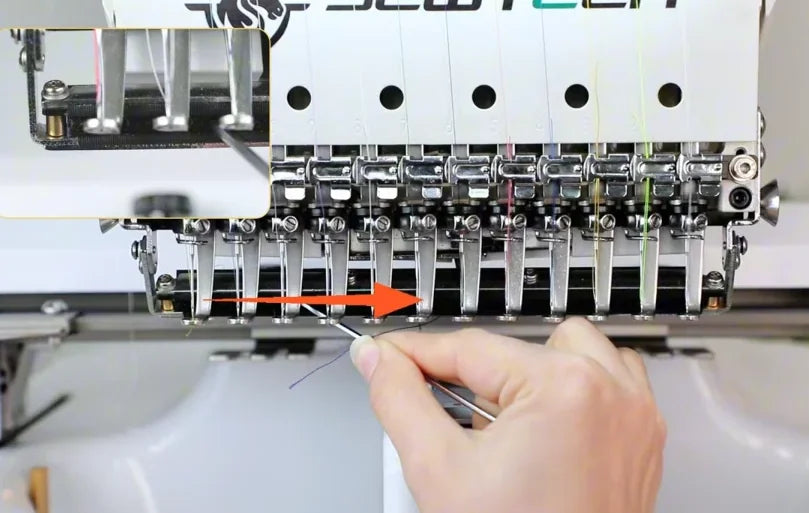
Watch at 00:26With the machine stopped, locate the upper-thread clamp along the bottom of the needle bank. If the clamp is too tight, place a 2 mm hex key at its center as shown and gently move the key back and forth. The video gives no specified number of turns.
3. Increase upper-thread tension if it is loose
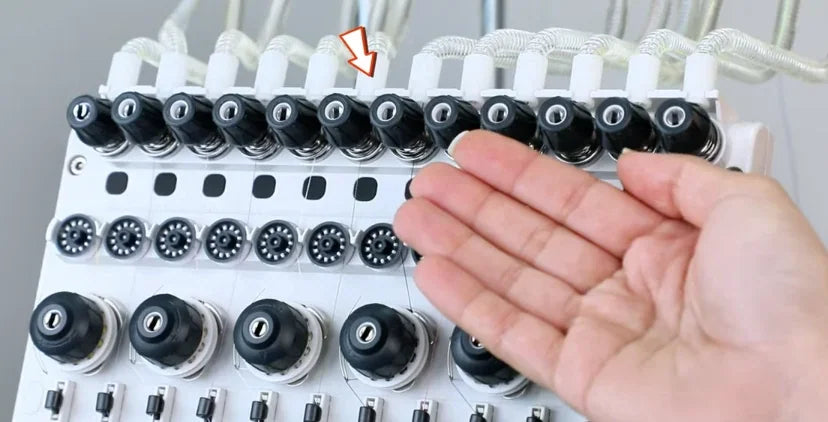
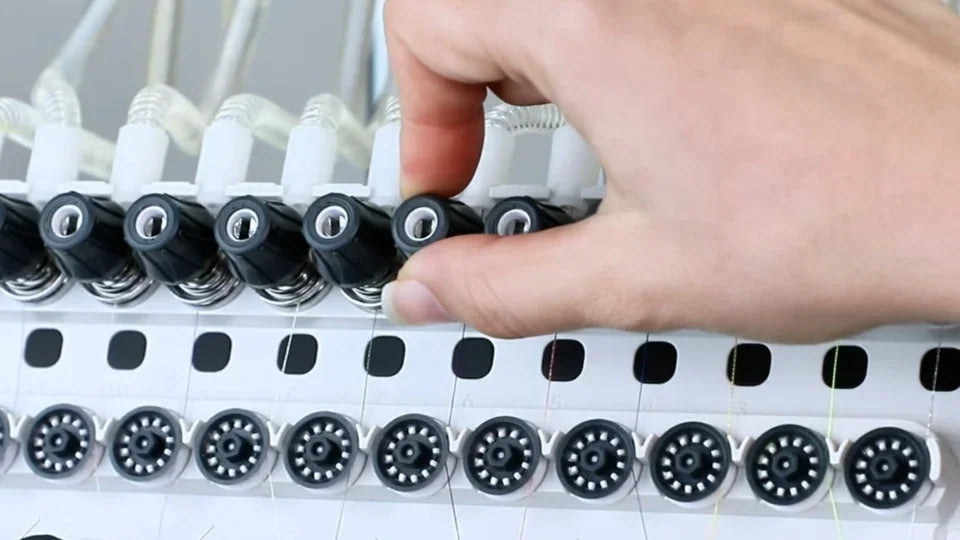
Watch at 00:45If the upper thread is loose, find the affected thread's knob in the top row of the tension panel. Turn that knob clockwise to increase upper-thread tension. The video shows the direction of adjustment without specifying a dial value.
4. Open the controller menu
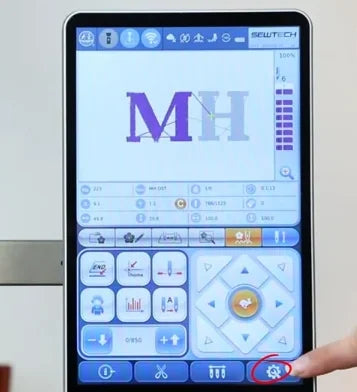
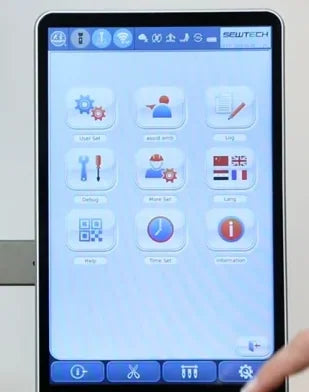
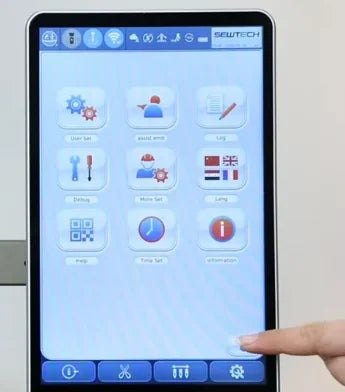
Watch at 01:01On the embroidery screen, tap the bottom-right button in the blue toolbar. The video calls it the hand icon and circles it on screen. The controller opens a grid of menu icons.
5. Open the settings and show the categories
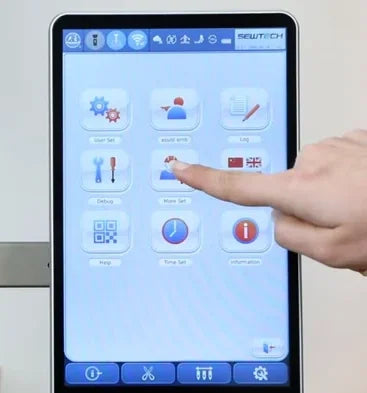
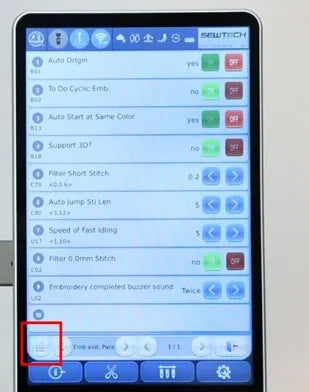
Watch at 01:05Tap the center icon in the nine-icon menu, marked by a person and a gear. When the settings rows appear, tap the list icon at the lower left of the settings pane, just above the blue toolbar. The category list opens.
6. Find Length of Trim in the Trim category
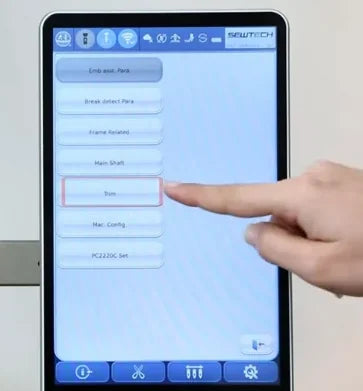
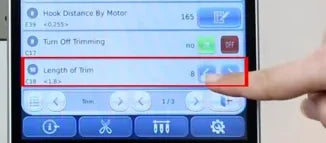
Watch at 01:08Choose Trim from the category list. On the Trim screen, look near the bottom for Length of Trim. It is a separate row immediately below Turn Off Trimming.
7. Reduce the trim-length value and check the display
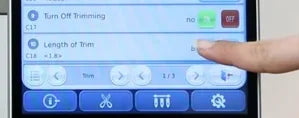
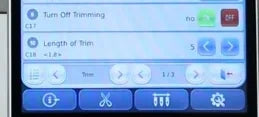
Watch at 01:16To shorten the tail, tap the left arrow on the Length of Trim row and read the updated number on that same row. The demonstration lowers the displayed value from 8 to 5. Use the next trim and color start to judge the result on your machine.
8. Return to the embroidery screen
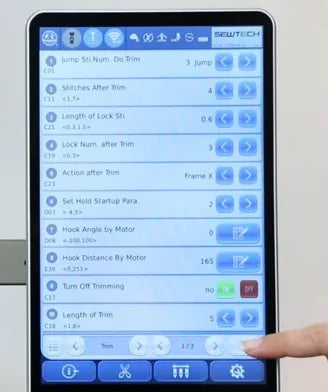
Watch at 01:21Tap the return arrow at the lower right of the Trim pane, above the blue toolbar. The nine-icon menu reappears. Use its lower-right return arrow to go back to the screen showing the embroidery design.
9. Test a trim and the next color start
Watch at 01:24Run a test that includes a trim and the next color start. Check that the remaining thread tail is shorter and that the next color starts with the thread still in the needle. The closing footage shows the machine continuing to stitch the sample design.